

 Italiano
 Français
 Deutsch
 Español
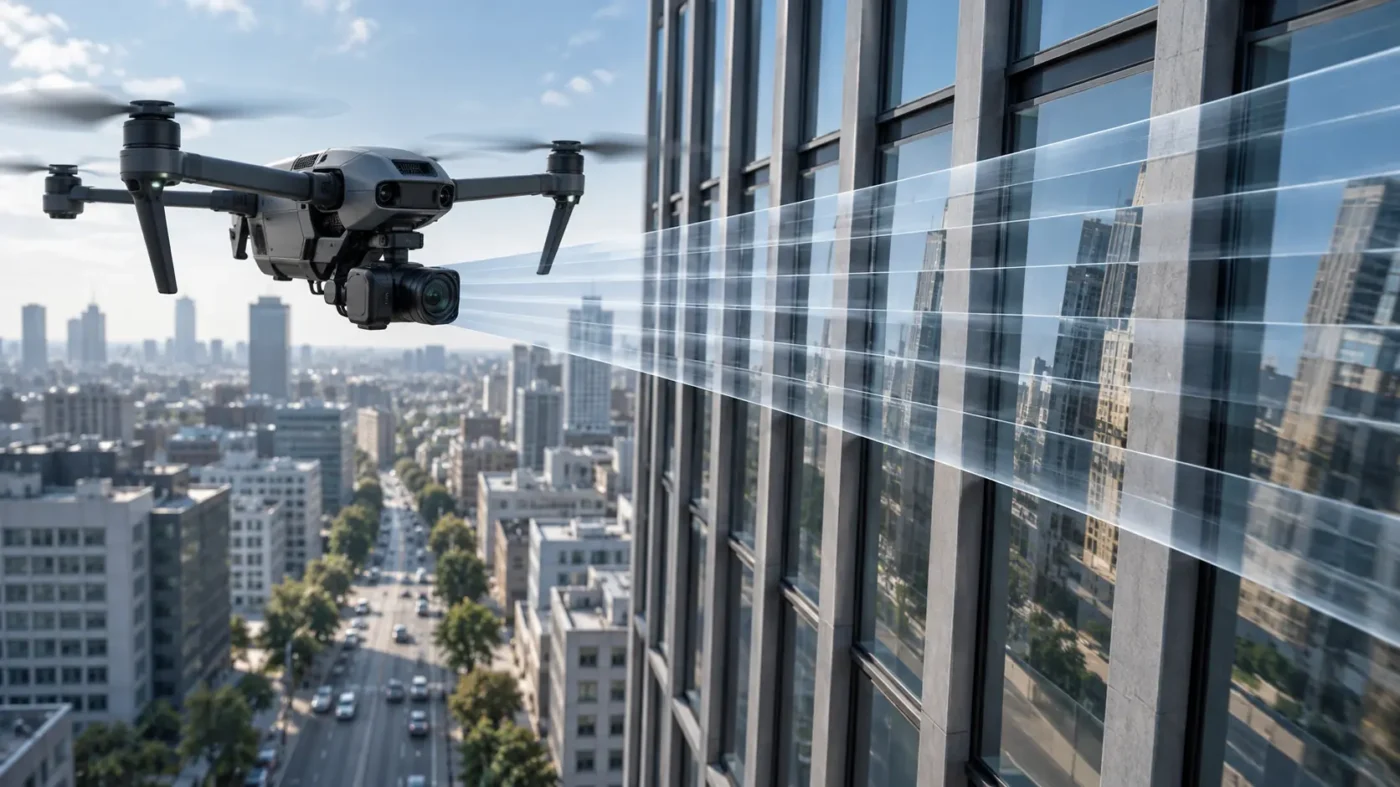
A drone photograph can look sharp while its geometry is subtly distorted. Many electronic shutters read a sensor line by line rather than capturing every pixel at the same instant. If the drone or camera moves during that readout, the upper and lower parts of a frame describe slightly different camera positions. In Agisoft Metashape this is a camera-model question, not a problem that can be diagnosed reliably from a single processing score.
When should rolling shutter be investigated?
Start with the camera specification: do not assume every electronic shutter behaves the same way, and distinguish sensor readout from exposure time. A rolling-shutter effect is more plausible with rapid translation, turns during exposure, low-altitude flights, nearby facades or fast hand-held movement. It can be difficult to see in individual photographs yet show up as a systematic pattern in adjusted camera positions or differences against independent control.
First rule out the more common causes of a weak reconstruction: inadequate overlap, motion blur, incorrect focal length, mixed camera calibration states and inaccurate reference coordinates. Our guides to failed alignment and camera calibration results provide useful baseline checks.
What the Metashape compensation setting does
Metashape includes an Enable rolling shutter compensation option in Tools > Camera Calibration. The Professional user manual documents a rolling-shutter visualization in the calibration diagnostics. Agisoft’s technical support also describes two models: Regularized, with a more constrained per-frame correction suited to largely parallel drone movement without camera turns, and Full, which estimates a broader set of translational and rotational parameters. Full is not automatically better: extra freedom can fit weak geometry rather than a genuine shutter effect. See the Agisoft support explanation.
A controlled comparison in an existing project
- Preserve a copy of the original project and record the Metashape version, camera model, acquisition pattern and calibration groups.
- Build a baseline solution without changing several settings at once. Record aligned cameras, check-point residuals, calibration diagnostics and any visible strip-to-strip deformation.
- In a duplicate project, enable the appropriate rolling-shutter model for the affected camera group before alignment and repeat the adjustment with otherwise comparable settings. The manual recommends adaptive camera model fitting when using the Full model.
- Compare independent check points in different parts of the block, especially near its ends and edges. Inspect the adjusted calibration and ensure that improved fit is not accompanied by unstable parameters.
- Keep the option only if it improves the deliverable under your acceptance criteria; document the comparison in the survey record.
Do not use the same control points both to force a solution and to claim an independent accuracy gain. The distinction between control and verification is covered in our GCP versus check-point guide.
Prevention starts in acquisition
Fly or move smoothly, reduce abrupt turns while photographing, select a shutter speed that freezes the scene, and capture cross-view geometry where practical. If the platform permits a mechanical or genuinely global shutter, consider it for jobs with tight geometric tolerances. A rolling-shutter model does not restore detail lost to motion blur or supply missing overlap.
How to read a comparison without overclaiming
Do not compare two solutions that also differ in image selection, ground control, camera accuracy settings or tie-point cleanup. Those changes obscure the contribution of shutter modeling. A compact experiment records the same metrics for both solutions:
| Metric | Baseline | Compensated |
|---|---|---|
| Aligned cameras and connected components | Record count | Record count |
| Independent check-point errors, by area | Record XY and Z | Record XY and Z |
| Distortion and adjusted calibration | Inspect pattern | Inspect pattern |
| Critical object or corridor profile | Save a cross-section | Compare the same section |
If residuals improve only for points used as control while independent checks deteriorate, the compensation has not been validated. If both versions perform similarly, prefer the simpler justified configuration and document the camera’s capture mode. If the result varies strongly between different parts of the block, investigate coverage and reference rather than applying one blanket conclusion.
Acquisition metadata worth preserving
Keep the camera model and firmware, shutter mode, exposure time, flight speed, direction of travel, gimbal behavior and a sample of original EXIF data. These are diagnostic context, not values to type into the model indiscriminately. The more important distinction is whether the camera moved during line-by-line readout and whether the image network independently constrains a correction.
Regularized and Full are modeling choices
Agisoft Technical Support describes Regularized as estimating a two-parameter image-plane shift for each frame and Full as estimating a six-parameter translation-and-rotation correction. That explanation helps explain why a smooth, straight flight and a camera making frequent turns present different modeling demands. It does not supply a universal rule based solely on drone brand. If the camera is effectively stationary during readout, compensation may have little to explain; if imagery lacks cross-view constraints, a flexible model may be unstable.
For a mixed dataset, review calibration groups before changing a shutter option. Drone frames from one sensor and terrestrial frames from a different shutter should not inherit one camera model simply because they cover the same object. Keep a record of which group received compensation, and compare diagnostic outputs per group rather than averaging away a localized problem.
What a failed comparison tells you
If enabling compensation worsens independent checks, revert to the baseline and revisit the diagnosis. If the model reduces camera residuals but an ortho edge remains displaced, inspect the elevation surface and the source imagery. If an individual photograph is blurred, replace or disable it rather than treating a shutter model as a deblurring tool. A careful negative test is valuable: it keeps the project from accumulating unneeded parameters.
Frequently asked questions
Is rolling shutter the same as motion blur?
No. Blur spreads detail during an exposure; rolling shutter changes the apparent geometry because different image rows are recorded at different moments. A dataset can exhibit either effect or both.
Should compensation be enabled for every drone project?
No. Confirm the camera’s capture behavior and compare an otherwise identical adjustment against independent checks. Unnecessary model complexity can make an underconstrained block less reliable.
Can I repair a poor single-line flight through software?
Compensation addresses a specific sensor effect. It cannot replace side overlap, cross strips, useful control or additional viewing angles.
Technical basis: Agisoft Metashape Professional user manual and Agisoft Technical Support on rolling-shutter models.