
 Italiano
 Français
 Deutsch
 Español

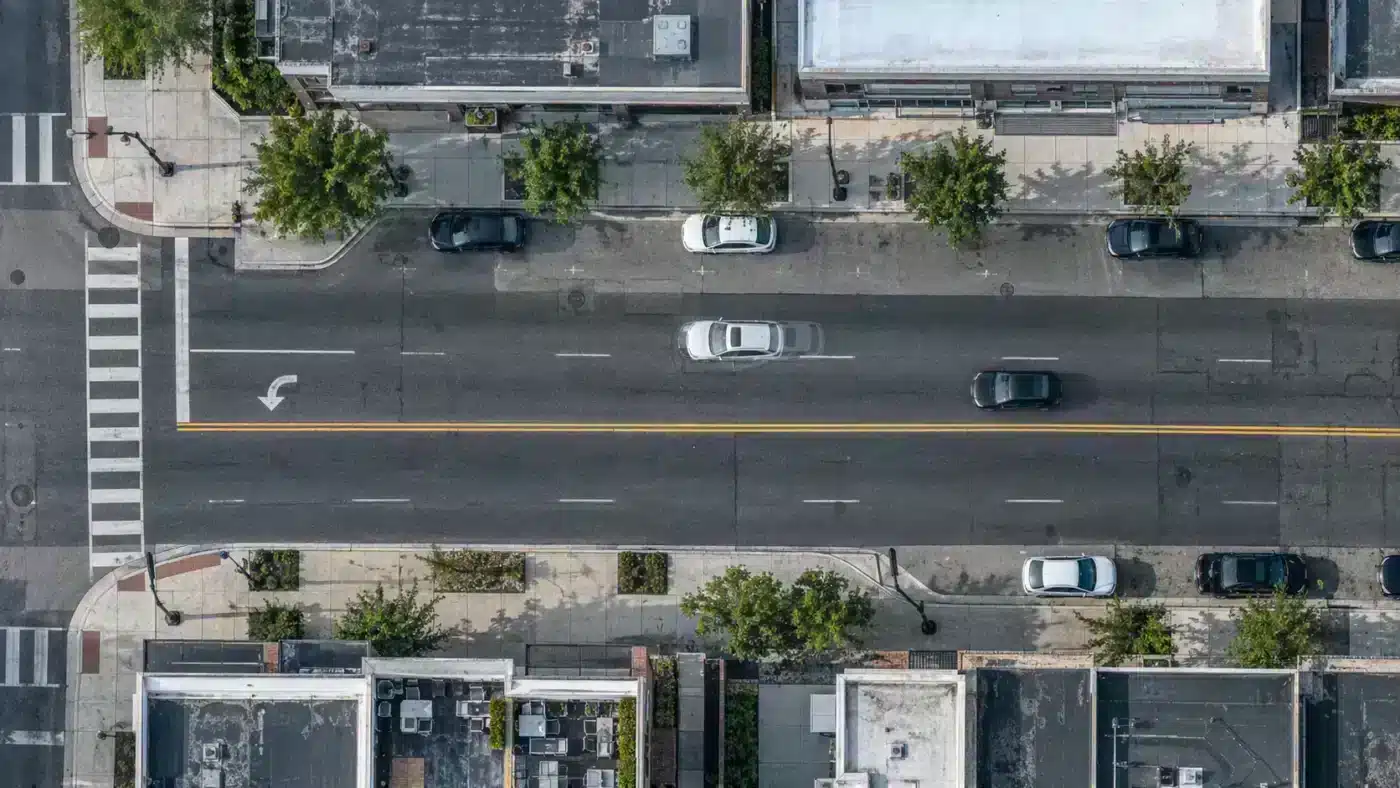
Cars appear twice, roof edges split and an otherwise clean road suddenly changes color: these are common reasons to inspect the seamlines of an Agisoft Metashape orthomosaic. Editing the mosaic can improve what the map shows, but a visual patch should never be mistaken for a correction to its underlying geometry.
Diagnose the artifact before editing
An orthomosaic projects source photographs onto a surface. If the surface is wrong, a building or road edge may be displaced in every contributing image. If geometry is sound but a moving vehicle or transient shadow appears in one frame, choosing a different source image may solve the visual problem. If every source shows the same obstruction, image reassignment cannot reveal what was never photographed.
| Symptom | First check | Likely next action |
|---|---|---|
| Car or pedestrian repeated at a seam | Compare overlapping source photos | Assign a clear source image, if one exists |
| Building edge displaced in every image | Inspect elevation surface and alignment | Correct geometry or source surface first |
| Different brightness across a boundary | Inspect exposure and contributing images | Choose a better image and review blending |
| Object present in every source photo | Confirm there is no clean view | Consider Fill only for an appropriate visual deliverable |
Assign a better image to the affected area
- Preserve the unedited project or a deliverable copy for traceability.
- Open the orthomosaic in Ortho view and show seamlines. Zoom to the defect and inspect candidate source images.
- Draw a polygon around the affected region. From its context menu choose Edit Orthomosaic > Assign Images, then select a suitable photograph or the relevant multiple-image option.
- Preview the result, keep the patch tight and avoid moving the seam across another critical feature.
- Run Update Orthomosaic to apply the edit; then inspect the corrected area and its surroundings at the delivery zoom level.
Agisoft documents the full procedure in its orthomosaic seamline editing tutorial. For numerous small patches, the Draw Patch tool can automatically assign a best-fit source image, but the chosen result still needs visual review. The choice depends on the first vertex drawn, so placement matters.
Use Fill with an explicit delivery rule
Newer versions of Metashape also offer Edit Orthomosaic > Fill for areas where an object occurs in every photograph or there is a hole. Fill can be useful for a presentation image. It does not recover an observed surface or create evidentiary pixels. Do not use a filled patch to measure a crack, classify a structure, document a safety issue or assert what lay beneath an obstruction. Agisoft notes that Fill changes are applied on updating the orthomosaic and cannot be canceled after that update; work on a copy and keep the unfilled output.
Keep geometry and visual edits separate in your QA
Record the polygon location, reason for the edit, selected source image and versions of the original and edited mosaics. Compare the patch against check points and stable edges if the orthomosaic will be used for measurement. A seam edit can hide a visible mismatch without changing surface accuracy, control residuals or the elevation model. See our guides to true orthophotos and building lean and GIS-ready orthophoto exports for those separate concerns.
A useful review sequence for a difficult patch
Start with the unedited mosaic and write down the visible defect. Then inspect overlapping source frames at original resolution. Identify one that shows the target surface without a vehicle, shadow or occlusion. Examine its viewing angle and image sharpness: the clearest photo is not always the one with the least perspective distortion. Draw the smallest polygon that fixes the problem while keeping its boundary on visually quiet, stable ground. Apply the update and compare both inside and outside the polygon.
When several patches occur on one site, work from major geometry issues toward cosmetic issues. Rebuild an unsuitable surface or improve image alignment first; otherwise a later geometry change can invalidate carefully drawn visual edits. Keep a list of patched regions with a short reason such as “vehicle present in image 0342, assigned unobstructed image 0344.”
Different rules for different products
An orthomosaic for a public project overview may reasonably use visual cleanup, with disclosure if important. An orthomosaic supporting legal evidence, defect measurement, vegetation classification or a time-series change analysis calls for stricter handling. In those cases preserve the original source, avoid generative filling of the measured area and make any image reassignment traceable. The decision belongs in the project’s delivery specification, not in an automatic “looks better” rule.
Three checks after Update Orthomosaic
- Center of the patch: the transient object or double edge should be gone, and the replacement frame should show the real surface sharply.
- Boundary of the patch: color, scale and the position of hard features should join the surrounding mosaic without a new kink or abrupt seam.
- External GIS export: inspect the saved raster, not only the Metashape preview. Verify that georeferencing and pixel size remain those expected for the deliverable.
For a large correction, a single giant polygon can hide problems in its interior. Several deliberately placed patches may make it easier to choose an appropriate source for each surface. Keep the original orthomosaic export and give the edited one a new, explicit filename. That small naming choice prevents a colleague from using a cosmetically filled raster as though it were the untouched survey product.
Frequently asked questions
Will editing a seamline improve the point cloud?
No. The operation changes the image selection used in the orthomosaic. Correct the alignment or reconstruction surface independently if they are wrong.
Can I remove every moving vehicle?
Only when an unobstructed source image exists, or by using a visual fill whose limitations are clearly accepted. A seamline cannot reconstruct hidden evidence.
Technical basis: Agisoft’s current seamline and Fill instructions.