

 Italiano
 Français
 Deutsch
 Español
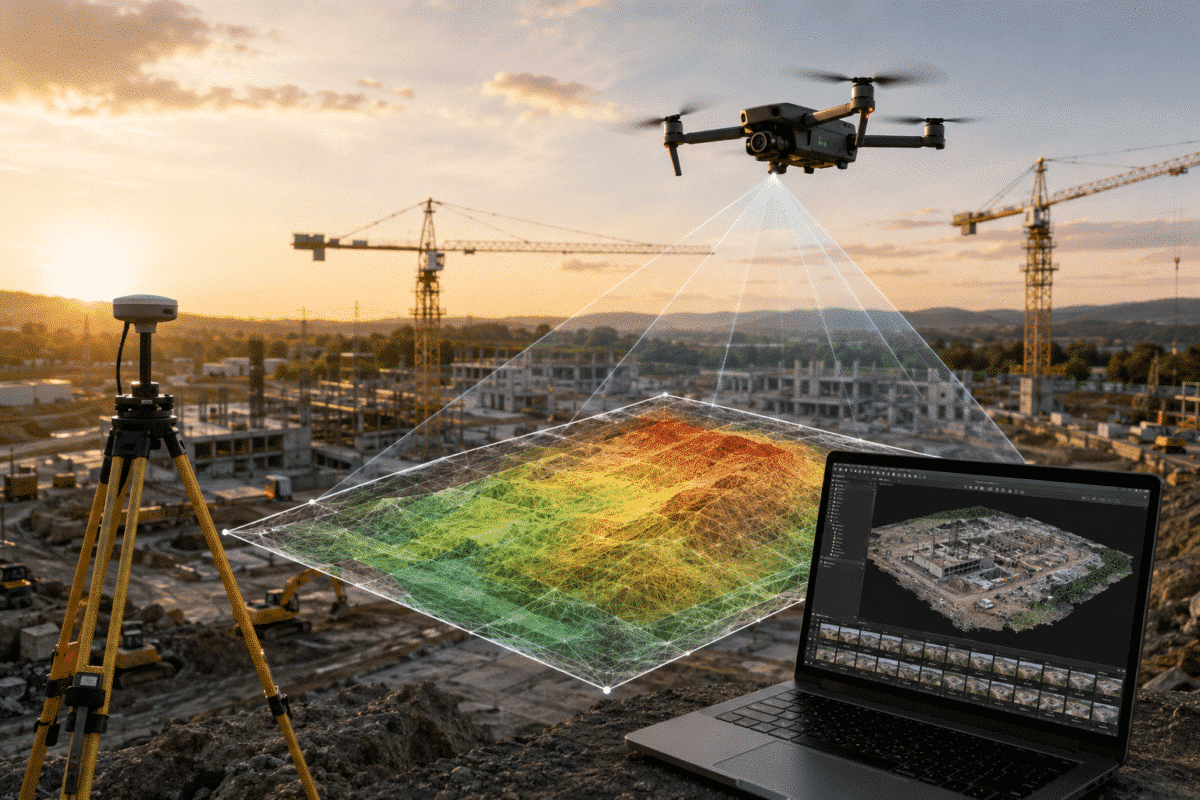
Creating an accurate Digital Terrain Model (DTM) in Agisoft Metashape is an essential workflow for drone surveying, construction, mining, earthworks, forestry and topographic mapping.
Unlike a Digital Surface Model (DSM), which represents the visible surface including buildings, trees and other objects, a DTM is designed to represent the underlying bare-earth terrain.
For this reason, creating a DTM requires an additional step: the point cloud must first be classified so that ground points can be separated from vegetation, buildings, vehicles and other above-ground objects.
In this guide, we explain how to create a DTM in Agisoft Metashape Professional, how ground point classification works, which parameters matter most and how to export the final terrain model for use in GIS or CAD software.
What Is a DTM?
A Digital Terrain Model is a digital representation of the elevation of the ground surface without objects such as buildings, trees, vehicles or other structures.
This makes a DTM particularly useful for:
- Topographic surveys
- Construction and earthworks
- Cut and fill calculations
- Drainage and hydrological analysis
- Road and infrastructure design
- Mining and quarry surveys
- Contour generation
- Terrain profiles
- Flood modeling
Agisoft Metashape Professional includes tools for point cloud classification and DSM/DTM generation, allowing the same drone dataset to be used to create both surface and bare-earth elevation models.
DSM vs DTM in Agisoft Metashape
The difference between a DSM and a DTM is important.
A DSM (Digital Surface Model) represents the highest visible surface reconstructed from the images. Buildings, trees, machinery and other objects therefore remain part of the elevation model.
A DTM (Digital Terrain Model), on the other hand, attempts to represent the actual terrain underneath these objects.
This means that simply building a DEM from all reconstructed points normally produces a surface model rather than a true bare-earth terrain model.
To create a DTM, Metashape must first identify which points belong to the ground.
Step 1: Align the Photos
Start by importing the aerial images into your Metashape Professional project and performing the normal photogrammetric alignment workflow.
Select:
Workflow > Align Photos
Before continuing, verify that the cameras have aligned correctly and that the project is properly georeferenced.
For professional surveying projects, RTK or PPK camera coordinates, Ground Control Points and independent checkpoints can all be used to improve or verify the absolute accuracy of the project.
Any major georeferencing problem should be resolved before generating the terrain model.
Step 2: Build the Point Cloud
After alignment and camera optimization, create the point cloud by selecting:
Workflow > Build Point Cloud
The point cloud contains the reconstructed three-dimensional points that will be used for classification.
At this stage, the cloud usually contains everything visible in the survey area, including:
- Ground
- Buildings
- Trees and vegetation
- Vehicles
- Roads
- Construction equipment
- Other above-ground objects
The next step is to separate the terrain from these features.
Step 3: Classify Ground Points in Metashape
Open:
Tools > Point Cloud > Classify Ground Points
Metashape automatically analyzes the geometry of the point cloud and attempts to identify points belonging to the terrain.
The classification process begins by dividing the point cloud into cells and identifying low points that can be used to create an initial approximation of the terrain. Additional points are then evaluated according to their distance and angle relative to this provisional terrain surface.
The quality of the result depends heavily on the classification parameters.
Understanding Ground Classification Settings
Max Angle
Max Angle controls the maximum angle allowed when Metashape evaluates whether a point can belong to the ground surface.
For relatively flat terrain, a value around 15 degrees can be a useful starting point. Projects containing steep hills or slopes may require a higher value.
If the value is too high, objects close to the ground may incorrectly enter the Ground class. If it is too restrictive, genuine terrain points on steep slopes may remain unclassified.
Max Distance
Max Distance controls how far a candidate point can be from the estimated terrain surface while still being classified as ground.
A smaller value creates stricter classification and can help prevent low vegetation, rocks and other small objects from becoming part of the DTM.
However, an excessively small value can also remove valid terrain variations.
Max Terrain Slope
Max Terrain Slope helps Metashape determine the expected slope of the terrain.
Flat areas can generally use lower values, while mountainous projects require higher values to ensure that steep terrain and mountain peaks are not incorrectly rejected.
For relatively flat terrain, lower values may be appropriate, while steep or mountainous areas can require substantially higher settings.
Cell Size
Cell Size is one of the most important parameters in ground classification.
Metashape divides the point cloud into cells and initially searches for the lowest point inside each cell.
The appropriate value therefore depends on the size of the largest areas that may contain no visible ground.
For example, a project containing large buildings or dense forest generally requires a larger cell size than a completely open field.
Erosion Radius
Erosion Radius creates an additional exclusion area around non-ground objects.
This can be useful around buildings and trees because it helps prevent residual edges or small artifacts from remaining in the Ground class and subsequently appearing in the DTM.
Setting the value to zero disables this additional erosion.
There Is No Universal Best Ground Classification Setting
One of the most important points when creating an Agisoft Metashape DTM is that there is no single set of classification settings that works perfectly for every project.
An open agricultural field, dense forest, urban area and steep quarry have completely different terrain characteristics.
The correct approach is therefore to run the classification, visually inspect the results and adjust the parameters when necessary.
If rocks, bushes or other above-ground objects are incorrectly classified as terrain, reducing Max Angle or Max Distance can help produce a stricter Ground class.
If you want to run the classification again, reset the relevant existing classification first using:
Tools > Point Cloud > Reset Classification
Step 4: Inspect and Manually Correct the Ground Class
Automatic classification can significantly accelerate the workflow, but it should not always be accepted without inspection.
Switch the Model view to display Point Cloud Classes and carefully inspect areas around:
- Buildings
- Dense vegetation
- Walls
- Road embankments
- Excavations
- Stockpiles
- Large rocks
- Steep slopes
Incorrectly classified points can be manually selected and assigned to the appropriate class using:
Tools > Point Cloud > Assign Class
This manual cleanup can be particularly important when the DTM will be used for engineering measurements or volume calculations.
Step 5: Build the DTM
Once the ground classification is satisfactory, select:
Workflow > Build DEM
In the Build DEM dialog, select the point cloud as the source data and choose the appropriate point classes.
For a bare-earth DTM, select the Ground class. The Road class can also be included where appropriate.
Do not include buildings, high vegetation, vehicles or other unwanted classes if your objective is a true terrain model.
Metashape will then interpolate the selected terrain points and create the elevation model.
Step 6: Inspect the DTM
After processing, open the resulting elevation model in the Ortho view.
Look for obvious anomalies such as:
- Building footprints remaining in the terrain
- Vegetation spikes
- Unexpected holes
- Artificial depressions
- Over-smoothed terrain
- Incorrect slopes
If major problems are visible, return to the point cloud classification and correct the affected areas before rebuilding the DTM.
Step 7: Export the DTM
The completed terrain model can be exported using:
File > Export > Export DEM
GeoTIFF is one of the most useful formats for geospatial applications because it preserves geographic reference information and can be imported directly into software such as QGIS and ArcGIS.
Metashape also supports additional DEM export formats when required by specific CAD, GIS or engineering workflows.
What Can You Do with a Metashape DTM?
Once the DTM has been generated, it becomes the basis for many professional geospatial products.
Metashape Professional can use elevation models for measurements including coordinates, profiles, areas and volumes. DTM data can also be exported for further analysis in external GIS and engineering applications.
Typical applications include contour generation, drainage analysis, terrain profiles, cut-and-fill calculations and monitoring changes in terrain over time.
Common DTM Errors in Agisoft Metashape
Most DTM problems are not caused by the DEM generation process itself, but by incorrect point classification.
Typical issues include vegetation being classified as ground, building edges remaining inside the terrain class, steep slopes being removed or excessive interpolation across areas where no true ground points are visible.
For this reason, always inspect the classified point cloud before generating the final terrain model.
In dense vegetation, remember that photogrammetry can reconstruct only surfaces visible in the photographs. If the camera cannot see the ground below dense tree cover, the software cannot directly reconstruct terrain that was never visible in the original imagery.
DTM Accuracy and Ground Control Points
The accuracy of a DTM depends on more than ground classification.
Image quality, flight altitude, Ground Sampling Distance, image overlap, camera calibration and georeferencing accuracy all influence the final result.
For survey-grade projects, RTK or PPK camera positions can significantly improve georeferencing, while Ground Control Points and independent checkpoints can be used to verify the absolute accuracy of the model.
A perfectly classified point cloud cannot compensate for a project that was incorrectly georeferenced.
Final Recommendations
Creating an accurate DTM in Agisoft Metashape requires more than simply generating a DEM.
The key step is correct point cloud classification.
For the best results:
- Start with a correctly aligned and georeferenced project.
- Build a high-quality point cloud.
- Use automatic Ground Point Classification as the starting point.
- Adjust classification parameters according to the terrain.
- Inspect the Ground class visually.
- Manually correct important classification errors.
- Build the DEM using only the required terrain classes.
- Check the final DTM before performing measurements or exporting the data.
With a carefully classified point cloud, Agisoft Metashape Professional can generate accurate terrain models suitable for surveying, engineering, construction, mining and many other professional mapping applications.
Frequently Asked Questions
Can Agisoft Metashape create a DTM?
Yes. Metashape Professional supports point cloud classification and the generation of both Digital Surface Models and Digital Terrain Models.
What is the difference between a DSM and a DTM?
A DSM includes visible objects such as buildings and vegetation, while a DTM is designed to represent the underlying bare-earth terrain.
Do I need to classify the point cloud before creating a DTM?
Yes. To create a proper bare-earth DTM, the ground points should first be separated from buildings, vegetation and other objects and then used as the source for DEM generation.
What is the best Max Angle for Metashape ground classification?
There is no universal value. For relatively flat terrain, approximately 15 degrees can be a useful starting point, while steeper terrain may require a higher value.
Can I export a Metashape DTM to QGIS or ArcGIS?
Yes. A DTM can be exported as a georeferenced GeoTIFF and opened in common GIS applications such as QGIS or ArcGIS.