Agisoft Metashape is one of the leading photogrammetry software tools used worldwide for creating highly detailed 3D models from photographs. One of its most powerful yet often underutilized features is the ability to create masks from background photos. This feature can dramatically improve the quality of your models, reduce processing time, and simplify your workflow — especially in controlled studio environments or object scanning projects.
In this guide, we’ll explore everything you need to know about using background photos to create masks in Agisoft Metashape. From understanding what background masking is and why it matters, to step-by-step instructions and best practices, this article will help you master this essential technique for professional photogrammetry projects.
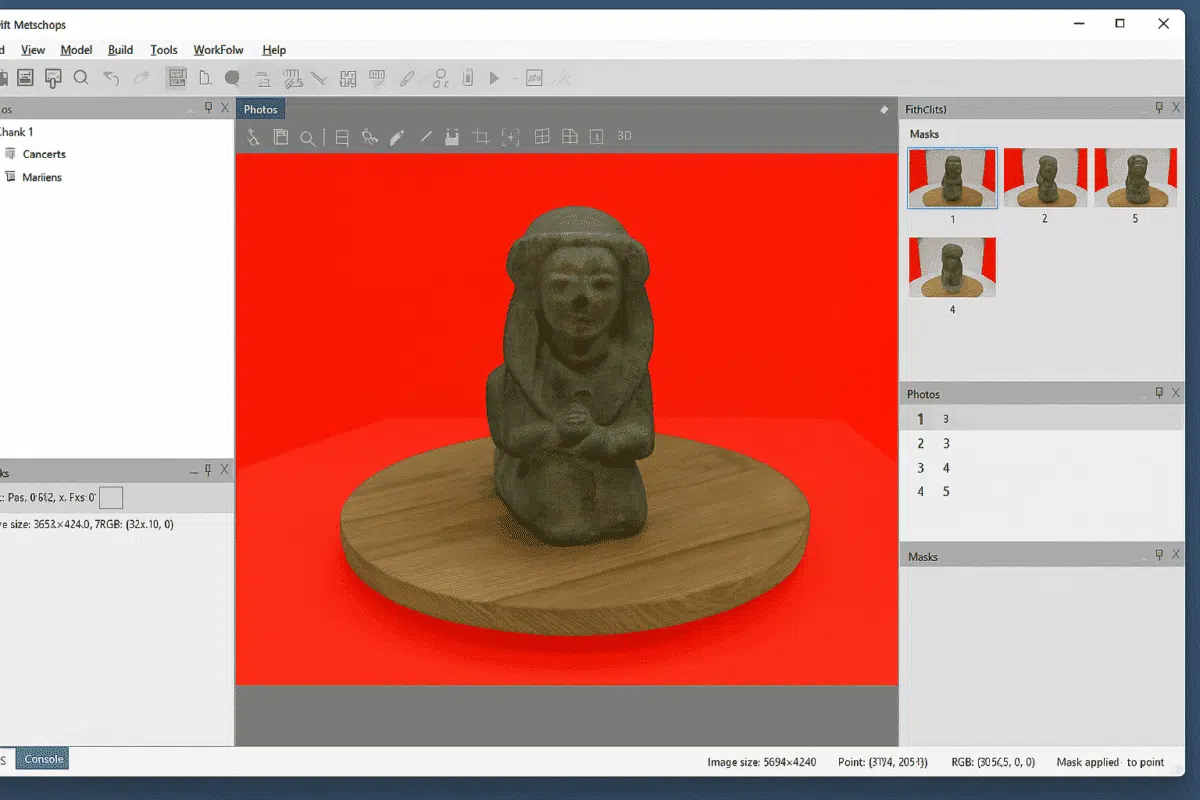
What Are Masks from Background Photos in Metashape?
In Agisoft Metashape, a mask is a defined region of an image that is either included or excluded from processing. Masks are essential in photogrammetry because they allow you to remove irrelevant parts of the image — such as backgrounds, moving objects, or reflections — that could otherwise confuse the software and reduce model accuracy.
One of the most efficient ways to create these masks is by using a background reference photo. The idea is simple: if you capture a photo of your scene without the main object (just the background), Metashape can automatically compare this reference image with your dataset and identify which pixels belong to the background. It then generates masks that exclude those areas from further processing.
This method is particularly effective when:
- You are scanning an object on a turntable against a fixed background.
- You have a controlled studio setup with consistent lighting and camera position.
- You want to quickly mask large numbers of images without manual selection.
By using background photos, you eliminate the need for time-consuming manual masking, reduce human error, and ensure greater consistency across your image set.
Why Use Background Masking in Your Photogrammetry Workflow?
Masking from background images is not just a convenience — it can significantly improve the overall quality and efficiency of your 3D reconstruction. Here are the main reasons why you should integrate it into your workflow:
1. Improved Model Accuracy
Unwanted background features like walls, tripods, or cables can confuse the feature-matching algorithms during photo alignment. By excluding these irrelevant pixels, Metashape can focus solely on the object of interest, resulting in more precise camera alignment and a cleaner 3D reconstruction.
2. Faster Processing Times
Processing masked images requires less computational effort because fewer pixels are analyzed during depth map generation and dense cloud creation. This can significantly speed up your workflow, especially in large projects with hundreds of images.
3. Cleaner Dense Clouds and Meshes
Masks help avoid artifacts in the dense point cloud and mesh by excluding background points that could distort the final model. The result is a more accurate geometry and higher-quality texturing.
4. Automated and Scalable Workflow
For projects involving many images — such as digitizing museum collections or industrial components — background masking offers an automated, scalable approach. Once the background photo is captured, Metashape can generate masks for dozens or even hundreds of images in one go.
How to Create Masks from Background Photos: Step-by-Step Guide
Creating masks from background photos in Agisoft Metashape is a straightforward process. Follow these steps to ensure optimal results:
Step 1: Capture a Clean Background Photo
Before you photograph your object, take a picture of the scene with the object removed. This image should capture the same lighting, camera position, and exposure as the rest of your dataset. It will serve as the reference background for generating masks.
Tips:
- Use a tripod to keep the camera position fixed.
- Ensure lighting conditions are stable and do not change between shots.
- Keep the background uncluttered and uniform for best results.
Step 2: Import Your Photos into Metashape
Open Metashape and create a new project. Add your photo set as usual by going to Workflow → Add Photos. Make sure the background image is also included in the chunk but not aligned as part of the normal reconstruction process.
Step 3: Use the Background Photo to Generate Masks
Once your images are imported, you can use the background image to create masks. To do this:
- Select the photos you want to mask in the Workspace pane.
- Go to Tools → Import Masks → From Background.
- Choose the background image file as the reference.
- Adjust the sensitivity or tolerance if needed to fine-tune the mask generation.
Metashape will automatically compare each photo with the background reference and generate a mask for the areas that match the background. These areas will be excluded from further processing.
Step 4: Review and Refine Masks (Optional)
While the automatic process is highly effective, it’s always a good idea to review the generated masks. You can manually edit them using the polygon, lasso, or magic wand tools to refine areas that may not have been perfectly identified.
Step 5: Proceed with Your Workflow
Once your masks are applied, continue with the standard Metashape workflow: align photos, build depth maps, generate the dense cloud, create the mesh, and build the texture. Because irrelevant background data is now excluded, each step should produce cleaner and more accurate results.
Best Practices for Effective Background Masking
To get the most out of the background masking feature in Metashape, keep these best practices in mind:
- Use consistent camera settings: Keep focal length, focus, and exposure identical for background and object shots.
- Avoid background changes: Even small shifts in lighting or objects can reduce mask accuracy.
- Use a plain background: The more uniform the background, the easier it is for Metashape to detect and exclude it.
- Capture background images for each camera position: If your camera moves, you’ll need a background image for each angle.
- Combine with manual refinement: Automatic masking is powerful but not infallible. Use manual tools to fine-tune results if necessary.
Advanced Tip: Automating Mask Creation with Python
If you work with large datasets or repetitive tasks, you can automate the process of generating masks from background images using the Metashape Python API. This allows you to script the import and application of background masks across hundreds of images, saving significant time and reducing human error.
For example, you can write a Python script that:
- Automatically imports background photos for each camera position.
- Generates masks with pre-defined tolerance settings.
- Applies masks across all photos in a chunk.
This is especially useful in industrial workflows, automated scanning setups, or large-scale digitization projects where consistency and speed are critical.
Conclusion: Streamline Your Workflow with Background Masking
Creating masks from background photos in Agisoft Metashape is a powerful yet simple technique that can transform your photogrammetry workflow. By automatically isolating the object of interest and excluding irrelevant areas, background masking enhances alignment precision, speeds up processing, and improves the quality of your final 3D models.
Whether you’re digitizing artifacts, scanning industrial parts, or creating 3D assets for virtual production, mastering this feature will save you time and deliver cleaner, more professional results. As photogrammetry continues to evolve, background masking remains one of the most valuable tools in the Metashape toolkit — and one every user should know how to use.