When working with Agisoft Metashape, one of the most important settings you will encounter during the photo alignment stage is the Key Point Limit. Many new users ask: What is the key point limit, and how does it affect my project? Understanding this parameter is essential for balancing processing speed, accuracy, and memory usage in your photogrammetry workflow. In this article, we explain in detail what the key point limit is, how it works, and the best practices for setting it in Agisoft Metashape.
Understanding Key Points in Agisoft Metashape
Before we talk about the Key Point Limit, it is important to understand what key points are. Key points are distinctive features automatically detected in your photos during the alignment process. These features can include edges, corners, or textures that are easily identifiable across multiple overlapping images.
Metashape uses these key points to match photos with one another, allowing the software to build a 3D structure. The quality of your 3D reconstruction depends heavily on how many key points are identified and how accurately they are matched.
- More key points – May increase accuracy but also require more processing time and memory.
- Fewer key points – Speeds up processing but might reduce precision in photo alignment.
This is where the Key Point Limit setting comes into play—it defines the maximum number of key points detected per image.
What Is the Key Point Limit in Metashape?
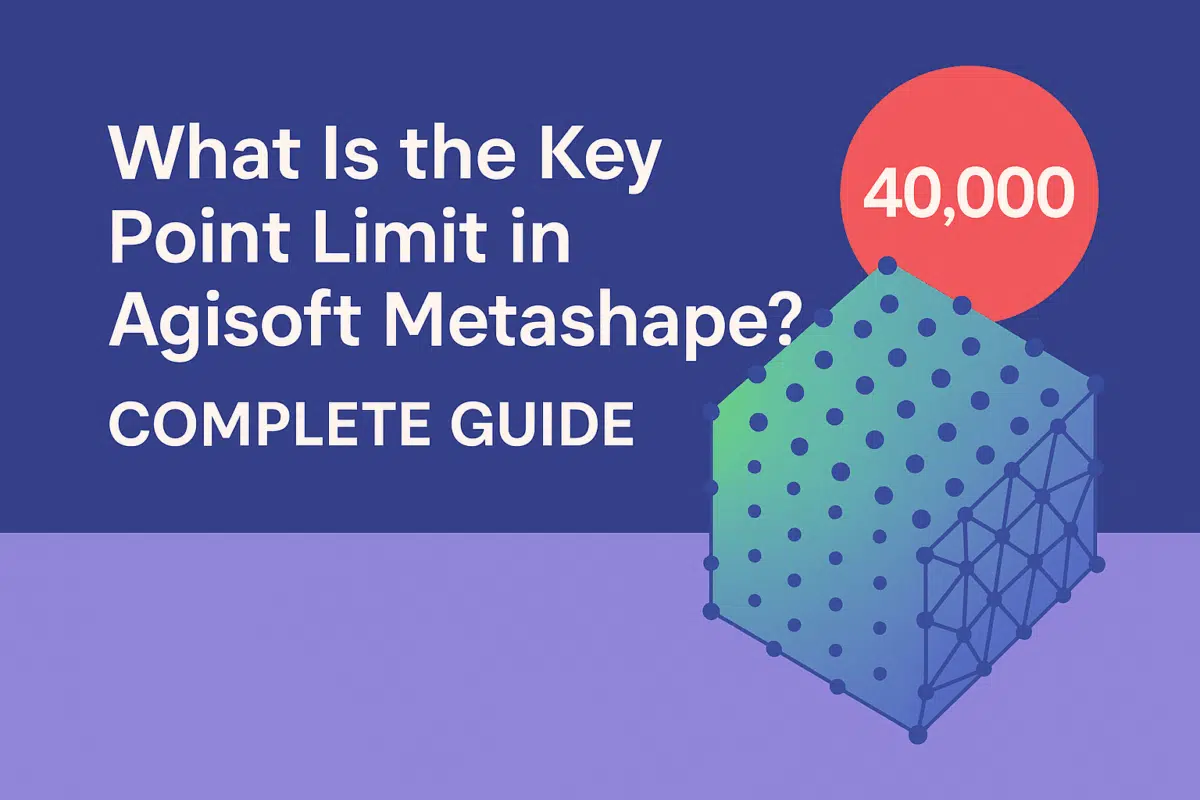
The Key Point Limit is a parameter that controls how many key points Metashape will attempt to detect in each image during photo alignment. The default value is often set to 40,000, but you can increase or decrease this depending on your project needs.
For example:
- Default (40,000 key points) – A balanced setting suitable for most projects, providing good accuracy with reasonable processing time.
- Higher values (e.g., 60,000 – 120,000) – Useful for projects with very complex textures or when maximum accuracy is required, but expect longer processing times.
- Lower values (e.g., 10,000 – 20,000) – Useful for quick tests, smaller datasets, or when working on less powerful hardware.
It’s important to note that setting the key point limit too low may prevent images from aligning correctly, while setting it too high may significantly increase computation time without substantial improvement.
Key Point Limit vs Tie Point Limit
Many users confuse Key Point Limit with Tie Point Limit. While they are related, they are not the same:
- Key Point Limit – Defines how many potential features Metashape detects per photo.
- Tie Point Limit – Defines how many of these points are actually used during alignment after matching across multiple photos.
In simple terms, the key point limit controls detection, while the tie point limit controls matching. Both parameters work together to influence project accuracy and efficiency.
How to Adjust the Key Point Limit in Metashape
Changing the key point limit in Agisoft Metashape is straightforward. Here’s how:
- Open your project and go to the Workflow menu.
- Select Align Photos.
- In the Align Photos dialog box, find the Key Point Limit field.
- Enter the desired number (e.g., 40,000, 80,000, or custom value).
- Click OK to start the alignment process with your chosen setting.
If you are experimenting, start with the default (40,000) and adjust based on project complexity and hardware performance.
Best Practices for Choosing a Key Point Limit
To optimize your workflow, here are some best practices when working with the key point limit:
- Stick to the default for most projects – 40,000 is a well-balanced value recommended by Agisoft for general use.
- Increase for complex datasets – Large projects with high-detail textures (e.g., cultural heritage, rock formations) may benefit from 60,000–100,000 key points.
- Reduce for test runs – Use 10,000–20,000 when running quick previews or working on weaker hardware.
- Balance with tie point limit – Increasing the key point limit but leaving the tie point limit low won’t improve results much, so adjust both parameters consistently.
- Monitor processing time – Doubling the key point limit often means noticeably longer alignment times.
By following these tips, you can make informed decisions and avoid unnecessary processing overhead.
Common Mistakes to Avoid
New users often make mistakes when setting the key point limit. Some of the most common include:
- Setting it too low – May result in poor alignment or failure to align certain images.
- Maxing it out unnecessarily – A very high value doesn’t always guarantee better accuracy and may waste processing resources.
- Ignoring project type – A forest survey and a flat urban area require different approaches due to texture complexity.
- Not balancing with tie point limit – Adjusting one without the other can cause inefficiency.
Avoiding these errors ensures smoother workflows and higher-quality outputs.
Conclusion: Optimizing the Key Point Limit
The Key Point Limit in Agisoft Metashape is a critical setting that directly affects the alignment stage of photogrammetry projects. By controlling how many features are detected per photo, it balances accuracy and efficiency. While the default value of 40,000 works for most cases, advanced users can fine-tune this parameter based on project size, texture complexity, and hardware capability.
Final advice: Start with the default, experiment carefully, and adjust based on your specific workflow needs. By mastering the key point limit, you’ll ensure that your Metashape projects achieve both accuracy and efficiency.
Want to improve your Metashape skills? Explore other key parameters like tie point limits, accuracy settings, and chunk optimization to maximize the potential of your photogrammetry projects.