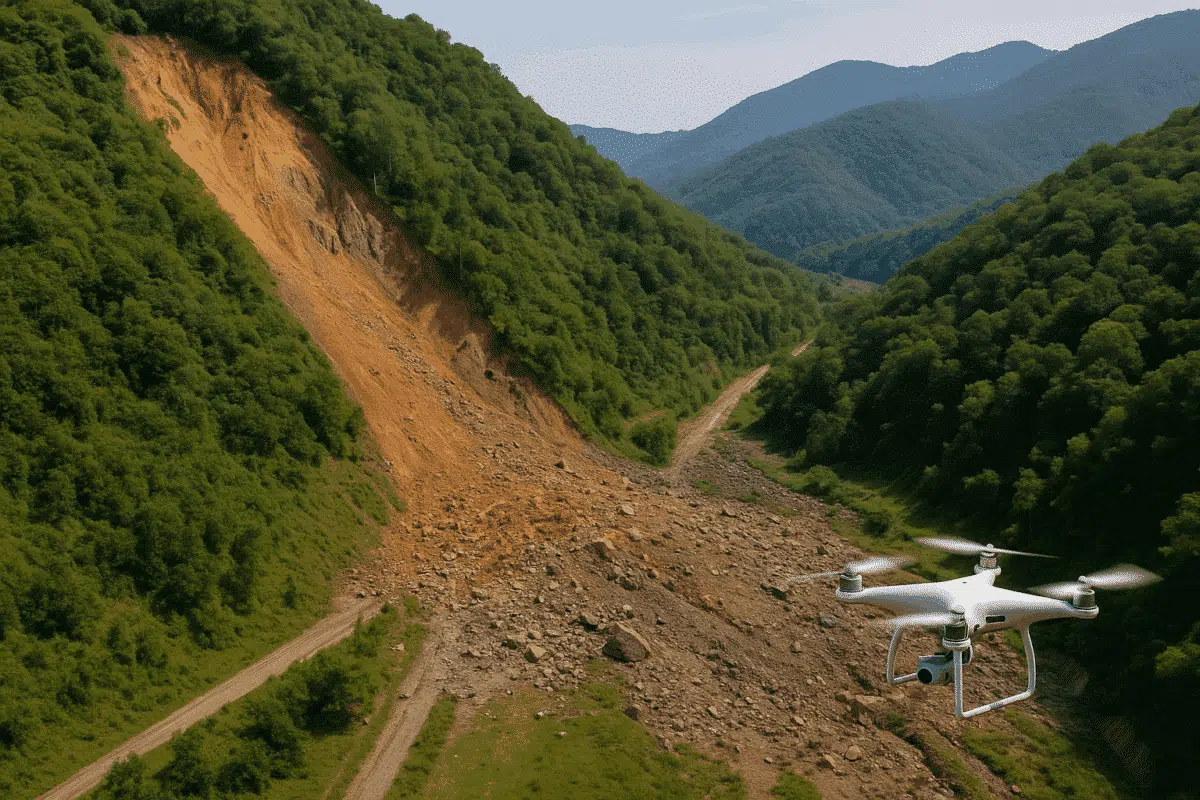
In the face of increasing climate risks, landslides and terrain collapses are becoming more frequent and dangerous. Rapid mapping and accurate terrain analysis are critical for effective response. Agisoft Metashape provides a powerful solution for landslide mapping, disaster assessment, and post-event documentation using drone or aerial imagery.
Why Use Photogrammetry for Landslide Mapping?
Photogrammetry enables fast and high-resolution modeling of disaster-affected areas. Unlike satellite imagery or manual surveys, it provides:
- Detailed 3D topography at centimeter-level accuracy
- Rapid response with low-altitude drone flights
- Orthomosaics and DSMs for change detection
- Tools to measure volume displacement and affected zones
Agisoft Metashape excels in processing large datasets to generate 3D models, orthophotos, DEMs, contour lines, and more—essential layers for decision-makers and scientists.
Step-by-Step Workflow for Landslide Mapping
1. Data Collection (Drone or Aerial Imagery)
Use UAVs or manned aircraft to capture high-resolution overlapping images. Ideal settings include:
- Front overlap: 80% / Side overlap: 70%
- Flying height: 60–120 meters AGL
- Use RTK/PPK drones if possible for better georeferencing
- Capture nadir and oblique images for better reconstruction of steep slopes
2. Photo Alignment
Load the images into Metashape and run the “Align Photos” process. This generates a sparse point cloud and estimated camera positions. Make sure to:
- Use “High” or “Medium” accuracy for alignment
- Enable “Adaptive Camera Model Fitting”
- Use GPS data for initial georeferencing
3. Generate Dense Point Cloud and Mesh
Build the dense point cloud using the “High” quality setting and moderate depth filtering. Then generate a mesh (optional) for terrain visualization.
4. Build DEM and Orthomosaic
The most critical step in disaster mapping:
- DEM (Digital Elevation Model): used for elevation changes, slope analysis, and landslide profiles
- Orthomosaic: visually represents the affected area with georeferenced photo stitching
Ensure your coordinate system is set correctly (e.g., UTM or WGS84 zone for your area).
5. Measure Volume Displacement
To estimate the volume of displaced material:
- Use Metashape’s volume measurement tool on the DEM
- Define the polygon over the landslide area
- Compare pre-event and post-event DEMs if available
Post-Processing and GIS Export
Metashape allows export to all major GIS formats:
- Orthomosaic: GeoTIFF
- DEM: GeoTIFF or XYZ
- Contours: DXF or SHP (vector lines)
- Point clouds: LAS, LAZ, or PLY
These outputs can be imported into QGIS, ArcGIS, or AutoCAD Civil 3D for further analysis and mapping.
Real-World Applications
- Government agencies: for hazard zoning and civil protection
- Geologists: to study slope failures and landform evolution
- NGOs and responders: for emergency planning and damage assessment
- Insurance firms: to verify and validate claims with geospatial evidence
Case Study Example
In 2024, researchers used Metashape to assess a landslide in Northern Italy. They captured 400 drone images post-event and produced a 2 cm/pixel orthomosaic and DSM. Volume displacement was calculated at 145,000 m³ using Metashape’s tools—used later by civil protection for barrier design.
Tips for Better Results
- Use RTK/PPK drones for high-precision input
- Combine with GCPs (Ground Control Points) if available
- Capture images under uniform lighting (cloudy days are best)
- Use oblique imaging to capture terrain sides
Conclusion
Agisoft Metashape is a versatile tool for landslide mapping and disaster analysis. It provides rapid and accurate 3D models, orthophotos, and elevation data from simple image inputs. Whether you’re a researcher, civil engineer, or emergency responder, integrating Metashape into your workflow can significantly improve response times and terrain understanding during natural disasters.