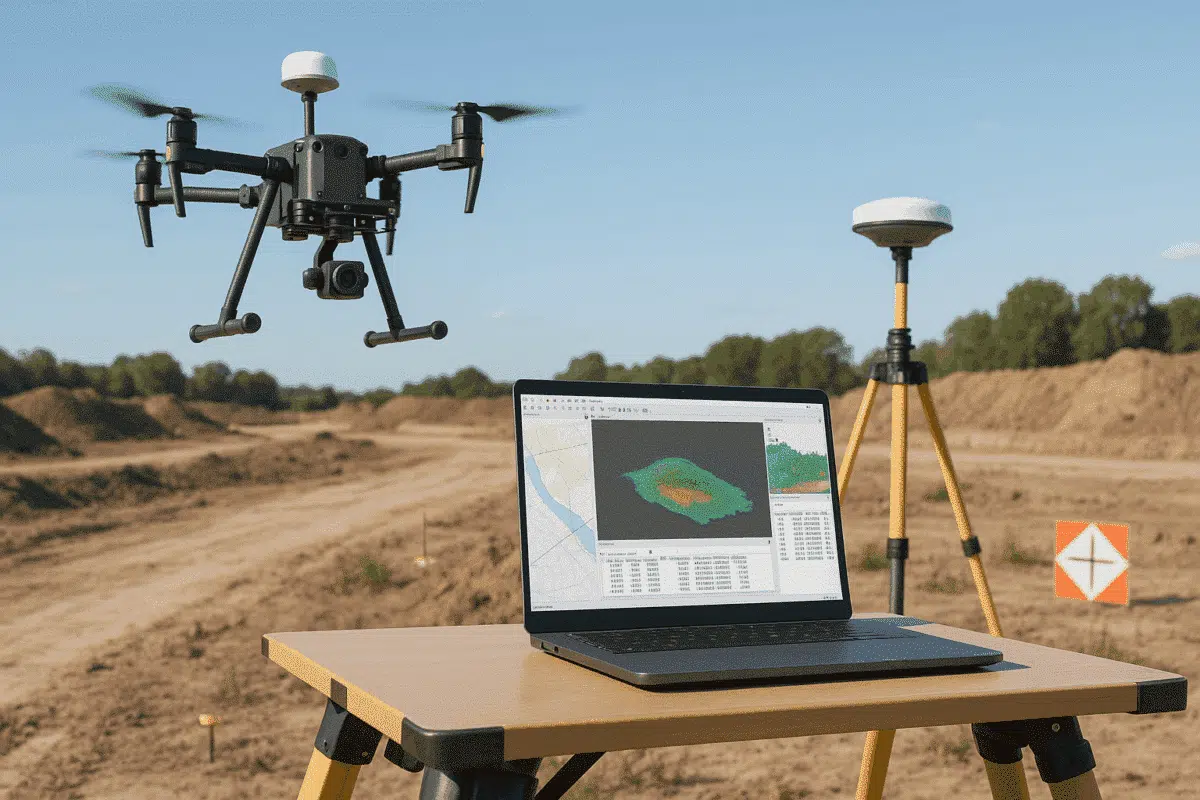
Agisoft Metashape has become the go-to software for professionals who want to transform drone imagery into accurate 3D models, orthomosaics, and geospatial datasets. When combined with drones equipped with Real-Time Kinematic (RTK) positioning systems — such as the DJI Phantom 4 RTK, Mavic 3 Enterprise, Matrice 350 RTK or DJI Matrice 400 — the results can achieve centimeter-level precision, reducing or even eliminating the need for ground control points (GCPs).
In this guide, we’ll walk through how to process DJI RTK coordinate data in Agisoft Metashape, from importing your flight data to exporting georeferenced outputs. By following these steps, you’ll ensure your 3D models and maps are both visually accurate and geospatially reliable.
Understanding RTK and Why It Matters
RTK (Real-Time Kinematic) is a satellite navigation correction technique used to improve the accuracy of GNSS (Global Navigation Satellite System) data. It provides real-time corrections to the drone’s GPS coordinates using a reference base station or a network service. Unlike standard GPS positioning, which can have errors of several meters, RTK improves positional accuracy to within a few centimeters.
When you use a DJI drone with RTK, each image captured during your mission includes precise coordinates (latitude, longitude, and altitude) embedded in its EXIF metadata. Agisoft Metashape can read these coordinates automatically, allowing for highly accurate photogrammetric alignment and scaling.
RTK technology is especially valuable for:
- Topographic mapping and surveying
- Infrastructure and construction monitoring
- Precision agriculture and forestry management
- Archaeological documentation
- Environmental and geospatial analysis
By properly handling RTK data in Metashape, you can streamline your workflow, minimize fieldwork, and maintain high spatial accuracy throughout your project.
Step-by-Step: Processing DJI RTK Data in Agisoft Metashape
Below is a step-by-step workflow to process DJI RTK imagery in Agisoft Metashape. The process applies to all DJI RTK-capable drones, including the Phantom 4 RTK, Mavic 3 Enterprise RTK, and Matrice 300/350 RTK.
Step 1: Organize Your Data
After completing your flight mission, export all photos and associated metadata from your DJI drone. You’ll typically find:
- A folder containing all captured images (in .JPG or .DNG format).
- An optional
.MRKfile or.txtfile containing coordinate information for each image. - A flight log or RTK correction file (if using the DJI D-RTK 2 base station).
Keep all these files organized in a dedicated project folder. This helps Metashape link each image to its RTK metadata during import.
Step 2: Import Images into Metashape
Open Agisoft Metashape and create a new project. Then go to Workflow > Add Photos and select all your RTK-tagged images. Metashape automatically reads the geolocation data from each image’s EXIF metadata.
To verify the coordinates, open the Reference pane in Metashape. You should see latitude, longitude, and altitude values listed for each photo. If the coordinates do not appear, check your image EXIF data using external software (e.g., ExifTool) to confirm that RTK data was recorded correctly.
For DJI RTK drones, these coordinates are typically in the WGS84 coordinate system (EPSG:4326).
Step 3: Check Coordinate Accuracy
Even though DJI RTK drones provide precise coordinates, it’s good practice to review accuracy parameters. In the Reference Settings window, make sure the coordinate system is set correctly and define your camera location accuracy:
- Horizontal accuracy: 0.02 m (2 cm)
- Vertical accuracy: 0.03 m (3 cm)
These values reflect typical RTK positional accuracy and help Metashape balance coordinate precision during alignment.
Step 4: Align Photos
Next, align the photos by going to Workflow > Align Photos. Since RTK coordinates are highly accurate, you can choose High or Medium quality settings for efficiency. Ensure the Adaptive camera model fitting option is enabled to optimize alignment accuracy.
Metashape uses the RTK data to estimate camera positions during alignment, significantly improving the georeferencing accuracy compared to standard GPS imagery.
Step 5: Optimize the Alignment
After alignment, check the residual errors in the Reference pane. The error values (in meters) show how closely your reconstructed positions match the RTK coordinates. For well-captured flights, horizontal errors below 0.03 m and vertical errors below 0.05 m are typical.
If you notice higher residuals, check for the following:
- Incorrect coordinate system or vertical datum settings
- Images captured without active RTK correction
- Large changes in altitude or camera angle between images
Step 6: Build Dense Cloud, DEM, and Orthomosaic
Once alignment is optimized, continue the workflow as usual:
- Build Dense Cloud – choose quality and filtering options based on project size and system capabilities.
- Build DEM – Metashape automatically interpolates elevation data from the dense cloud.
- Build Orthomosaic – generate a georeferenced, high-resolution map for analysis or export.
All resulting products (dense cloud, DEM, orthomosaic) will inherit the RTK precision embedded in your imagery, providing centimeter-level geospatial accuracy.
Step 7: Export Your Outputs
When exporting your results, use standard GIS-compatible formats:
- Orthomosaic: GeoTIFF (with coordinate reference metadata)
- DEM: GeoTIFF or ESRI ASCII Grid
- 3D model: OBJ, PLY, or LAS (for point cloud exports)
Be sure to define the correct coordinate reference system (CRS) during export. For DJI RTK datasets, this is typically WGS84 or a projected system like UTM (Universal Transverse Mercator) for regional mapping.
Common Issues When Using DJI RTK Data in Metashape
While DJI RTK workflows are designed for simplicity, a few common issues can arise:
- Missing or incorrect RTK metadata: Ensure the drone maintained an RTK fix during the flight. If RTK signal dropped, images may revert to standard GPS accuracy.
- Altitude discrepancies: DJI drones use ellipsoidal heights; if your project requires orthometric heights (relative to mean sea level), apply a geoid correction in Metashape.
- Mixed datasets: Avoid combining RTK and non-RTK images in the same chunk unless you plan to apply GCPs for correction.
Addressing these issues ensures your outputs remain consistent with expected accuracy standards.
RTK vs. PPK: Which Is Better for Metashape?
DJI’s RTK systems perform real-time corrections during flight, but some professionals prefer PPK (Post-Processed Kinematic) workflows for added control. PPK allows for GNSS corrections after the flight, making it more resilient to temporary RTK signal loss.
Fortunately, Metashape supports both methods equally. You can import PPK-corrected coordinates the same way as RTK coordinates — as long as they are correctly formatted and referenced.
Best Practices for Accurate DJI RTK Processing
- Always use a reliable RTK base station or network service.
- Fly missions with consistent altitude and overlap (80% front, 70% side).
- Verify RTK status before each flight (green RTK icon on DJI controller).
- Use consistent coordinate systems between your drone, base station, and Metashape.
- Perform quality checks on output data — especially DEM accuracy and orthomosaic alignment.
Conclusion: Achieving Survey-Grade Results with DJI RTK and Metashape
By combining DJI RTK drones with Agisoft Metashape, professionals can achieve survey-grade accuracy in record time. RTK data reduces or eliminates the need for ground control points, simplifies workflows, and enhances precision for mapping, inspection, and modeling applications.
Whether you’re processing data from a DJI Phantom 4 RTK or the latest Mavic 3 Enterprise RTK, following a structured workflow in Metashape ensures consistent, high-quality results. With centimeter-level precision and efficient processing, RTK photogrammetry is transforming how we capture and interpret the world in 3D.