High-quality textures are essential for 3D models intended for WebGL, VR, and real-time rendering. In Agisoft Metashape, optimizing texture quality involves a careful combination of capture strategy, mesh preparation, and export settings. This guide will show you how to get the most photorealistic textures from your photogrammetry workflows.
Why Texture Quality Matters in 3D Visualization
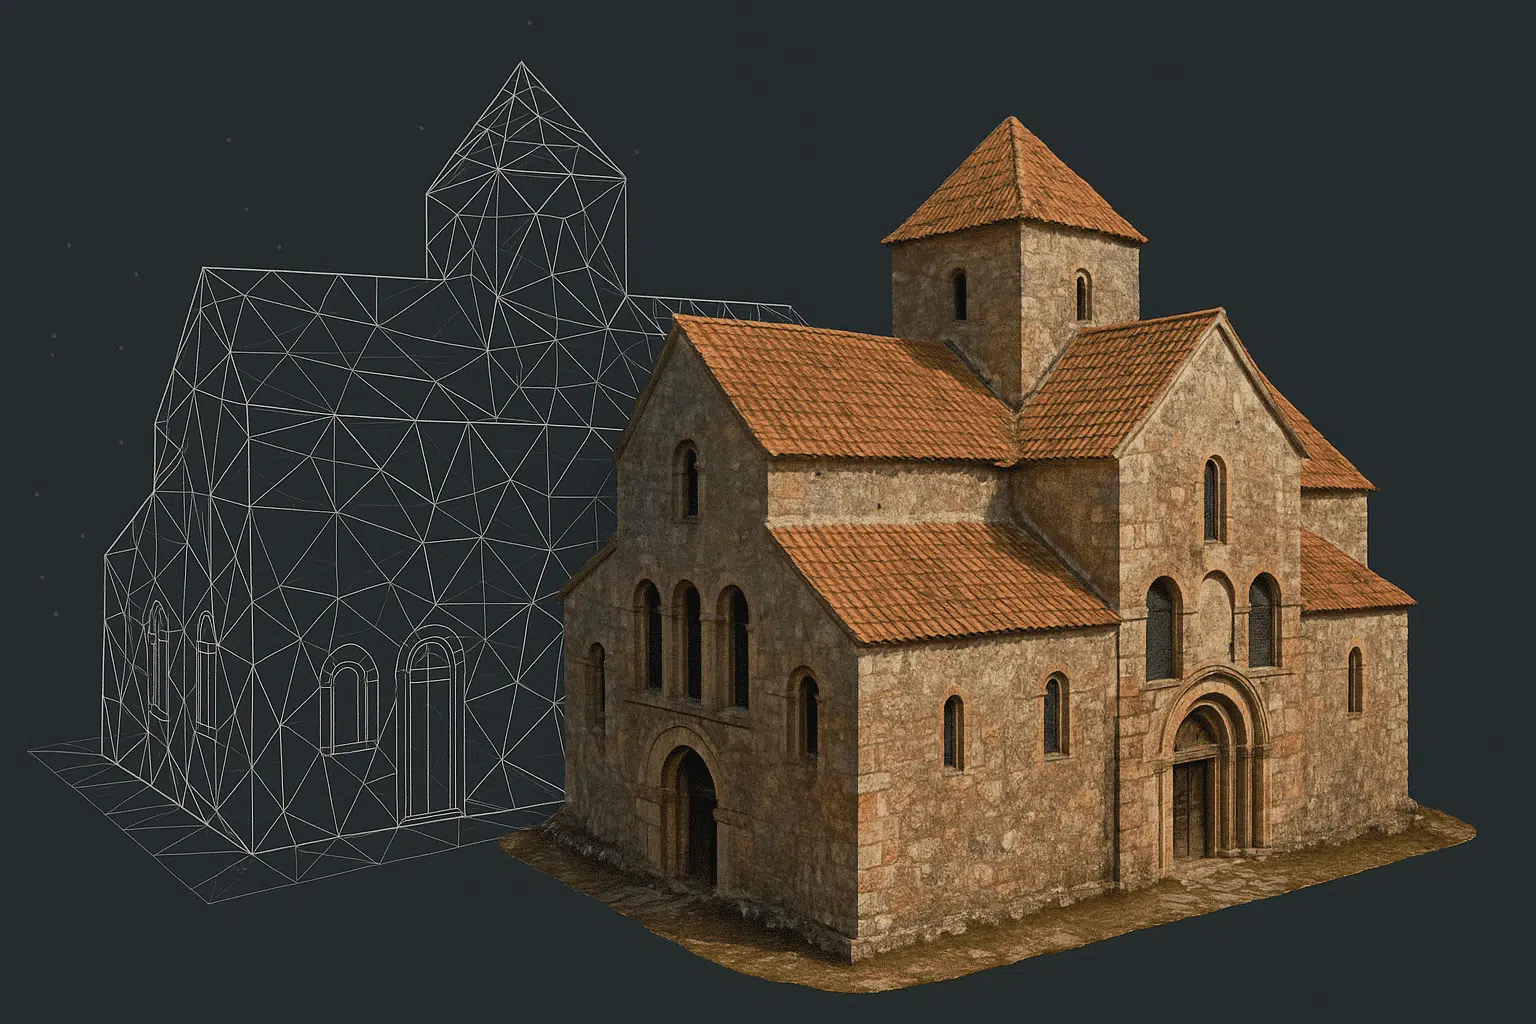
In web-based 3D viewers and virtual reality (VR), textures define realism. Even with a great mesh, low-resolution or poorly aligned textures will make your model look flat or blurry. Texture quality is critical when publishing models on platforms like Sketchfab, Cesium, Unreal Engine, or VR headsets.
Step 1: Capture Photos with Texture in Mind
- Use consistent lighting to avoid strong shadows or blown highlights
- Maximize overlap (80% forward, 70% side) to increase texture blending quality
- Use low ISO settings to avoid noise, especially for close-range captures
- Capture at the camera’s native resolution in RAW if possible
Step 2: Align Photos and Build High-Quality Mesh
Before building textures, it’s essential to generate a clean and detailed mesh:
- Dense Cloud Quality: Set to High (or Medium if RAM is limited)
- Depth Filtering: Moderate (prevents over-smoothing and holes)
- Mesh Source: Use depth maps for optimal geometry quality
- Surface Type: Arbitrary (3D) for general objects, Height field for terrains
Step 3: Use Masks to Eliminate Background Noise
To avoid including backgrounds (e.g., skies, cluttered scenes) in texture baking, apply masks in the photo pane. Metashape will then exclude those areas, improving texture consistency and eliminating blur.
Step 4: Build Texture with Optimal Settings
When building textures in Metashape, select:
- Mapping Mode: Generic for arbitrary objects, or Adaptive Orthophoto for flat terrain
- Blending Mode: Mosaic (best visual quality), or Average (if exposure varies a lot)
- Texture Size: Increase to 8192 × 8192 or higher. For Web/VR, consider up to 16384 × 16384 if supported
- Texture Count: 2–4 if one texture map is not enough. Especially useful for large objects
- Enable Hole Filling: Yes — prevents gaps from untextured zones
Tip: Use “Calculate Texture Size” to let Metashape estimate the resolution needed based on model scale and image quality.
Step 5: Exporting for WebGL, VR, or Game Engines
- Export Model Format: GLB, glTF, OBJ + MTL + PNG/JPG
- Enable UV Maps: Ensure your UVs are clean and non-overlapping
- Texture Format: Use PNG for lossless export, JPG for smaller size
- Reduce Mesh: For online use, decimate to 100k–500k faces using Metashape or MeshLab
For platforms like Cesium or Unreal Engine, export in formats such as 3D Tiles, FBX, or glTF with baked textures. In Unity, prefer glTF or FBX with proper material setup.
Step 6: Optional Enhancements Outside Metashape
- Use Blender to rebake, unwrap or clean UVs
- Use Substance Painter for texture rework or normal map generation
- Compress Textures for web delivery using tools like Draco, Meshopt, or glTFpack
Best Practices for Texture Optimization
- Avoid using too many low-quality photos—only use sharp, well-exposed images
- Disable “Auto Brightness” and “Auto Contrast” on the camera to maintain consistency
- Check UV maps for stretching or seams before publishing
- Always preview the final texture on the actual platform (browser, headset, engine)
Conclusion
With the right techniques, Agisoft Metashape can produce stunning, high-resolution textures suitable for Web3D, VR apps, gaming engines, and online portfolios. Careful capture, clean mesh geometry, and proper baking will ensure your models look sharp and realistic, even on lightweight platforms.