Agisoft Metashape is a powerful tool for photogrammetry, but its true value often emerges when exporting data to GIS platforms like QGIS and ArcGIS. Whether you’re working on land surveys, environmental analysis, or urban planning, exporting orthophotos and georeferenced maps properly ensures your data is usable in professional GIS workflows. In this article, we’ll walk you through the steps needed to export your results from Metashape and use them in QGIS and ArcGIS.
Step 1: Generate the Orthophoto in Metashape
Before exporting, you must generate an orthophoto. Follow these steps:
- Complete photo alignment and dense cloud generation
- Build the mesh (optional, for high detail)
- Build the texture or DEM as needed
- Go to Workflow > Build Orthomosaic
- Set the desired projection (e.g., WGS84, UTM)
- Resolution (e.g., 5 cm/pixel or 0.05)
- Surface type: use mesh or DEM depending on use case
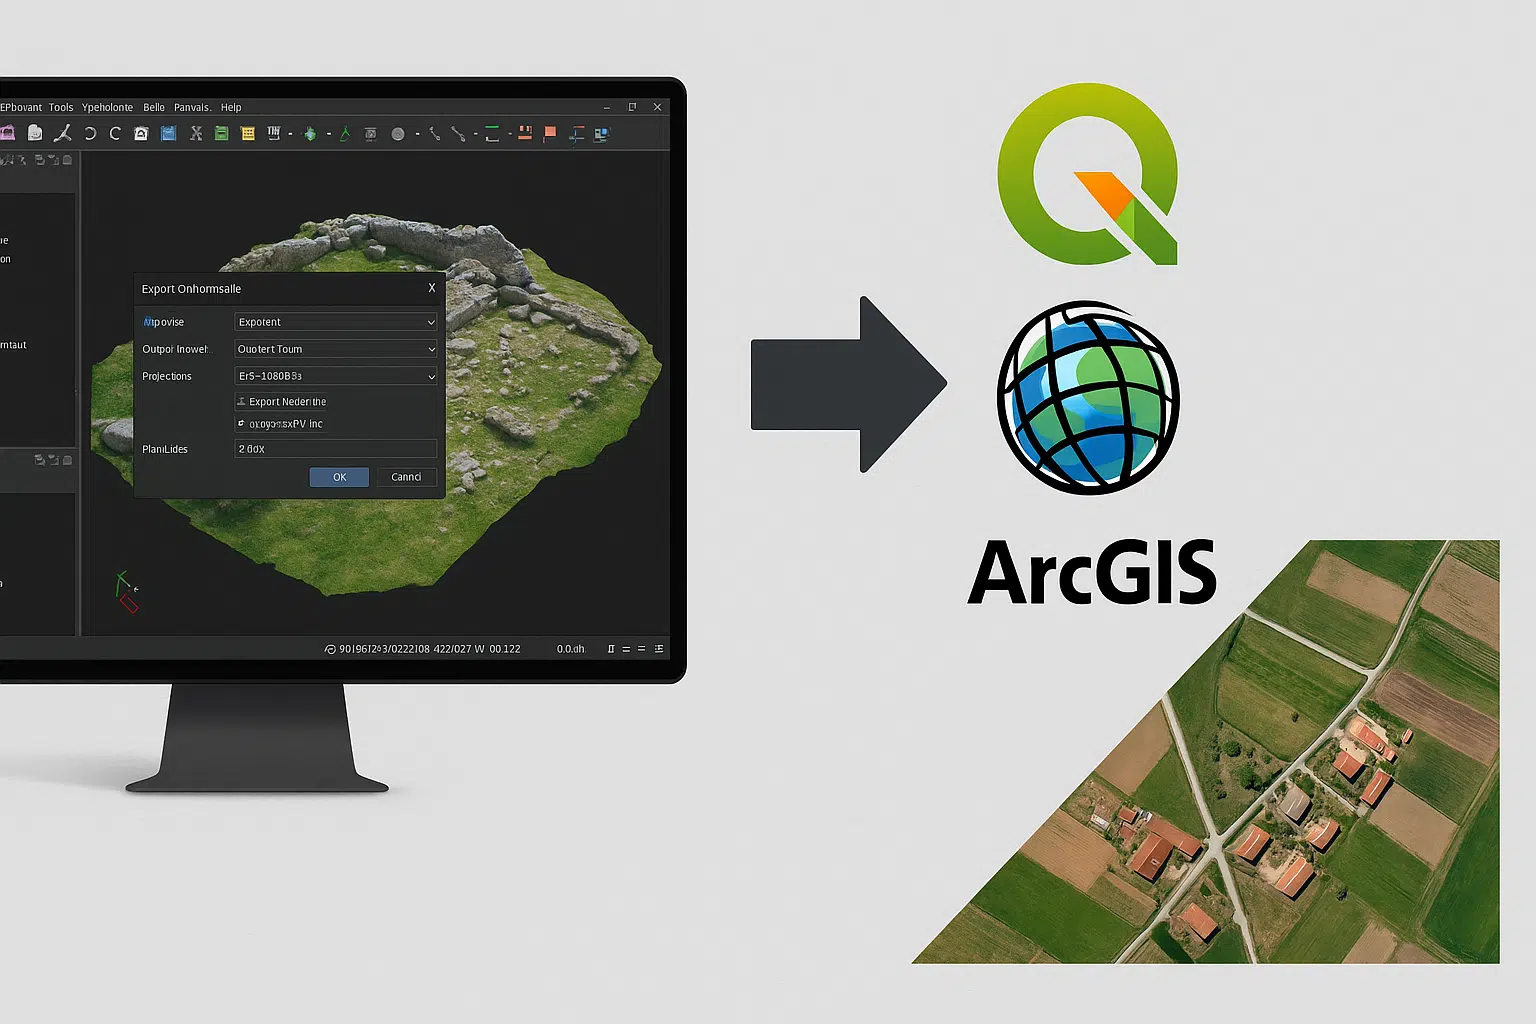
Step 2: Export the Orthophoto
Once the orthophoto is built, you can export it for GIS use:
- Select File > Export > Export Orthomosaic
- Choose output format: GeoTIFF (.tif) is ideal
- Set export projection (EPSG code)
- Include World File (.tfw) and projection file (.prj)
- Set pixel size (should match the one used during build)
This will export a georeferenced image file ready to be loaded into any GIS software.
Step 3: Import into QGIS
QGIS is a free, open-source GIS platform that supports GeoTIFF natively. To import your orthophoto:
- Open QGIS and create a new project
- Go to Layer > Add Layer > Add Raster Layer
- Browse and select the exported .tif file
- Ensure CRS (Coordinate Reference System) matches the .prj file
- The orthophoto will now be displayed on the map canvas
You can now overlay other GIS data (e.g., shapefiles, DEMs) on top of your orthophoto.
Step 4: Import into ArcGIS
ArcGIS Pro or ArcMap also supports GeoTIFF with embedded georeferencing. Follow these steps:
- Open ArcGIS and create a new project or map
- Use Add Data to select your orthomosaic .tif
- Check the layer properties to confirm projection is recognized
- If needed, use the “Define Projection” tool
- Add basemaps or vector data to enrich your analysis
Exporting for Web GIS (Optional)
If you’re using Web GIS platforms like Cesium or Mapbox, consider exporting tiles or converting to cloud-optimized formats:
- Use gdal2tiles to create zoomable map tiles
- Convert GeoTIFF to COG (Cloud Optimized GeoTIFF) for faster web rendering
Tips for Accurate Georeferencing
- Always use GCPs (Ground Control Points) during alignment for better positional accuracy
- Check EPSG codes (e.g., 4326 for WGS84, 32633 for UTM Zone 33N)
- Use UTM projections for meter-based measurements
- Check vertical datum if elevation data is involved
Exporting Other GIS Data from Metashape
- DEM: Use Export Digital Elevation Model in GeoTIFF or XYZ
- Contours: Use Tools > Generate Contours and export in DXF/SHP
- Point Clouds: Export LAS or E57 for use in GIS or CAD platforms
Conclusion
Exporting orthophotos and georeferenced maps from Agisoft Metashape is straightforward once you understand the output settings and coordinate systems. With just a few steps, your high-resolution photogrammetry results can become a key layer in professional GIS platforms like QGIS or ArcGIS. Whether for urban planning, environmental surveys, or construction documentation, this workflow will ensure your maps are accurate, compatible, and ready for analysis.