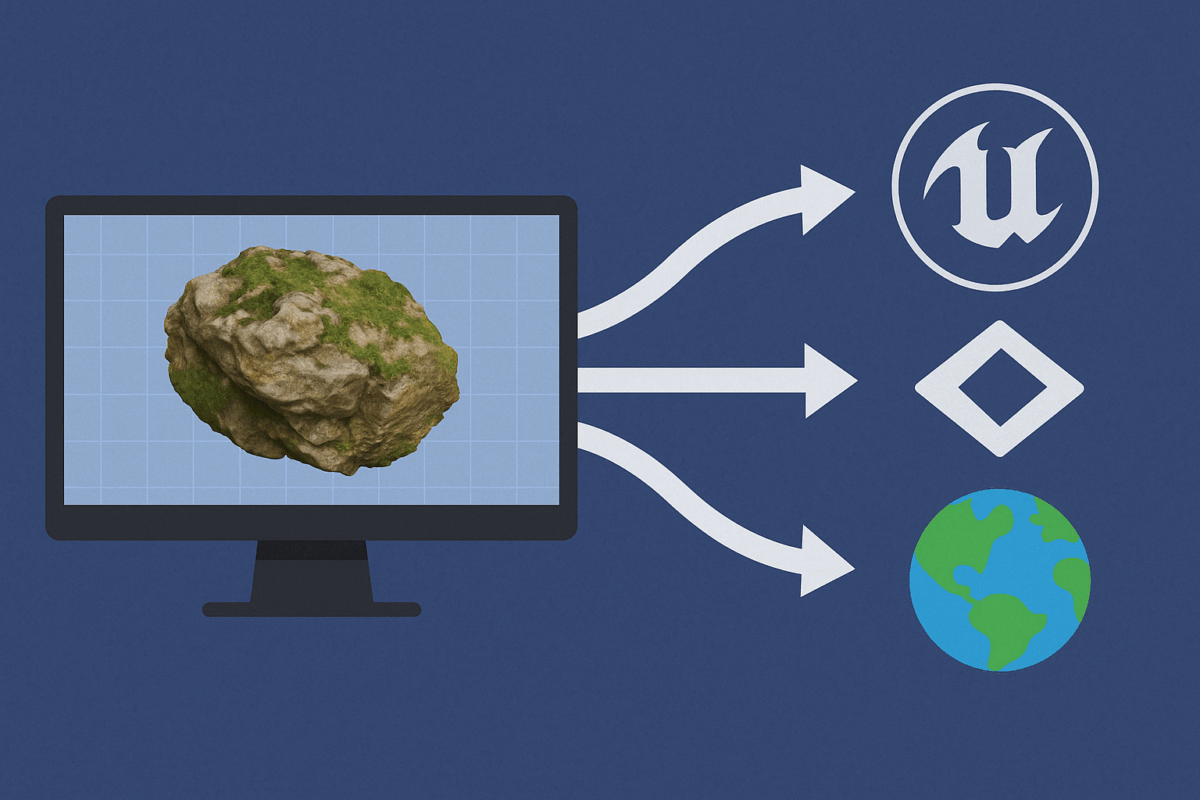
Agisoft Metashape is widely used to generate high-resolution 3D models from drone imagery or photogrammetric scans. But exporting those models into real-time engines like Unity, Unreal Engine, or web-based platforms like CesiumJS requires specific settings and optimizations. This guide walks you through the best export settings and formats to ensure smooth integration and high performance in 2025.
1. General Preparation Before Export
- Build a decimated mesh: Use Build Mesh → Arbitrary → High, then decimate to reduce polygon count for real-time performance.
- Texture the model: Use Mosaic Blending and set texture size to 4096 or 8192 depending on your target engine.
- Define scale and orientation: Make sure your chunk is properly aligned to the intended coordinate system.
2. Exporting for Unity
Unity supports formats like .FBX and .OBJ. FBX is preferred for compatibility with animations and multiple texture channels.
- Format: FBX (Binary)
- Coordinate system: Z-Up (Unity uses Y-Up, but can adapt automatically)
- Scale factor: Set to 1.0 in Unity import, or rescale in Metashape during export
- Textures: Export texture as JPG or PNG, ensure UV mapping is preserved
Export path: File → Export Model → Format: FBX → Check: Export texture, Export normals, Export UVs
3. Exporting for Unreal Engine
Unreal supports FBX, glTF, and OBJ formats. For large terrains or photorealistic assets, FBX with high-res texture is ideal.
- Format: FBX (Binary)
- Coordinate system: Z-Up (UE uses Z-Up)
- Scale: 1.0 (Unreal supports real-world scale)
- Texture: 8192×8192 recommended for realistic detail
- Materials: Unreal will auto-generate basic material from FBX
Optional tip: For large environments, use Tiled Model export and convert to .UDatasmith with Epic’s tools for Unreal integration.
4. Exporting for Cesium (Web-based 3D Tiles)
Cesium requires conversion to 3D Tiles (.b3dm) format, not directly supported by Metashape. But you can export in glTF/glb and convert using Cesium’s tools.
- Format: glTF (.glb preferred)
- Decimate: Reduce model to 50k–500k polygons depending on browser performance
- Texture: Bake texture into the glb file
- Conversion: Use Cesium ion or obj2gltf and 3D Tiles Tools
Export path: File → Export Model → Format: glTF (.glb) → Check: embed textures, normals, and coordinates
5. Coordinate Systems and CRS Tips
Game engines prefer local Cartesian coordinates, not global georeferenced ones. Use these tips:
- Uncheck “export in world coordinates” when exporting
- Use Tools → Transform → Translate to center the model before export
- Use EPSG:3857 or EPSG:4326 only for Cesium/GIS
6. Texture and UV Optimization
- Use single UV tile layout (avoid UDIMs)
- Use Mosaic blending mode for better visual consistency
- Export textures in power-of-two sizes (4096, 8192)
- Use PNG for lossless detail or JPG for lighter file size
7. File Size Considerations
For real-time performance, aim for:
- Under 200MB total asset size for web or mobile
- Max 500k polygons for interactive scenes
- Use LODs (Levels of Detail) if your target engine supports them
Conclusion
Exporting 3D models from Metashape to Unity, Unreal, or Cesium can be seamless if you follow the right settings. Choose the format that suits your engine, optimize mesh and textures, and ensure coordinate systems are properly handled. Whether you’re building games, digital twins, or 3D maps, a clean export pipeline will save you time and frustration.
Need automated exports? Try Metashape’s Python scripting for batch glTF or FBX exports with naming rules and coordinate transforms.


