Agisoft Metashape is a powerful photogrammetry software that transforms images into accurate 3D models, orthophotos, and digital elevation models. One of the key elements that ensures accuracy in these outputs is the use of control points. But what exactly are control points, and what is their function in Metashape? In this guide, we explain the role of control points, why they are important, and how to use them effectively in your photogrammetry workflows.
Understanding Control Points in Metashape
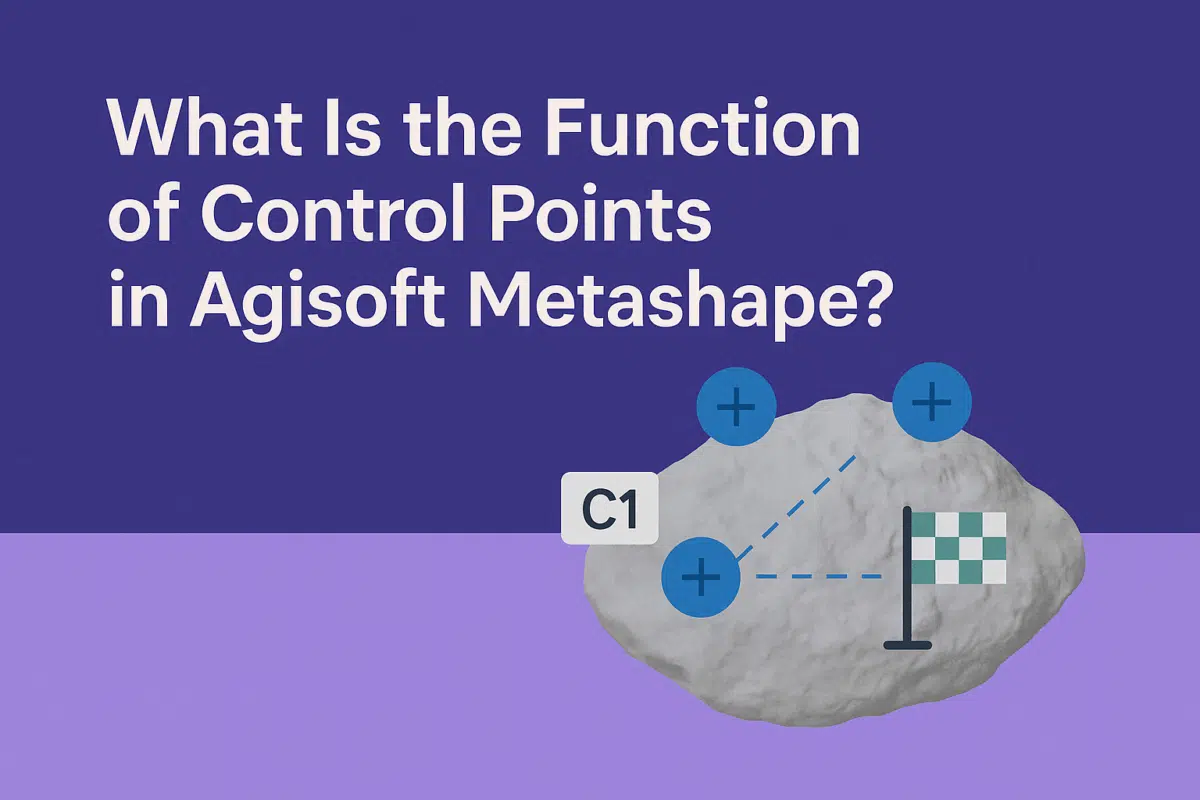
Control points are specific reference points with known coordinates that are used to improve the accuracy of photogrammetric models. They can be manually placed in the project or automatically detected if coded targets are used in the field. Control points are typically divided into two main categories:
- Ground Control Points (GCPs) – Points measured with GPS or total station equipment to provide georeferencing.
- Check Points – Independent points used to validate the accuracy of the final model.
By integrating these points into Metashape, users can ensure their projects are not only visually accurate but also geographically and metrically correct.
The Main Functions of Control Points
Control points serve several crucial functions in Agisoft Metashape. Their importance extends beyond simple scaling—they provide reliability and consistency across projects. The main functions include:
- Georeferencing – Control points link your model to real-world coordinates, making it possible to integrate outputs with GIS and CAD software.
- Scaling – They help convert arbitrary units from photogrammetry into real-world measurements such as meters or feet.
- Improving accuracy – By anchoring the model with known points, you reduce distortions and misalignments.
- Validation – Check points allow you to test the accuracy of your model by comparing measured coordinates with photogrammetric results.
Without control points, models can appear correct visually but lack the precision required for surveying, engineering, or scientific work.
How to Add Control Points in Agisoft Metashape
Adding control points in Metashape is straightforward but requires attention to detail. Here’s a step-by-step guide:
- Collect control point data – Use GPS, GNSS, or total station instruments to measure coordinates in the field.
- Import the data – Save the coordinates in a CSV or TXT file and import them into Metashape via the Reference pane.
- Add markers – Place markers in the project by selecting recognizable features in images that correspond to your control points.
- Link markers to control points – Match the imported coordinates with the placed markers.
- Optimize cameras – Run the Optimize Cameras function to adjust the model according to the control points.
Once control points are set and optimized, your project will be correctly scaled, oriented, and georeferenced.
Best Practices for Using Control Points
For maximum accuracy, follow these best practices when working with control points in Metashape:
- Distribute points evenly – Spread control points across the project area to avoid localized distortions.
- Use enough points – At least 4–5 GCPs are recommended for small projects, and more for larger areas.
- Combine with scale bars – For smaller projects, scale bars can complement control points and improve precision.
- Check residual errors – Review error values in the Reference pane to confirm your points are applied correctly.
- Use check points – Always set aside a few points as check points to validate model accuracy independently.
By applying these best practices, you can ensure your outputs are reliable and meet professional standards.
Control Points vs Scale Bars
It’s important to understand the difference between control points and scale bars. While both improve accuracy, they are not interchangeable:
- Control Points – Provide both scaling and georeferencing, tying the project to real-world coordinates.
- Scale Bars – Define only distance between two markers and are mainly useful in non-georeferenced projects.
In many workflows, both are used together to ensure precision and reliability.
Common Mistakes to Avoid
Beginners often face challenges when working with control points. Here are some mistakes to avoid:
- Incorrect marker placement – Misplacing markers reduces accuracy significantly.
- Using too few control points – Insufficient points can lead to errors in scaling and orientation.
- Uneven distribution – Clustering points in one area can distort other parts of the model.
- Mixing coordinate systems – Ensure your control point data and project coordinate system match.
Avoiding these mistakes ensures that your project remains accurate and professional.
Conclusion: The Essential Role of Control Points
Control points in Agisoft Metashape are essential for turning raw photogrammetry into reliable spatial data. They enable georeferencing, scaling, accuracy improvement, and validation, making them indispensable in professional workflows. Whether you are working in surveying, archaeology, mining, construction, or environmental monitoring, control points ensure your outputs meet real-world standards.
Final advice: Always collect precise control point data, distribute them evenly, and validate accuracy with check points. By mastering control points, you’ll unlock the full potential of Agisoft Metashape for high-quality photogrammetry.
Ready to take your projects further? Start using control points in your next Metashape workflow and experience the difference in accuracy and reliability.