Building Information Modeling (BIM) has become the industry standard for managing the entire lifecycle of a structure—from design to construction and maintenance. But what if you’re starting from existing architecture or heritage buildings? This is where Agisoft Metashape plays a key role. In this guide, we explore how to use Metashape to create accurate 3D models of buildings and integrate them into BIM and CAD workflows.
Why Use Agisoft Metashape for Architecture and BIM?
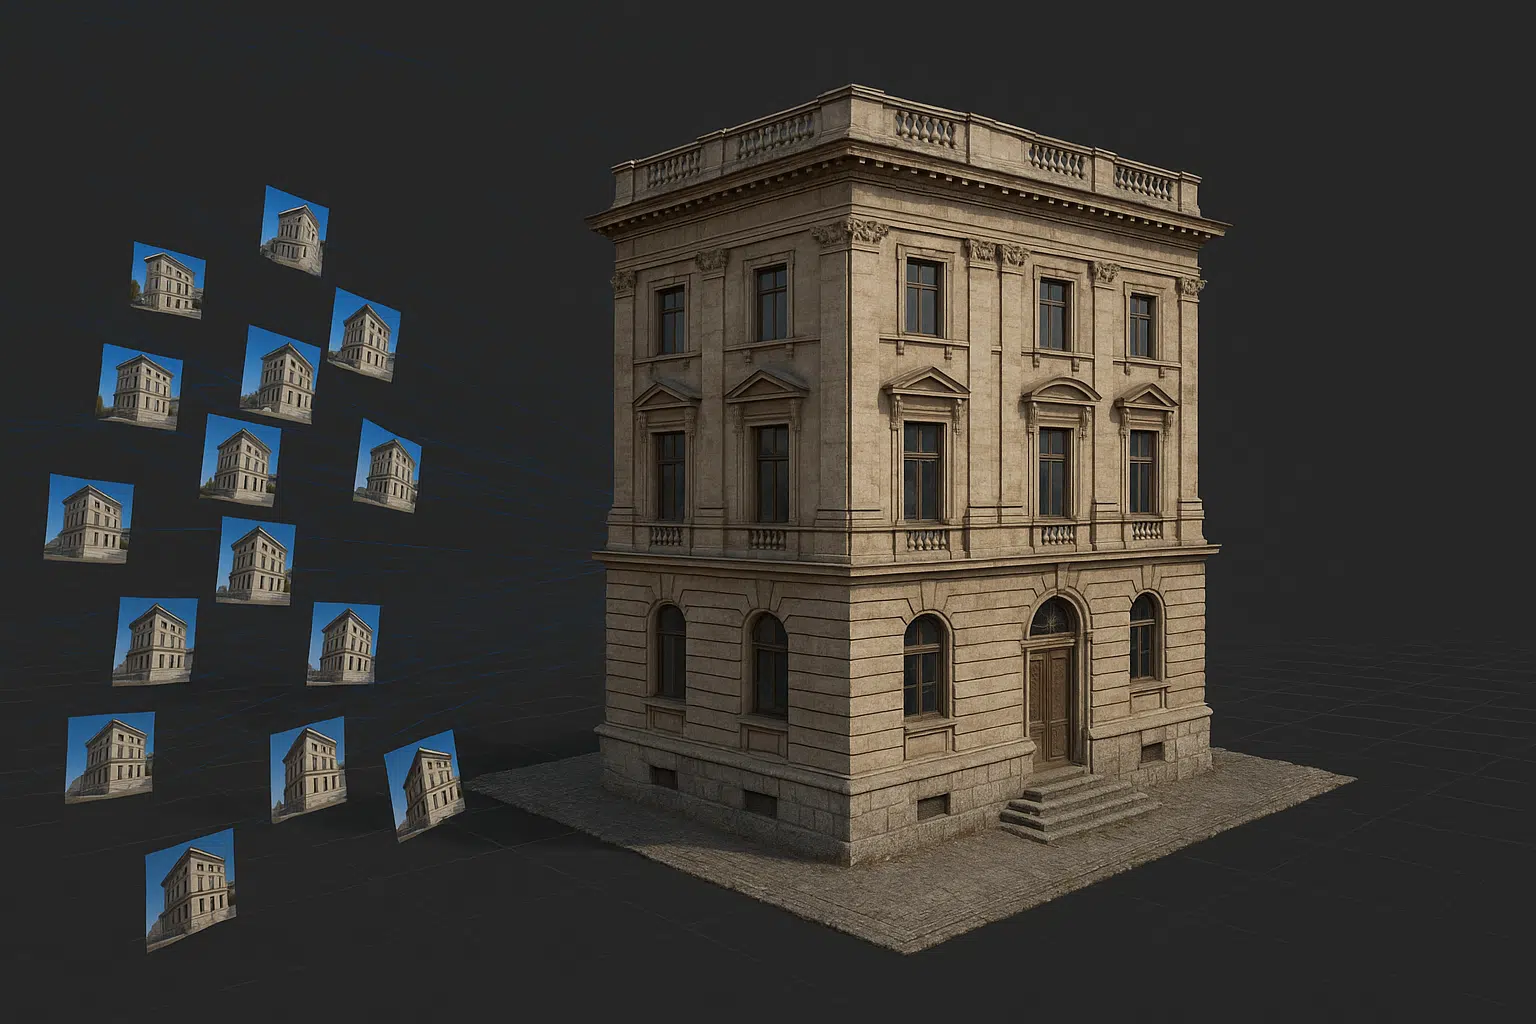
Metashape transforms photos into 3D data using photogrammetry. This makes it ideal for:
- Capturing existing buildings with high fidelity
- Creating as-built documentation
- Digitizing historical and heritage structures
- Generating mesh or point clouds for architectural modeling
Unlike laser scanning, photogrammetry with drones or handheld cameras is often more affordable and accessible, while still delivering centimeter-level accuracy with proper workflow and control points.
What You Need
- A DSLR/mirrorless camera or drone with good resolution
- Agisoft Metashape Standard or Professional edition
- (Optional) Ground Control Points (GCPs) or scale bars
- A CAD or BIM tool such as Autodesk Revit, ArchiCAD, or SketchUp
Step-by-Step Workflow
1. Capture the Building
Walk around or fly around the structure, capturing multiple overlapping photos. Follow these principles:
- Minimum 60–80% overlap
- Include multiple angles (nadir + oblique)
- Maintain even lighting conditions
- Avoid reflective surfaces or shadows
For interiors, take photos room-by-room using consistent exposure. For exteriors, a drone with a mechanical shutter (e.g., DJI Mavic 3E) is ideal.
2. Add Photos in Metashape
- Go to Workflow > Add Photos and import the dataset
- Organize by chunk (e.g., interior, facade, roof) if needed
3. Align Photos
Align the images to generate a sparse point cloud and camera positions:
- Accuracy: High
- Preselection: Generic + Reference (if EXIF GPS is embedded)
- Key point limit: 40,000 | Tie point limit: 10,000
After alignment, use Tools > Optimize Cameras and clean outliers using Gradual Selection.
4. Add Scale and Coordinate Information
If you want to ensure real-world accuracy, especially for architectural measurements, add scale bars or GCPs:
- Use surveyed points or tape-measured scale distances
- Import control data under the Reference tab
- Optimize once again after marking points
5. Build the Dense Cloud
Use the dense point cloud to generate architectural geometry:
- Quality: High
- Depth filtering: Mild or Moderate (to preserve corners and fine structures)
6. Generate the 3D Mesh
Choose Workflow > Build Mesh. For architectural models, use:
- Source: Dense Cloud
- Surface type: Arbitrary
- Face count: High (or custom polygon count for CAD export)
7. Build Texture (Optional)
While not required for CAD, a texture adds photorealism for presentations or AR/VR:
- Mapping mode: Generic
- Texture size: 4096×4096 or higher
- Blending: Mosaic
Exporting for BIM and CAD
You can export your 3D model or point cloud for further editing in BIM platforms:
- Mesh formats: OBJ, FBX, STL
- Point Cloud: LAS, PLY, XYZ
- DEM/Orthophoto: GeoTIFF for background layers in CAD
Import into Revit or ArchiCAD using plugins like Autodesk ReCap or CloudCompare for mesh conversion and simplification.
Real-World Applications
1. As-Built Documentation
Quickly capture existing building geometry for renovation, compliance, or structural analysis.
2. Heritage and Restoration
Preserve the digital twin of cultural monuments and old buildings. Use textured meshes to show visual damage or compare stages of restoration.
3. Design Validation
Check if real-world construction matches design intent. Overlay BIM designs with Metashape-generated models.
4. Interior Modeling
Capture interiors room-by-room and model furniture, layout, or MEP systems. Convert to parametric models using modeling software.
Tips for Best Results
- Use a fixed focal length lens for minimal distortion
- Capture under consistent, diffuse lighting
- Use GCPs or scale bars for real-world accuracy
- Simplify mesh before importing into CAD to reduce file size
Conclusion
Agisoft Metashape bridges the gap between reality and digital modeling. By converting buildings into precise 3D models, it enables faster workflows for architects, engineers, and restoration experts. Whether you’re documenting historical facades or integrating existing conditions into Revit, Metashape provides a versatile, accurate, and cost-effective solution. It’s time to bring your buildings into the digital age.
Ready to model your first building with photogrammetry? Start with Metashape and discover the future of architectural documentation.