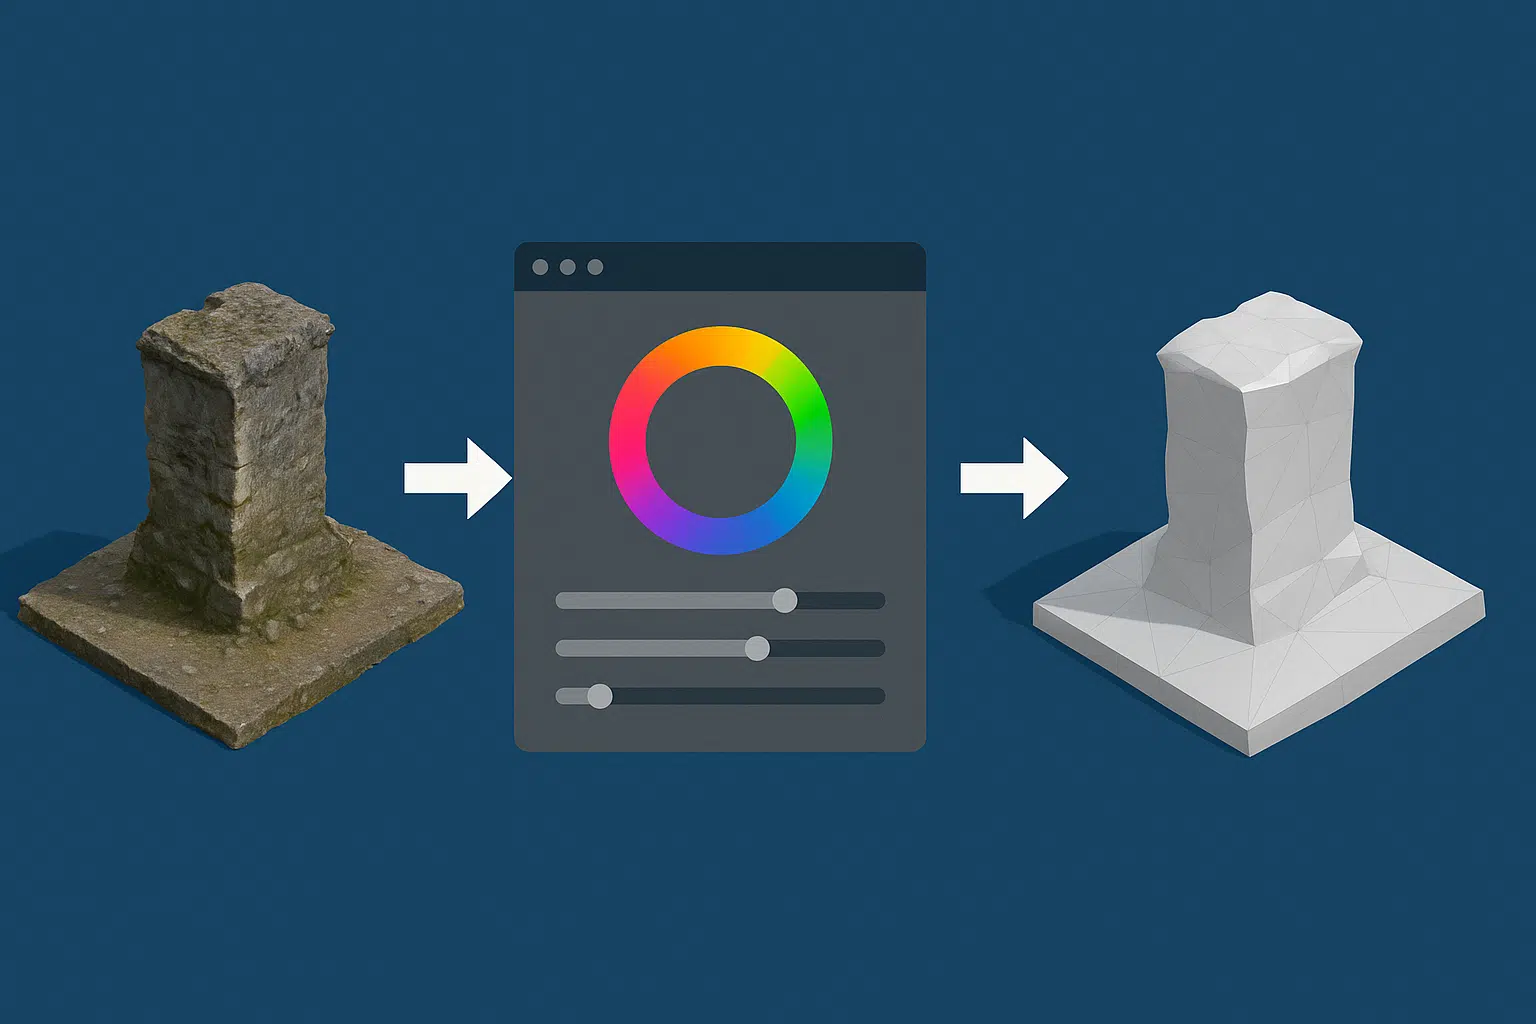
After you’ve completed the core photogrammetry workflow in Agisoft Metashape—aligning photos, generating dense clouds, and building a 3D mesh—post-processing becomes essential. Proper post-processing significantly improves the final output quality, making your models cleaner, lighter, and more visually appealing. In this guide, we’ll explore how to perform color correction, mesh cleaning, and retopology using Metashape and external tools in 2025.
Why Post-Processing Matters
While Metashape creates highly accurate models, raw outputs often contain color inconsistencies, noise, and non-optimized topology. This can affect usability in:
- Web 3D viewers (like Cesium or Sketchfab)
- Game engines (Unity, Unreal)
- Architectural visualization and AR/VR applications
- Scientific or archaeological documentation
1. Color Correction: Fixing Lighting and Tone
During image capture, lighting conditions may vary—causing texture inconsistencies. Metashape provides basic options, but external software can take results further:
- In Metashape: When building texture, choose “Mosaic” or “Average” blending mode to reduce shadow variation.
- External tools: Export your texture (JPG/TIFF), then use Photoshop or GIMP for:
- White balance correction
- Color grading
- Contrast and brightness adjustments
- Hue/saturation matching
Once edited, import the corrected texture back into Metashape or your visualization software.
2. Mesh Cleaning: Remove Noise and Artifacts
Raw meshes can contain unwanted floating elements, overlapping faces, or holes. To clean them:
- In Metashape:
- Use the “Select” tools to manually delete outliers in the 3D model view
- Enable “View confidence” to identify low-quality areas (blue = low)
- Use the “Gradual Selection” tool to isolate noisy geometry by confidence or reprojection error
- Export for further editing:
- Export your mesh as OBJ or PLY
- Use MeshLab or Blender to run automated cleaning, smoothing, or boolean operations
This ensures a clean surface, reduces rendering issues, and improves model readability.
3. Retopology: Optimize Mesh for Performance
Metashape produces dense, high-poly meshes—which are accurate but heavy. Retopology allows you to:
- Reduce file size for web/mobile
- Improve performance in real-time engines
- Create better UV maps for textures
How to Retopologize:
- Use Blender: Import the high-poly mesh and use tools like:
- Remesh Modifier – to reduce and unify the polygon grid
- Decimate Modifier – to quickly lower polygon count while preserving shape
- Manual retopo: For high-end needs, draw optimized geometry manually
- Instant Meshes: A free tool to auto-retopologize with quad-based output
After retopology, you can bake the high-quality textures and normals onto the new low-poly model—perfect for game or AR integration.
4. UV Optimization and Texture Baking
If you’ve changed the topology, you’ll need to re-unwrap UVs and bake textures. This ensures seamless appearance on new models. Tools:
- UV Unwrapping: Blender, RizomUV, or 3D Coat
- Texture Baking: Blender or xNormal (for ambient occlusion, normals, and albedo)
Good UVs and clean bakes are crucial for visual consistency and performance optimization.
5. Final Export and Applications
Depending on your project’s goal, export your cleaned and optimized model using:
- GLB/GLTF: For mobile and AR/VR apps
- FBX: For game engines like Unity/Unreal
- OBJ: For universal 3D pipelines
- USDZ: For Apple platforms and WebAR
Conclusion
Post-processing in Agisoft Metashape is what turns a technical reconstruction into a polished, usable asset. By investing time in color correction, mesh cleaning, and retopology, your models will perform better, look sharper, and integrate seamlessly into modern 3D workflows. Whether you’re targeting mobile apps, VR museums, or city planning tools, post-processing is the key to professional-grade results.