Agisoft Metashape is widely used for photogrammetry—turning real-world images into detailed 3D models. Blender is one of the most powerful free 3D animation and rendering tools. Together, they form a powerful pipeline to create realistic 3D animations from drone surveys, archaeological sites, and scanned objects. In this article, we’ll guide you step-by-step through using Metashape and Blender together for your next project.
Why Combine Metashape and Blender?
Metashape generates accurate and detailed 3D reconstructions from photographs, but it doesn’t offer advanced animation, lighting, or camera effects. That’s where Blender comes in.
- Metashape: Generates photorealistic 3D meshes from real-world data
- Blender: Adds animation, lighting, visual effects, and camera paths
This combination is ideal for creators, researchers, surveyors, and filmmakers who want to bring real-world environments into cinematic or educational presentations.
Step 1: Capture High-Quality Images
Use a drone or DSLR to capture images of the object, terrain, or site you wish to reconstruct. Ensure you use:
- Consistent lighting (avoid shadows and lens flares)
- Overlap of 70–80% between images
- Manual exposure settings for consistency
Step 2: Process the Model in Metashape
Open Metashape and start a new project. Follow these basic steps:
- Add photos to your chunk
- Align cameras to create a sparse point cloud
- Build a dense cloud and generate a mesh
- Generate a texture to enhance realism
Once the model is ready, export it in a Blender-compatible format. The best options are:
- .OBJ: Standard, widely supported
- .FBX: Supports mesh, textures, and camera data
- .PLY: Good for scientific models with color info
Step 3: Import the Model into Blender
Open Blender and go to File → Import → choose the format you exported. Once imported:
- Reposition or scale the model if needed
- Check material nodes to ensure textures are applied correctly
- Switch to Cycles or Eevee renderer for best visual quality
Use Blender’s powerful tools to clean up geometry, decimate high-poly meshes, or retopologize for animation if needed.
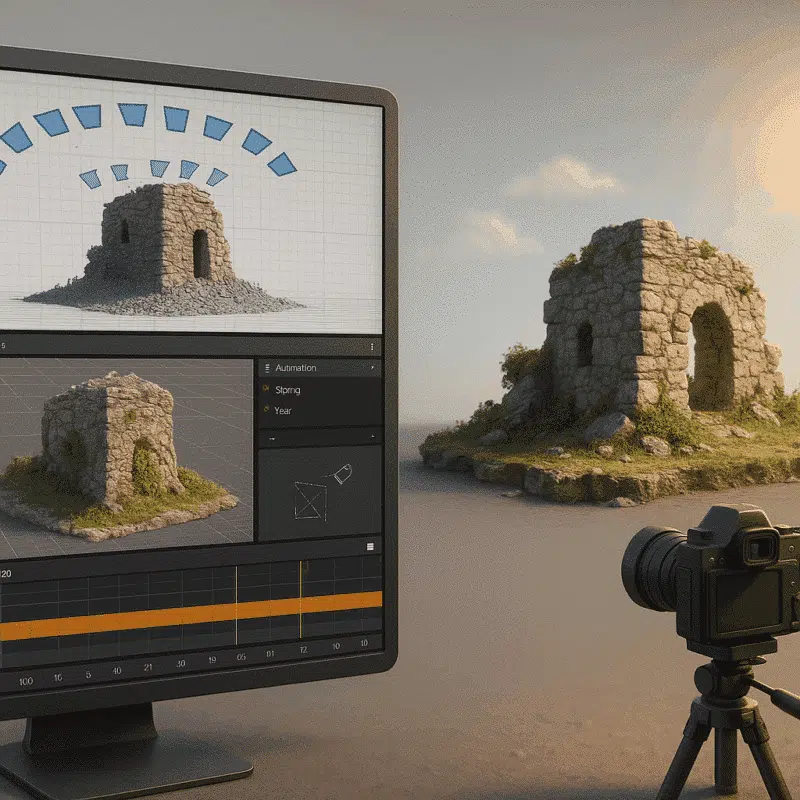
Step 4: Animate Your Scene
With the real-world model in Blender, it’s time to animate. You can:
- Set up a camera path to simulate drone flyovers
- Animate lights and shadows for dramatic effects
- Add labels or info markers for educational use
- Insert characters or other 3D elements to tell a story
Use Blender’s Timeline and Graph Editor to create smooth transitions and cinematic movements.
Step 5: Render and Export Your Animation
Once satisfied with your animation, choose your render engine (Cycles or Eevee) and set your output format (MP4, PNG sequence, etc.). Use these settings for good quality:
- Resolution: 1920×1080 (Full HD)
- FPS: 24 or 30
- Samples: 64–256 for Eevee, 200+ for Cycles
Click Render → Render Animation to begin. Depending on complexity, rendering can take minutes to hours.
Bonus: Add Sound and Titles
Blender has a built-in Video Editor. Use it to add soundtracks, narration, subtitles, or opening titles to enhance your final video. You can also use external tools like DaVinci Resolve or Premiere Pro for post-processing.
Best Use Cases
- Architecture: Animate future building designs using real terrain
- Archaeology: Showcase 3D reconstructions of historical sites
- Tourism: Create virtual tours from drone scans
- Education: Explain real-world geography with 3D scenes
Final Thoughts
The Metashape + Blender workflow is an incredible way to bring the real world into your creative projects. From photorealistic 3D scans to cinematic flythroughs, this combo allows you to create unique, data-driven animations for education, research, or entertainment.
Start experimenting with your own drone images or site scans and unlock the full power of real-world 3D animation.