Working with local coordinates in Agisoft Metashape can be extremely useful for projects that do not require a global reference system. While many photogrammetry workflows use standardized coordinate reference systems (CRS) such as WGS84 or UTM, there are situations where it is more efficient and practical to work in a local coordinate framework. This guide explains how to set up, manage, and export projects in local coordinates with clarity and precision.
Step 1: Understanding Local Coordinates in Metashape
Before setting up local coordinates, it is important to understand what they represent. A local coordinate system is a simplified Cartesian system (X, Y, Z) defined by the user. Instead of referencing a global datum or projection, the model is built relative to a chosen origin point and scale.
Local coordinates are ideal when:
- You are working indoors or in small, contained environments without GNSS data.
- Your project does not require integration into a GIS system or official mapping framework.
- You want to simplify workflows for visualization, modeling, or 3D printing.
By eliminating the complexity of geographic projections, local coordinates allow you to focus on geometry, relative accuracy, and the internal consistency of your dataset.
Step 2: Setting Up a Project in Local Coordinates
When you create a new project in Agisoft Metashape, the default environment assumes a global CRS. To switch to local coordinates:
- Open your project and align your photos as usual to generate a sparse point cloud.
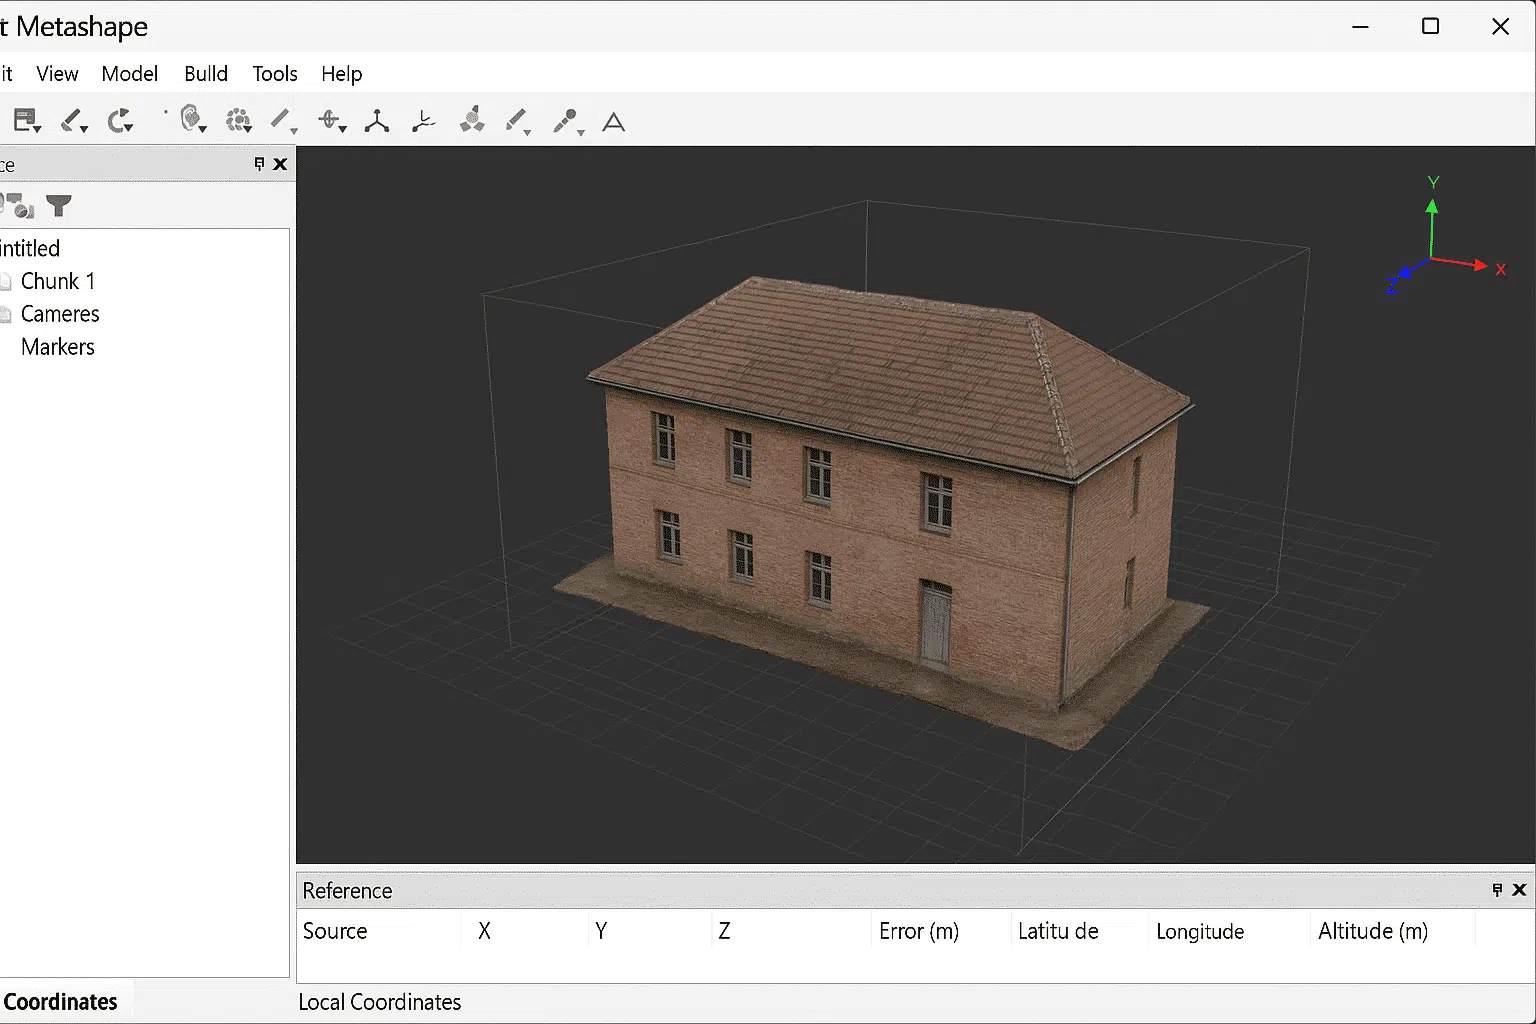
- In the Reference Pane, remove or disable any pre-existing coordinate reference systems linked to your cameras.
- Click on the CRS settings and select Local Coordinates. This will activate a Cartesian (X, Y, Z) framework without reference to a geodetic system.
At this stage, your dataset will be free of geographic constraints. All measurements will be relative to the project’s origin and scale factors.
Step 3: Defining Scale and Orientation
One challenge of working with local coordinates is ensuring that your model has the correct scale and orientation. Without GPS or global reference points, you must define these manually:
- Scale Bars: Place scale bars between two known points in your project and assign real-world distances to them. This ensures your model reflects correct dimensions.
- Markers: Add markers to specific points in your model to serve as anchors for scale or orientation.
- Rotation: Adjust the orientation of your model so that axes align logically (for example, Z for vertical, X and Y for horizontal directions).
By setting these parameters carefully, you guarantee that your model remains consistent and meaningful within its local framework.
Step 4: Working with Ground Control Points (Optional)
Even in local projects, Ground Control Points (GCPs) can play an important role. Instead of entering absolute coordinates, you can assign arbitrary values in a local system:
- Set GCPs with relative X, Y, Z coordinates.
- Ensure consistency across your dataset by keeping a uniform origin point.
- Use these points to refine alignment and scaling.
This approach is common in archaeological excavations, industrial sites, and architectural surveys, where precise local measurements matter more than global positioning.
Step 5: Exporting Models in Local Coordinates
After processing your data, you may want to export models, point clouds, or orthophotos using the local coordinate system. In Agisoft Metashape:
- Go to File > Export and choose the format you need (e.g., OBJ, PLY, LAS, GeoTIFF).
- In the export dialog, ensure that the Local Coordinates option is selected.
- Verify that scaling and orientation are correct by checking your exported file in external software (CAD, GIS, or 3D modeling tools).
Exporting in local coordinates makes it easy to integrate your models into workflows where global positioning is not required, such as CAD-based design, animation, or manufacturing.
Advantages of Using Local Coordinates
There are several reasons why professionals choose to work with local coordinates in Agisoft Metashape:
- Simplicity: No need to manage complex geographic projections or datums.
- Flexibility: Models can be oriented in ways that best suit the project requirements.
- Efficiency: Processing may be faster when large georeferencing datasets are not needed.
- Accuracy: With proper scaling and markers, local coordinates provide reliable relative accuracy for measurements and analysis.
For many applications, especially small-scale projects, local coordinates strike the perfect balance between ease of use and measurement precision.
Tips for Better Results in Local Coordinates
To maximize the benefits of using local coordinates, consider the following best practices:
- Always set at least one scale bar to ensure dimensional accuracy.
- Keep track of your chosen origin point and document it for future reference.
- If you plan to later convert your project into a global CRS, save a copy of your local coordinate version for backup.
- Use consistent naming conventions for markers, scale bars, and exports to avoid confusion.
Following these steps ensures that your local coordinate workflow remains organized, efficient, and reproducible.
Conclusion: Working Efficiently with Local Coordinates
Learning how to work in local coordinates with Agisoft Metashape provides flexibility and control over your photogrammetry projects. By setting up a local coordinate system, defining scale and orientation, and exporting your results, you can manage datasets effectively without relying on global reference systems. This approach is especially valuable in fields like archaeology, construction, industrial inspection, and creative 3D modeling.
Whether you are a beginner or an experienced user, mastering local coordinates will expand your ability to handle diverse projects and deliver accurate results tailored to your needs.
Want more Metashape tutorials? Follow our blog for expert guides, best practices, and tips to get the most out of your photogrammetry workflows.