Agisoft Metashape 2.3 introduces a powerful new utility for texture refinement: the Texture Editing Tool, also known as Assign Image. This addition expands the flexibility of texture workflows by allowing users to manually select specific images to influence defined portions of a texture map. Whether you’re fixing problem areas or improving visual consistency, this tool gives you greater control over the final look of your 3D models.
Why Manual Texture Editing Matters
In many photogrammetric projects, the automated texturing process does an excellent job overall. However, automatic generation can sometimes produce less-than-perfect results in areas with complex geometry, repetitive patterns, or overlapping objects like foliage or architectural details. Before the introduction of the Texture Editing Tool, correcting these issues often required rebuilding the entire texture or exporting the texture for external editing—both of which can be time-consuming and inefficient.
The Assign Image tool changes this by letting you target small sections of the mesh directly and choose the exact source image (or images) that should be used to texture that area. This targeted control can make a significant visual difference—especially for detailed or high-quality outputs.
How the Texture Editing Tool (Assign Image) Works
The Texture Editing Tool becomes available once you have built a texture using Metashape’s Natural texturing algorithm. It integrates seamlessly into the Model view and lets you define a specific region of the mesh that you want to adjust.
Step-by-Step Guide
- Select the Target Area: In the Model view, use selection tools on the toolbar to draw or highlight the area of the mesh texture you want to modify.
- Open Assign Image: Right-click the selected region and choose the Assign Image command from the context menu.
- Choose Your Preferred Image: In the dialog that appears, pick the image you want the texture for this area to be based on. You can toggle preview options to see an instant visual update within the Model view.
- Preview or Apply: If you enable the Build preview texture option, you’ll see how the edit affects the model in real time.
- Finalize the Edit: After making your selection, confirm the changes. The region will use your chosen image references when the texture is rebuilt.
Rebuilding and Integrating Edits
Once the area has been manually assigned to specific images, you can either:
- Enable Rebuild texture with correction immediately to update only the edited region, or
- Rebuild the entire texture later via Workflow > Build Texture, ensuring that the new assignments are included with the automatic texturing process.
This flexibility allows you to fine-tune precisely only those areas that need attention without rerunning the whole texture generation from scratch every time.
Visual Feedback and Quality Control
When working with texture edits, it’s often helpful to visualize which images are driving specific parts of the texture. Metashape includes options to view this information directly:
- Assigned Image Display: You can switch the Model view display mode to color regions based on the assigned source image. This helps verify which image is influencing which area.
- Open Assigned Image: From the context menu, you can open the selected assigned image to inspect how it maps on the mesh, providing an additional layer of quality control.
By combining these visual feedback tools with manual assignments, you can refine textures in a way that maintains overall coherence while addressing specific problem zones effectively.
Benefits in Real Projects
The practical advantages of the Texture Editing Tool are particularly noticeable in projects where visual fidelity is critical:
- Architectural Visualization: Correcting façade textures where automatic blending may have introduced mismatches.
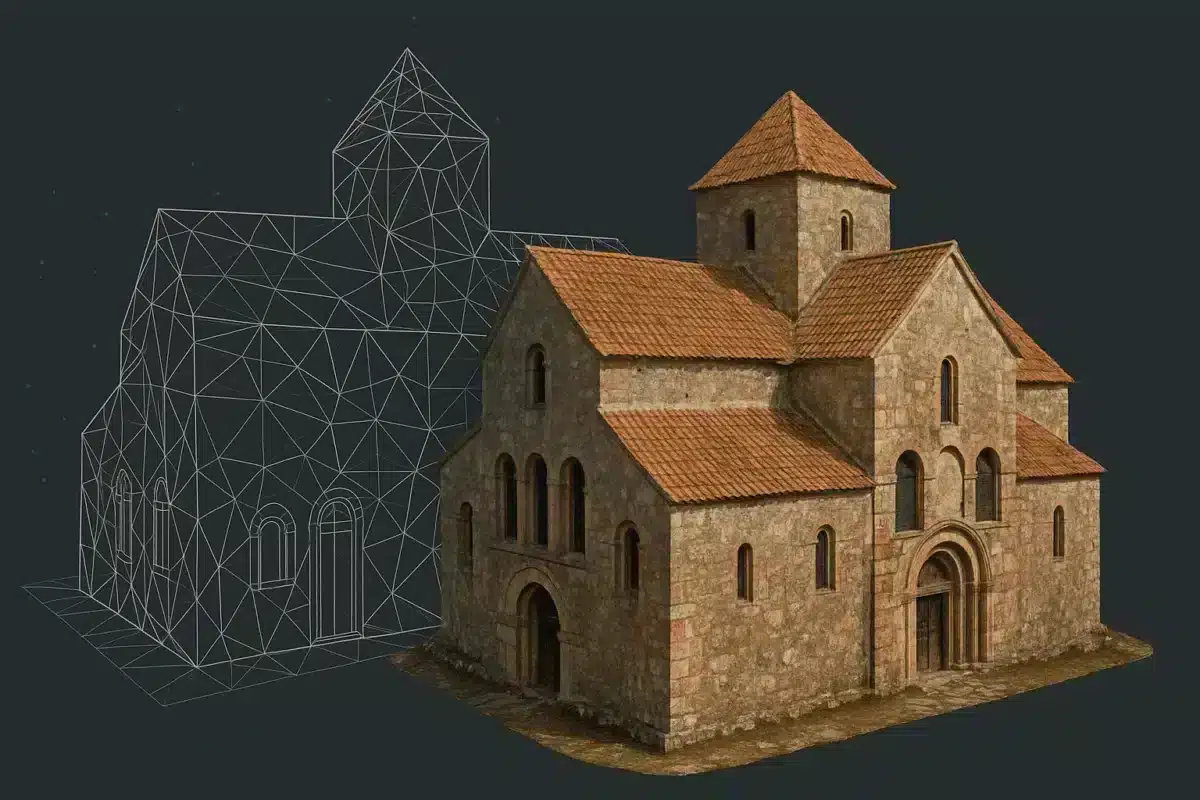
- Heritage Preservation: Ensuring that intricate details like engravings or decorative motifs use the best possible source imagery.
- Urban Mapping: Reducing texture artifacts in areas with repetitive elements, such as windows or tiling.
- Natural Environments: Selecting images that minimize motion blur or moving elements (e.g., tree leaves, people) to improve consistency.
In these contexts, manual texture control helps reduce the need for external post-processing in image editing software, streamlining workflows and saving time.
Best Practices for Texture Editing in Metashape
To make the most of the Assign Image tool, consider the following tips:
- Choose High-Quality Source Images: Always select images with the best focus, lighting, and minimal motion artifacts to ensure sharp texture mapping.
- Work on Smaller Areas First: If you’re uncertain about a section, start with a small region to evaluate the impact before expanding edits.
- Combine with Automatic Texturing: Use manual edits to complement—and not replace—the automated texture generation, enhancing rather than overriding the standard workflow.
- Preview Often: Toggle preview options during editing to confirm that the outcome aligns with expectations before rebuilding.
When to Use Assign Image vs. Full Texture Rebuild
Manual texture assignment is best applied when:
- A specific region shows visual artifacts that automated texturing cannot resolve.
- High expectations for final appearance make manual refinement worthwhile.
- Only a few small areas need correction and you want to avoid a full rebuild.
In contrast, a full texture rebuild is preferable if the entire mesh texture needs improvement or when changes affect broad areas rather than isolated patches.
Conclusion
The Texture Editing Tool (Assign Image) in Agisoft Metashape 2.3 offers a valuable addition to the texturing toolkit. By letting users directly assign specific source images to selected regions of a mesh, it gives greater control over the visual outcome without disrupting the standard texturing workflow. This capability is especially useful for high-quality deliverables where problematic areas need precise correction. Whether you’re a GIS professional, heritage digitization specialist, or 3D artist, mastering this tool can elevate the quality and efficiency of your photogrammetry projects.