Working with geoids in Agisoft Metashape is essential for anyone who needs accurate elevation data in their photogrammetry projects. By default, drone data often provides altitudes in relation to an ellipsoid model, which can lead to discrepancies when compared to real-world ground heights. Geoids help bridge this gap by converting ellipsoidal heights into orthometric heights, ensuring that your models reflect the true elevation above mean sea level. This guide explains, step by step, how to import and use geoid models in Metashape to improve your workflow.
Step 1: Understanding Why Geoids Matter
Before diving into the technical process, it’s important to understand what geoids are and why they are relevant to photogrammetry. A geoid is a mathematical model of the Earth’s surface that represents mean sea level across the globe. It accounts for variations in gravity, unlike the simpler ellipsoid models used by GPS devices.
When drones or GNSS receivers record altitude, they usually provide ellipsoidal heights. These values are accurate in a relative sense but may differ by tens of meters from the actual height above sea level. By applying a geoid model, such as EGM96 or EGM2008, you convert ellipsoidal heights into orthometric heights, which are directly comparable to ground truth data and official survey benchmarks.
In short, using geoids ensures that your 3D models, DEMs, and orthophotos align correctly with real-world coordinates and elevation data.
Step 2: Preparing Your Geoid Model
Agisoft Metashape allows you to import external geoid models in specific formats. Before you start:
- Download the required geoid file (e.g., EGM96 or EGM2008 grids). These are often available from national geodetic agencies or global datasets.
- Ensure that the file is in a supported format, typically
.tif(GeoTIFF) or.pgm. - Check the resolution of the geoid model. Higher-resolution grids provide more accurate local corrections, which can be especially useful in mountainous regions.
Once your geoid model is ready, you can move on to the import process in Metashape.
Step 3: Importing a Geoid into Agisoft Metashape
To load a geoid model into Metashape:
- Open your project in Agisoft Metashape.
- Navigate to Tools > Preferences > Advanced.
- Locate the Geoid section and click on Select Geoid File.
- Browse to your downloaded geoid file and load it into the software.
- Click OK to confirm the selection.
From now on, Metashape will use the imported geoid to automatically convert ellipsoidal heights into orthometric heights whenever applicable. This adjustment improves the accuracy of your final outputs.
Step 4: Applying the Geoid to Your Project
Once the geoid is loaded, you need to ensure that it is applied correctly to your dataset. Here’s how:
- Check that your coordinate reference system (CRS) is properly defined for your project. If you are working with GNSS data, it will likely use WGS84 as the base ellipsoid.
- Recalculate the elevations of your cameras or ground control points (GCPs) using the new geoid model. This ensures that the transformation takes effect across the project.
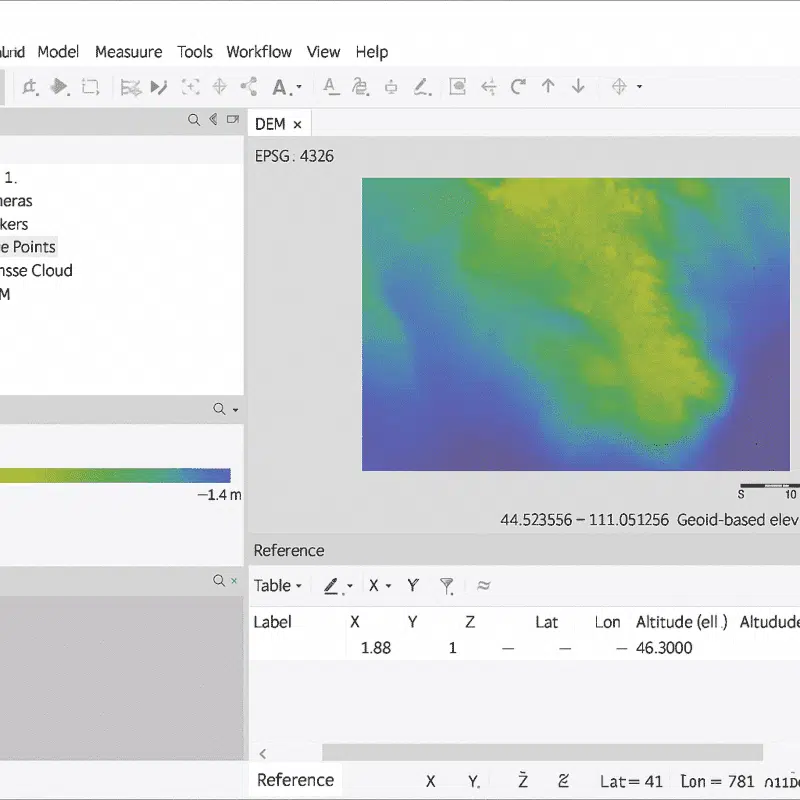
- Inspect the reference pane in Metashape to confirm that the heights are now being reported as orthometric values.
By verifying these steps, you can be confident that your dataset is aligned with the geoid model and that the resulting digital elevation models (DEMs) and orthophotos will have accurate vertical positioning.
Step 5: Exporting Results with Geoid Corrections
After applying the geoid, you can export your outputs knowing they reflect orthometric heights. The most common exports include:
- Orthophotos: With corrected elevations, your orthomosaic will align better with mapping basemaps and survey datasets.
- Digital Elevation Models (DEMs): DEMs generated with geoid corrections ensure reliable height values for engineering, construction, and hydrological studies.
- 3D Models: Any exported mesh or textured model will carry accurate elevation data, making it suitable for BIM, CAD, or GIS integration.
Remember to double-check your exported coordinate reference system and metadata, especially if you plan to share results with surveyors, engineers, or government agencies. Having geoid corrections applied guarantees consistency and trust in your deliverables.
Tips for Using Geoids in Metashape
To get the best results when working with geoids in Agisoft Metashape, consider the following best practices:
- Always confirm that your geoid model matches the region you are working in. Using the wrong geoid file can introduce large vertical errors.
- Combine geoid corrections with Ground Control Points (GCPs) to maximize accuracy in both horizontal and vertical positioning.
- For large-scale projects, such as aerial surveys over varied terrain, prefer higher-resolution geoid grids when available.
- Document which geoid model was used in your reports to ensure reproducibility and clarity for your clients or collaborators.
These small steps can significantly enhance the reliability of your photogrammetric outputs.
Conclusion: Unlocking Accurate Elevations with Geoids
Using geoids in Agisoft Metashape is a vital step for achieving precise elevation data in photogrammetry. By converting ellipsoidal heights into orthometric heights, you ensure that your models, DEMs, and orthophotos reflect the true ground elevation above sea level. The process—from downloading and importing the geoid file to applying corrections and exporting results—can be mastered quickly with practice.
For professionals in surveying, construction, agriculture, archaeology, and beyond, geoid integration is not just a technical detail but a guarantee of accuracy and reliability. With this guide, you now have a clear roadmap to implement geoids in your own Metashape projects.
Want more tutorials on Agisoft Metashape? Subscribe to our blog for detailed workflows, expert tips, and the latest updates in photogrammetry software and best practices.