Agisoft Metashape is an industry-standard software for photogrammetry, allowing users to turn aerial and terrestrial imagery into accurate 3D models, orthomosaics, and digital elevation models (DEMs). When working on large projects with multiple datasets — such as different flight missions or scanning sessions — it’s common to divide work into chunks. Managing each chunk manually can be time-consuming, but Metashape’s batch processing feature allows you to automate tasks across multiple chunks in a single project efficiently.
This article explains how to use batch processing in Agisoft Metashape to handle several chunks simultaneously, saving valuable time while maintaining data consistency and precision.
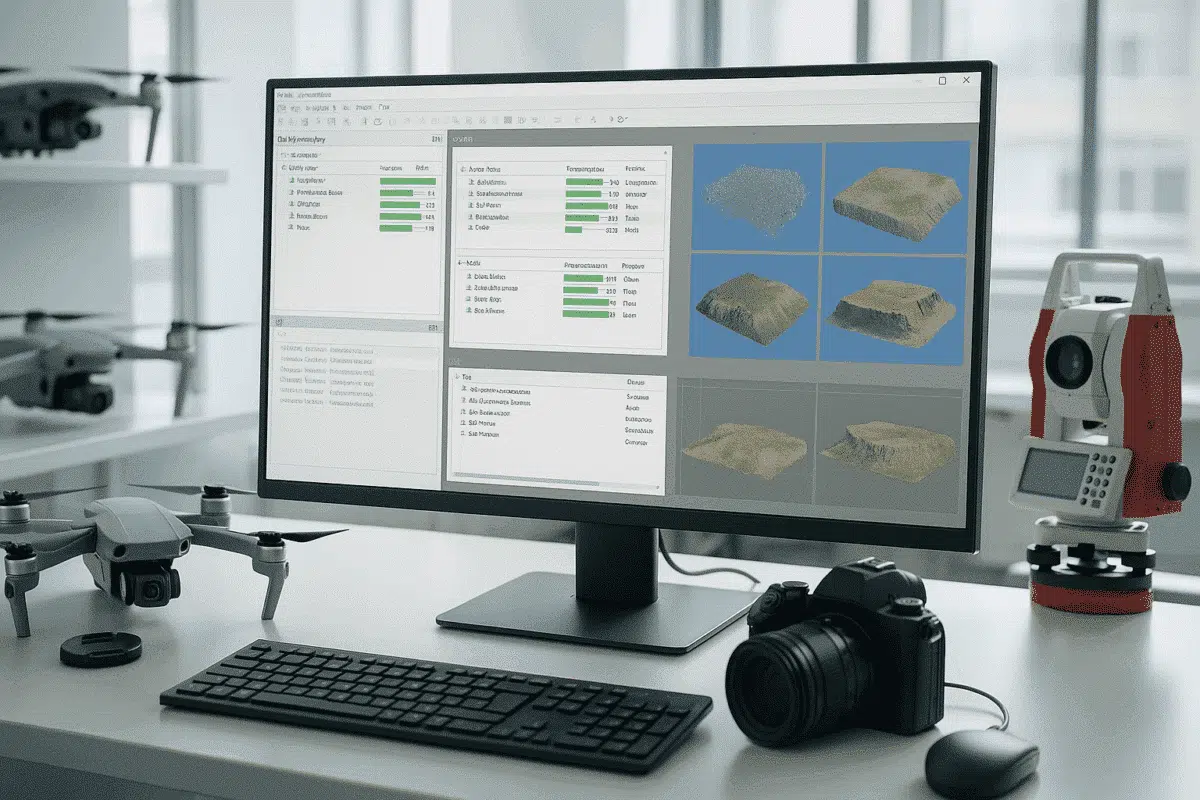
What Are Chunks and Why Use Them?
In Agisoft Metashape, a chunk represents an independent processing unit within a project. Each chunk can hold its own set of aligned photos, dense point clouds, meshes, and orthomosaics. Working with multiple chunks is useful when dealing with:
- Large-scale projects that exceed available system memory.
- Separate flight missions or datasets from different cameras or days.
- Distinct areas of interest that need to be processed individually before merging.
For example, if you have flown multiple drone missions to cover a large survey site, you can store each mission’s photos in a different chunk. Later, you can process all of them together using the batch tool — aligning, generating point clouds, and building models automatically.
Understanding Batch Processing in Metashape
Batch processing in Metashape allows you to queue up a series of operations (like alignment, mesh generation, and orthomosaic creation) and execute them automatically, either for one chunk or multiple chunks in sequence. This feature is especially valuable for professionals who handle repetitive tasks across multiple datasets.
Instead of manually repeating each step, you can define a workflow once and apply it to all chunks — whether you have two or twenty. Metashape processes them in order, freeing you from having to monitor every step.
Key Benefits of Batch Processing
- Time efficiency: Run multiple processes overnight or while you’re away.
- Consistency: Use the same parameters for all chunks to ensure uniform output quality.
- Error reduction: Avoid manual mistakes when applying identical workflows across datasets.
- Scalability: Perfect for large projects with recurring workflows, like mapping, monitoring, or inspection tasks.
How to Run Batch Processing for Multiple Chunks
Batch processing is straightforward once you understand the workflow. Here’s a step-by-step guide to applying it efficiently across multiple chunks in one project.
Step 1: Prepare Your Chunks
Before setting up batch processing, make sure all chunks are correctly organized and contain the necessary data:
- Import or create your chunks using Workflow > Add Chunk.
- Add photos to each chunk and verify that they correspond to the correct survey area or flight mission.
- Optionally, rename chunks to make them easier to identify (e.g., “Flight_1,” “Flight_2,” “East_Sector”).
Proper organization ensures that each chunk is processed correctly and helps when reviewing results later.
Step 2: Open the Batch Process Tool
Go to Workflow > Batch Process. This opens a dialog box where you can define a list of processing steps to be executed sequentially. Each operation can be applied to a specific chunk or to all chunks in your project.
Typical operations include:
- Align Photos — automatically aligns images within each chunk.
- Build Dense Cloud — generates a dense point cloud based on aligned cameras.
- Build Mesh — reconstructs the surface model.
- Build Texture — applies textures to the mesh for visual realism.
- Build DEM / Orthomosaic — produces geospatial raster outputs for mapping.
Step 3: Configure Each Task
For every selected operation, click Add to include it in the batch list. You’ll be prompted to select parameters, such as quality level or filtering mode. Crucially, in the “Apply to” dropdown, choose whether to apply the task to:
- Active chunk only
- All chunks
- Specific chunks (custom selection)
Choosing “All Chunks” ensures Metashape applies the same operation across every dataset in your project. Each chunk will be processed in sequence, following the workflow order you define.
Step 4: Execute the Batch
Once your workflow is set up, click OK to start batch processing. Metashape will automatically execute each task, one chunk at a time. Depending on project size and hardware performance, this may take hours — but no further manual input is required.
You can monitor progress in the Console or Jobs panel, where status updates and processing times for each step are displayed.
Tips for Efficient Multi-Chunk Batch Processing
To make the most of batch processing in Agisoft Metashape, follow these practical tips to improve efficiency and avoid errors:
1. Keep Settings Consistent Across Chunks
Before running a batch, make sure all chunks use the same coordinate reference system (CRS), image quality standards, and processing parameters. Inconsistent settings can lead to mismatched outputs or alignment issues when merging chunks later.
2. Use Meaningful Chunk Names
Rename chunks clearly (e.g., “North_Sector” or “Building_A”) to track progress easily in logs and exported files. This is especially helpful when exporting large numbers of outputs.
3. Monitor System Resources
Batch processing can be resource-intensive. Close unnecessary programs and ensure you have enough disk space and RAM. On high-end systems or network setups, consider enabling network processing in Metashape to distribute workload across multiple machines.
4. Save Your Project Before and After Batch Runs
Always save your project before starting a batch job. If a crash or power interruption occurs, you can recover progress from the last save. It’s also a good habit to save again after processing completes to preserve results.
5. Review Outputs for Each Chunk
After the batch run finishes, inspect results chunk by chunk. Check alignment accuracy, dense cloud quality, and DEM consistency. If one chunk shows issues, you can reprocess it individually with adjusted settings without rerunning the entire batch.
Automating Multi-Chunk Workflows with Python
For even greater control, Metashape provides a Python API that allows you to script batch operations programmatically. This is ideal for large enterprises, research labs, or government agencies handling repeated workflows.
Example: to run alignment and dense cloud generation across all chunks in one script:
import Metashape

doc = Metashape.app.document
for chunk in doc.chunks:
    chunk.matchPhotos(downscale=1, generic_preselection=True)
    chunk.alignCameras()
    chunk.buildDepthMaps(quality=Metashape.Quality.MediumQuality)
    chunk.buildDenseCloud()
doc.save()
This approach gives you maximum automation flexibility — you can schedule jobs, integrate external data sources, or run tasks remotely on network nodes.
Conclusion: Save Time and Stay Consistent with Batch Processing
Using batch processing across multiple chunks in Agisoft Metashape is a game-changer for anyone managing complex or large-scale photogrammetry projects. It ensures consistency, minimizes repetitive manual work, and allows you to process entire datasets while focusing on other tasks.
Whether you’re surveying infrastructure, documenting archaeology, or monitoring land development, mastering batch workflows will drastically improve your productivity. Start with basic batch operations and gradually integrate Python scripting for complete automation — the results will save hours and improve your project accuracy.