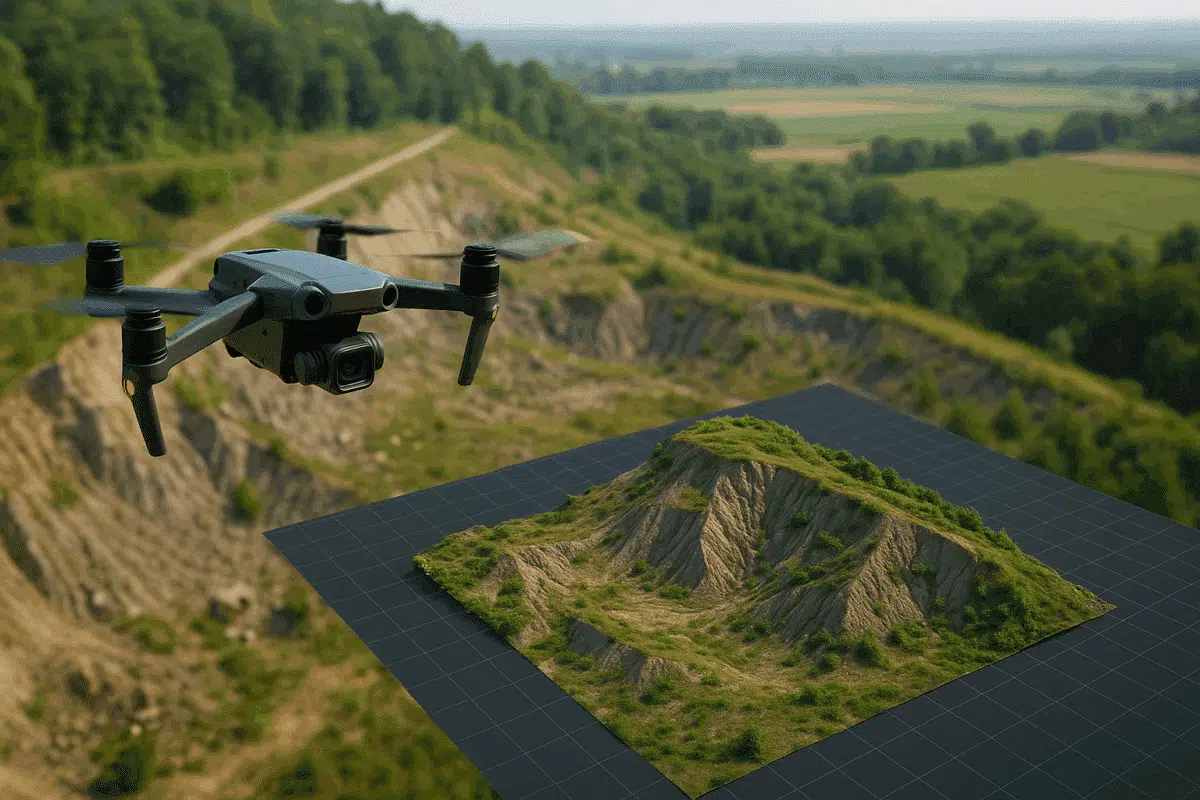
Agisoft Metashape is one of the most powerful photogrammetry tools on the market, used by drone professionals, engineers, archaeologists, and 3D artists alike. In this step-by-step guide, you’ll learn how to turn simple drone photos into accurate 3D models—ideal for mapping, construction, inspections, and more.
What You Need to Start
Before diving into the process, make sure you have the following:
- A drone capable of capturing high-resolution images (e.g., DJI Mini 4 Pro, Mavic 3E, or Phantom 4 RTK).
- A computer with decent GPU and RAM (Metashape benefits from CUDA/OpenCL acceleration).
- The latest version of Agisoft Metashape (Standard or Professional).
- Overlap-optimized drone imagery (70–80% front/side overlap).
Step 1: Import Your Drone Images
Open Agisoft Metashape and start a new project. Go to Workflow > Add Photos or simply drag and drop your image folder into the workspace. You’ll see your image thumbnails appear in the chunk panel.
Make sure your images are geotagged (e.g., via drone GPS). This will help with faster alignment and scaling later.
Step 2: Align Photos
Go to Workflow > Align Photos. In the dialog that appears, choose:
- Accuracy: Medium or High (Ultra High is slower but more detailed)
- Pair preselection: Generic + Reference (if GPS data is available)
- Key point limit: 40,000
- Tie point limit: 4,000
Click OK. The software will detect matching features between images and build a sparse point cloud. This process may take several minutes, depending on your system.
Step 3: Build Dense Cloud
Once the sparse cloud looks good, go to Workflow > Build Dense Cloud. Choose the following settings:
- Quality: High or Medium (depending on available RAM)
- Depth filtering: Moderate (or Aggressive for outdoor surveys)
This step creates a much more detailed point cloud, ideal for mesh or DEM generation.
Step 4: Generate 3D Mesh
Now it’s time to turn your point cloud into a surface. Go to Workflow > Build Mesh. Recommended settings:
- Surface type: Arbitrary (for generic scenes) or Height Field (for terrain)
- Source data: Dense cloud
- Face count: High
The result will be a 3D surface that you can inspect, rotate, and refine before texturing.
Step 5: Build Texture
To add realism, generate a texture using Workflow > Build Texture. Use these settings:
- Mapping mode: Generic
- Blending mode: Mosaic
- Texture size: 4096 or 8192 (depending on your output needs)
Once done, your 3D model will look like the real-world object or terrain it represents, ready for export.
Step 6: Export the Model
Metashape lets you export in several formats:
- OBJ, FBX, or 3DS for 3D applications (Blender, Unity, Unreal)
- LAS or LAZ for point cloud workflows
- GeoTIFF for orthophotos or DEMs
Go to File > Export Model or Export Orthomosaic depending on what you need.
Tips for Best Results
- Use consistent lighting conditions to avoid shadows and exposure changes.
- Fly in good weather and avoid windy days.
- Maintain high image overlap—especially for vertical structures.
- Use Ground Control Points (GCPs) if you need centimeter-level accuracy.
Final Thoughts
Agisoft Metashape is a powerful ally for anyone working in mapping, surveying, 3D modeling, or drone-based inspection. With just a drone, a camera, and the right workflow, you can produce stunning 3D reconstructions of landscapes, buildings, and archaeological sites. Whether you’re a beginner or an expert, mastering this workflow unlocks new levels of spatial insight and visual storytelling.