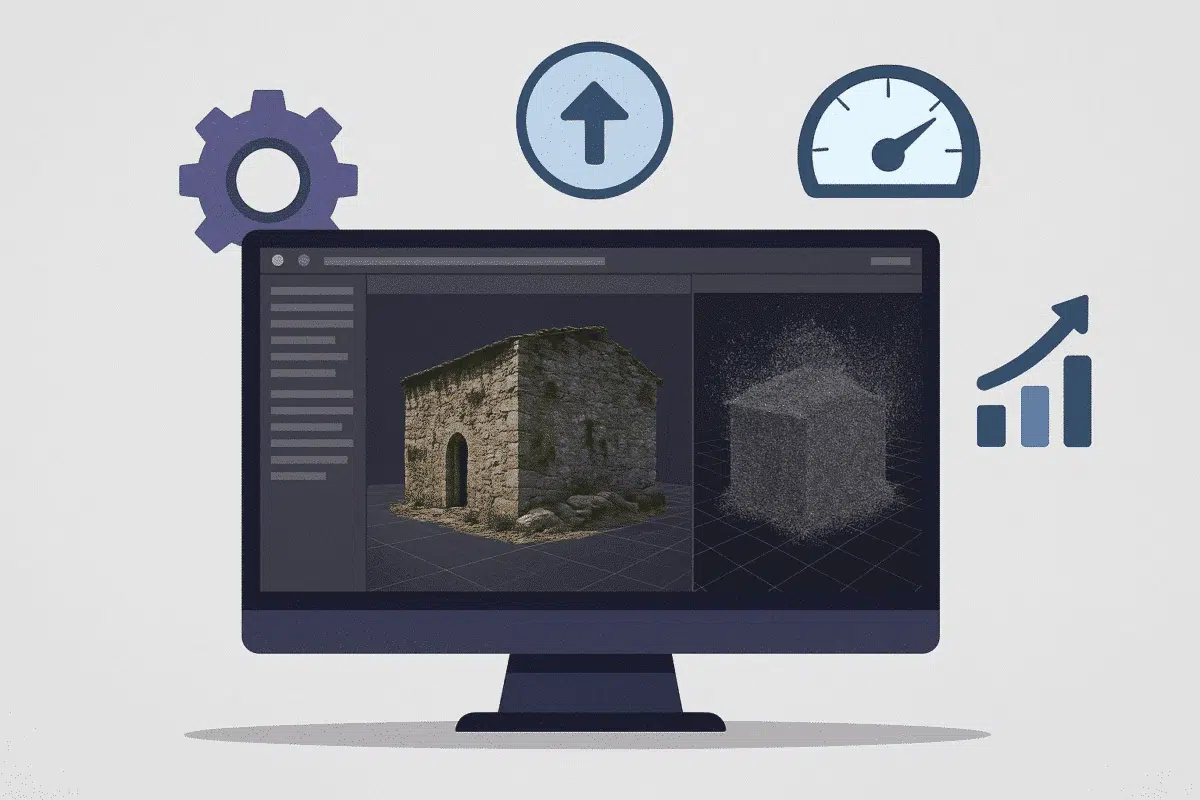
Agisoft Metashape is one of the most powerful photogrammetry tools available—but high-resolution processing can take hours or even days. Fortunately, you can dramatically improve performance with the right settings and workflow. In this guide, we’ll explain how to speed up your Metashape processing in 2025 by adjusting key settings without compromising on quality.
1. Align Photos Efficiently
The alignment stage is the foundation of your project. While “High” accuracy may seem like the best option, it often provides minimal improvements over “Medium”—with double or triple the processing time.
- Recommended setting: Accuracy = Medium
- Key point limit: 40,000
- Tie point limit: 4,000
Disable “Generic Preselection” only if you’re dealing with unordered image sets. Enabling “Reference Preselection” can save time when GPS metadata is available.
2. Optimize Depth Map Settings
When generating depth maps (used in mesh or dense cloud creation), quality and filtering settings directly affect performance.
- Quality: Set to Medium or High (avoid Ultra High unless required)
- Depth filtering: Choose “Mild” to balance detail and speed
“Aggressive” filtering may remove important geometry, while “Disabled” increases noise and processing time.
3. Choose Mesh vs Dense Cloud Workflow
If your goal is to create textured 3D models or digital twins, you can skip the dense cloud step entirely and build the mesh directly from depth maps.
- Faster and lighter output
- Fewer alignment artifacts
- Ideal for urban mapping, architecture, or medium-detail objects
4. Use Region Clipping and Masks
Don’t process what you don’t need. Use the Region Box to limit the reconstruction area and image masks to ignore sky, people, or background objects.
This is especially important for aerial datasets or projects in cluttered environments.
5. Lower Texture Size (If Applicable)
When generating textures, extremely high resolutions can be unnecessary for many projects. Use the following guidelines:
- 4096 x 1 (default) is often enough
- 8192+ only if for close-up inspection or large printing
- Use “Mosaic” blending mode for faster results
6. Work in Chunks
If your project has hundreds or thousands of photos, split them into chunks. This helps Metashape manage memory more effectively and allows you to process in parallel (especially with Network Processing).
Later, you can align and merge the chunks into a seamless model.
7. Disable Unused Processing Steps
Don’t check every box “just in case.” Skip model types you don’t need (e.g., dense cloud, DEM, tiled model) to avoid wasted hours of processing.
- No need to build orthomosaics if you only want a 3D model
- Skip the mesh if you need only the dense cloud
- Avoid DEM/DSM unless doing topographic analysis
8. Use GPU Acceleration
Metashape supports GPU acceleration for depth maps and texture generation. Make sure your system settings are correct:
- Enable GPU devices in Tools → Preferences → GPU
- Use CUDA-compatible NVIDIA cards (RTX 3060 or better recommended)
- Install latest drivers for optimal performance
9. Monitor RAM and Disk Usage
Insufficient RAM can cause swapping and major slowdowns. Projects with more than 500 photos often require 64GB+ RAM. Also:
- Use SSDs or NVMe drives for project and temp folders
- Store your Metashape cache on the fastest available disk
10. Batch and Script Your Workflow
If you regularly process similar datasets, use Python scripts to batch steps and reduce human error. This is especially useful for processing overnight or on cloud machines like AWS or Paperspace.
Bonus: Use Metashape Network Processing
With the Professional edition, you can distribute processing across multiple computers. Use the Network Monitor tool to coordinate server and worker nodes for faster chunk or depth map calculation.
Conclusion
Speeding up Agisoft Metashape doesn’t require sacrificing accuracy. With the right settings, hardware, and workflow, you can drastically reduce processing time and work more efficiently. Whether you’re mapping a forest, scanning a statue, or processing urban drone flights—these tweaks will help you get results faster and better.