Agisoft Metashape produces highly detailed 3D models from drone imagery or close-range photos. However, these models can quickly become massive in size—making them hard to share, view, or use in real-time environments. In this guide, you’ll learn how to reduce model size in Metashape without sacrificing too much detail, optimizing your workflow for export, collaboration, and web or game use.
1. Why Reduce Model Size?
- Performance: Large models are slow to render and difficult to use in Unity, Unreal, or Cesium
- Sharing: File sizes above 1GB are hard to upload/download
- Web deployment: Real-time 3D requires low polygon count and small textures
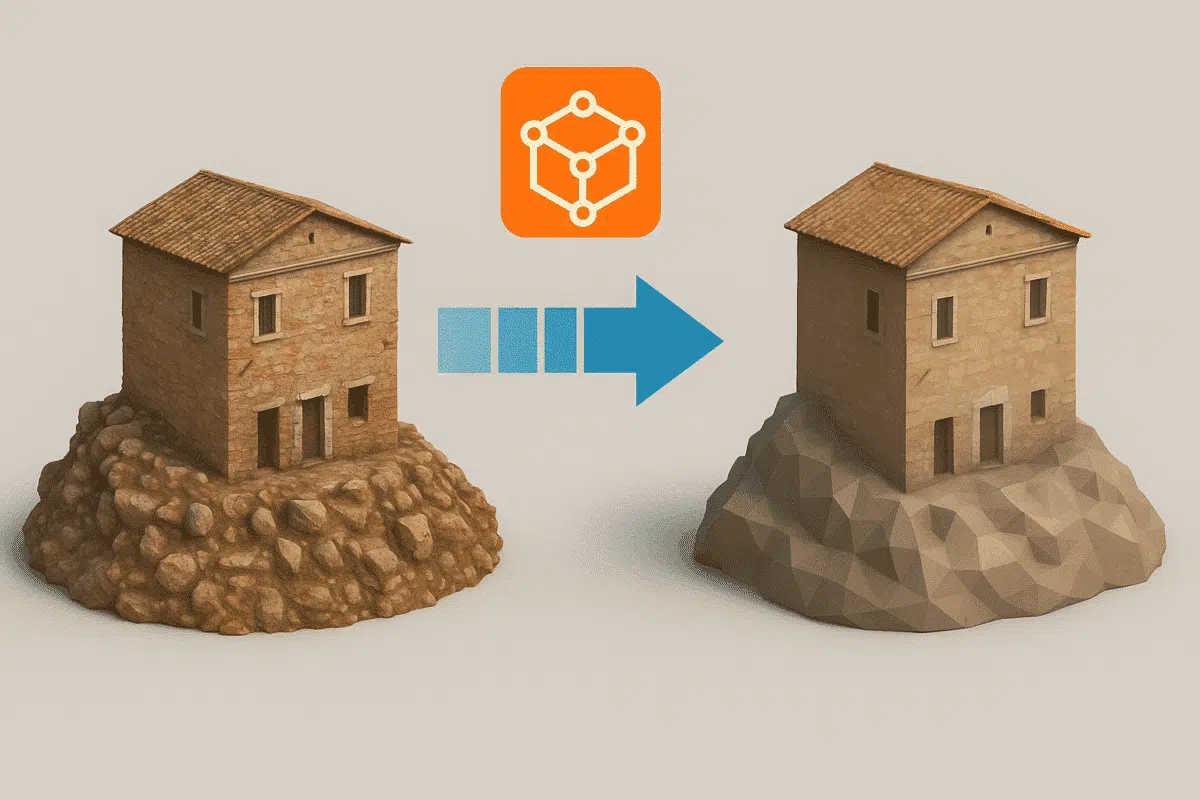
2. Use Decimation to Reduce Polygons
After building a high-resolution mesh, use the Decimate Mesh tool to reduce polygon count while keeping the shape visually similar.
- Go to: Tools → Mesh → Decimate Mesh
- Target Face Count: Try 250,000–500,000 for game/web use
- Preserve Borders: Checked
- Keep UV: Checked (to retain texture mapping)
Tip: Start with a copy of your chunk so you don’t lose the original full-res mesh.
3. Resize Textures for Lower File Size
Texture images can be huge (up to 16K resolution). You can reduce them without losing much quality, especially for mobile or online viewing.
- Texture size: Set to 4096×4096 or 2048×2048
- Texture format: Use JPEG for smaller size, PNG for better quality
- Blending mode: Mosaic gives good visual results at lower resolutions
To rebuild a smaller texture: Workflow → Build Texture → Set lower resolution
4. Export as glTF or glb
The glTF/glb format is optimized for streaming, web deployment, and compact storage. It embeds geometry, materials, and textures into a single file (glb), making sharing easy.
- Go to: File → Export Model → Format: glTF (.glb)
- Check: Embed textures, UVs, normals
- Optional: Uncheck “Export in World Coordinates” for smaller scene bounds
glb files can reduce total file size by up to 80% compared to OBJ/FBX with external textures.
5. Use Region Clipping or Bounding Box
If your project covers a large area, but you only need part of it, clip the model using the region bounding box:
- Use the Resize Region tool in the toolbar
- Adjust the box to include only the needed geometry
- Use Workflow → Crop to delete unneeded parts
This drastically reduces the number of vertices and texture area.
6. Simplify Dense Cloud Before Mesh
If you haven’t built the mesh yet, you can reduce data earlier by thinning the dense cloud:
- Dense cloud quality: Use Medium or Low
- Remove noise: Tools → Dense Cloud → Filter by Confidence
- Subsample points: Select → Filter → Subset before mesh generation
Reducing point cloud density reduces mesh complexity down the line.
7. Automate Optimization with Python
Use Metashape’s Python API to decimate, export, and resize assets in a batch process. Example functions include:
chunk.model.decimate()to reduce polygonschunk.exportModel()with format=’glb’- Loop through multiple chunks or datasets
Automation saves time on large datasets or repetitive tasks.
8. Use External Tools for Further Compression
- MeshLab: Additional decimation and texture packing
- Instant Meshes: Auto retopology to reduce geometry
- Blender: Resize UVs, bake textures, reduce draw calls
These tools are helpful for preparing assets for mobile apps, AR/VR, or web platforms.
Conclusion
Reducing 3D model size in Metashape doesn’t mean compromising quality. By decimating meshes, resizing textures, clipping unnecessary areas, and exporting in efficient formats like glb, you can drastically reduce file size while maintaining visual fidelity. Whether you’re publishing models online, loading them into a game engine, or sharing with clients, these techniques will optimize performance and usability.
Start with careful planning, test exports, and automate when possible. Smaller models mean faster workflows and happier users.