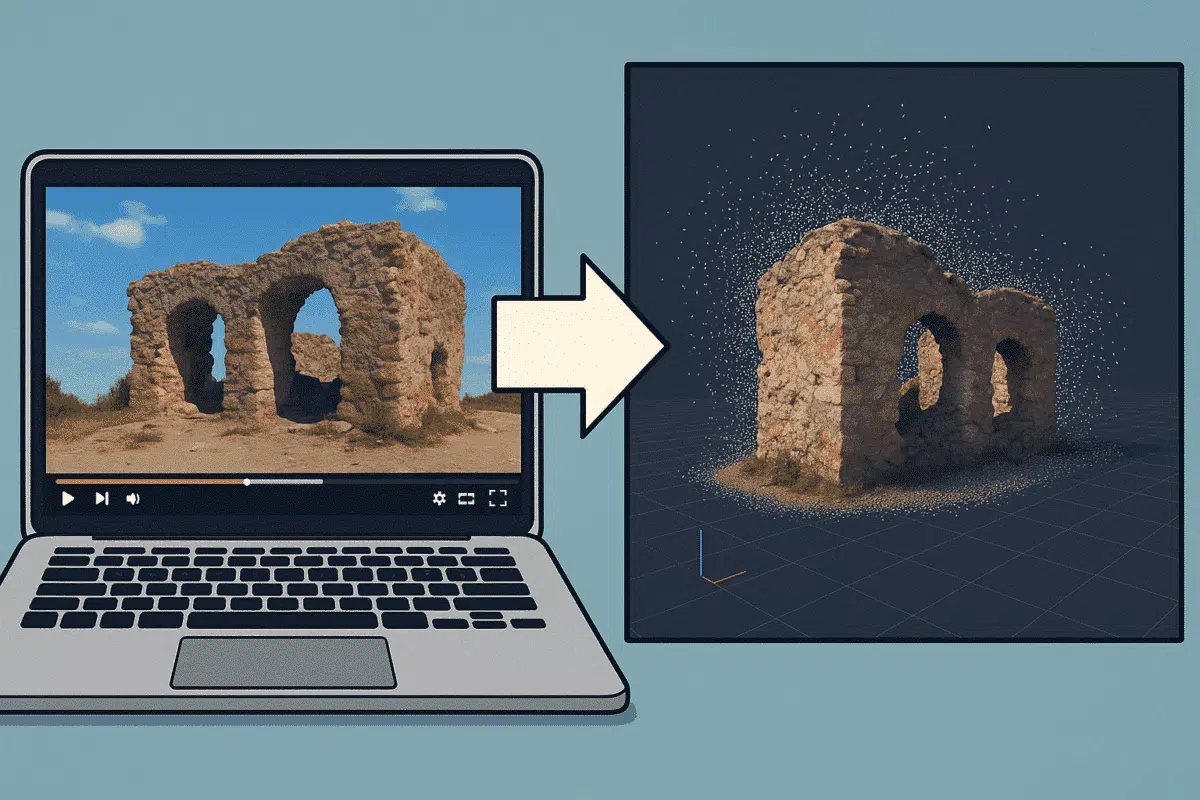
Did you know that you can use video footage to create 3D models in Agisoft Metashape? Even without a DSLR or drone, videos from smartphones or action cameras can be used for photogrammetry by extracting still frames. This guide shows you how to convert a video into a photogrammetric dataset and reconstruct a 3D scene using Metashape.
1. Why Use Video for Photogrammetry?
Using video offers several advantages:
- It’s easier and faster to capture scenes
- You can cover dynamic or hard-to-access environments
- Smartphones and GoPros can be used instead of drones
- You can reconstruct older events using archived footage
2. Step 1: Choose the Right Video Format
Metashape doesn’t process video files directly. You must first extract still frames. Choose a video with the following characteristics:
- Resolution: 1080p or higher (4K preferred)
- Stable movement (walkthrough or orbit shot)
- Good lighting and minimal motion blur
- Less compression (use original footage if possible)
3. Step 2: Extract Frames from the Video
You can use tools like FFmpeg, VLC Media Player, or Adobe Premiere to extract frames:
ffmpeg -i input.mp4 -vf "fps=2" frames/frame_%04d.jpg
This command extracts one frame every 0.5 seconds (2 FPS). Adjust the frame rate depending on motion speed—too many similar frames can increase processing time with no benefit.
4. Step 3: Load Images into Metashape
- Open Metashape and create a new project
- Go to Workflow → Add Photos
- Select all the extracted JPG or PNG frames
- Organize them into a new chunk
From here, the process is the same as working with drone or DSLR images.
5. Step 4: Align Photos and Reconstruct the Model
- Run Align Photos with medium or high accuracy
- Build the Dense Cloud (set quality based on your hardware)
- Generate Mesh and Texture from the point cloud
Be sure to review camera positions and remove any blurry or redundant frames that cause alignment issues.
6. Tips for Better Results from Video
- Use a gimbal or stabilizer when recording to avoid motion blur
- Try slow, consistent movement (no rapid pans)
- Use Key Frame Extraction in some video editors to automatically select useful frames
- Manually delete poor-quality frames before alignment
7. Limitations of Video-Based Photogrammetry
- Lower sharpness compared to still photos
- Compression artifacts can reduce texture quality
- Low frame rate or fast movement can introduce blur
- No GPS/geolocation metadata in frames (you must use manual scaling or markers)
8. Exporting Your Model
Once your 3D reconstruction is complete, you can export it for visualization or sharing:
- OBJ/FBX/PLY: For 3D editing or online viewers
- GLB/GLTF: For mobile and WebAR apps
- Orthomosaic or DEM: If geographic projection is manually defined
Conclusion
Reconstructing 3D models from video footage in Metashape is a powerful method for situations where still photography isn’t practical. With proper frame extraction, stabilization, and careful alignment, you can create accurate 3D representations from simple video clips—opening the door to new creative, educational, and documentation workflows. Whether you’re scanning archaeological digs, art installations, or accident scenes, your smartphone video can become a high-quality 3D asset.