While nadir images are commonly used in photogrammetry, oblique images—taken at an angle—offer valuable context for 3D modeling and orthophoto generation. With Agisoft Metashape, it’s entirely possible to generate orthophotos from oblique images, though the workflow requires some special attention to settings, alignment, and camera calibration. This guide walks you through the full process.
What Are Oblique Images?
Oblique images are captured at an angle (typically 30–60° from vertical), allowing for better visualization of façades, terrain edges, and vertical structures. These are often used in urban mapping, architecture, and inspection workflows.
Challenges with Oblique Imagery in Photogrammetry
- Camera angles create parallax and require precise camera calibration
- Ground Control Points (GCPs) become even more important for georeferencing
- Default orthophoto projection settings may crop or distort oblique content
- Increased overlap is necessary for proper feature matching
Step 1: Capture Strategy for Oblique Orthophotos
- Camera Angle: Tilt your drone camera 30–45° for oblique shots
- Overlap: Maintain 80% forward and 70% side overlap
- Flight Height: Fly slightly higher than normal to reduce occlusions
- Lighting: Choose times with consistent lighting to avoid shadow shifts
- Use RTK/PPK or GCPs for best georeferencing results
Step 2: Import and Align in Metashape
Start your project by importing your oblique images into Metashape. Proceed with the Align Photos stage using the following settings:
- Accuracy: High
- Key Point Limit: 60,000+
- Tie Point Limit: 10,000+
- Adaptive Camera Model Fitting: Enabled
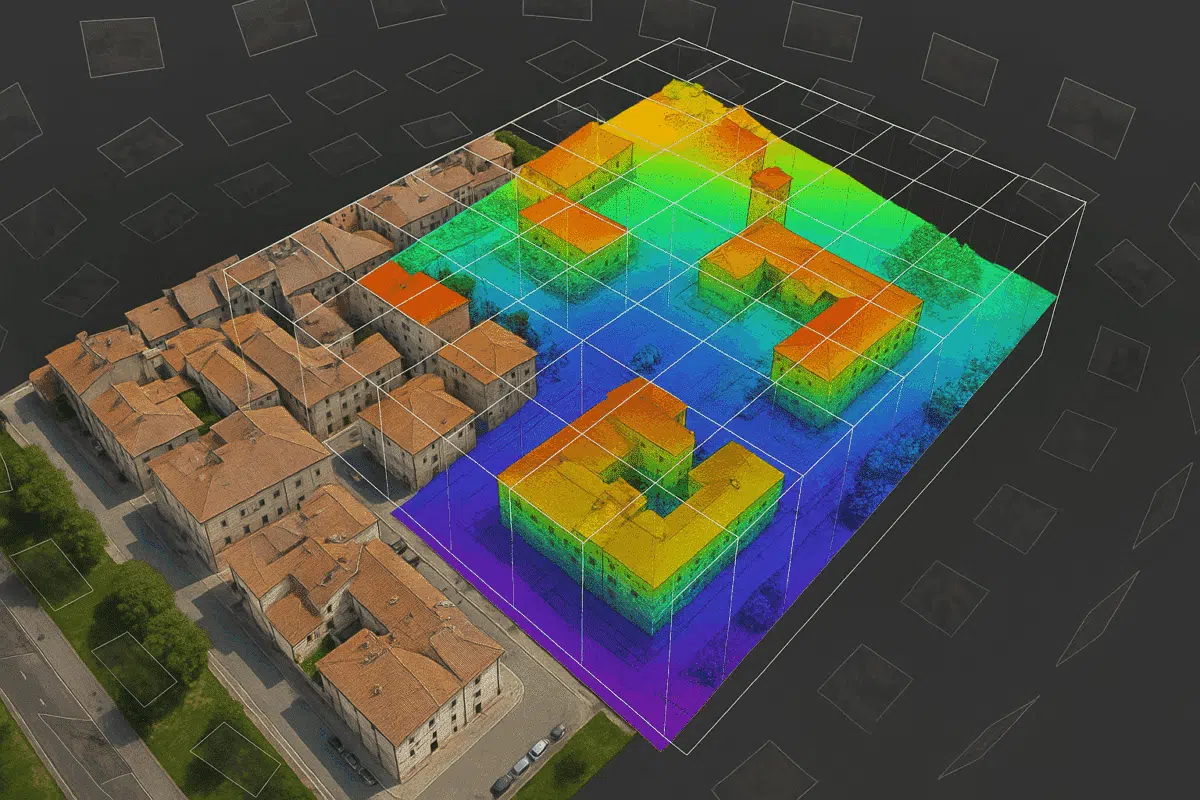
After alignment, check the sparse point cloud. If some cameras are not aligned, consider adding markers or manually adjusting tie points.
Step 3: Add GCPs or Use GPS Tags
Because of the perspective effects in oblique imagery, GCPs are essential for producing geometrically correct orthophotos. Import GCP coordinates and mark them in several images for accurate optimization.
Step 4: Build Dense Cloud and Mesh (Optional)
- Dense Cloud Quality: Medium or High
- Depth Filtering: Moderate (recommended)
For projects involving buildings or complex terrains, you can optionally build a 3D mesh before proceeding to orthophoto generation.
Step 5: Generate DSM or DEM
To build an orthophoto, you need an elevation model:
- Use DEM (Digital Elevation Model) if you need bare-earth representation
- Use DSM (Digital Surface Model) if rooftops and vegetation should be visible
Step 6: Build Orthomosaic from Oblique Images
This is the most important step. In the Build Orthomosaic dialog, use the following settings:
- Surface: DEM or DSM (depending on previous step)
- Blending Mode: Mosaic (default) or Average
- Projection: EPSG code of your local coordinate system
- Enable Hole Filling: Optional, helps smooth transitions
If parts of façades are not visible or are distorted, consider masking those areas in source images or using the Orthophoto Editing Tool in Metashape Pro.
Step 7: Export and Post-Process
Once the orthophoto is generated, export it as a GeoTIFF with embedded coordinate information. You can then open the result in QGIS, AutoCAD, or any GIS/CAD software for validation and analysis.
- Use QGIS to verify scale and projection
- Use Photoshop/GIMP for visual enhancements
- Use Pix4D or ODM for result comparison if needed
When Are Oblique Orthophotos Useful?
- 3D city modeling with visible façades
- Bridge and building inspection documentation
- Architectural heritage surveys
- Sloped terrain visualization in mining or forestry
Conclusion
Creating orthophotos from oblique images in Metashape is more complex than using nadir imagery but allows for much richer visualization and context—especially in urban or vertical environments. With the right alignment, GCPs, and settings, you can produce accurate and visually compelling orthomosaics that go beyond the flat top-down view. This technique is increasingly important for architects, surveyors, and anyone working in 3D spatial documentation.