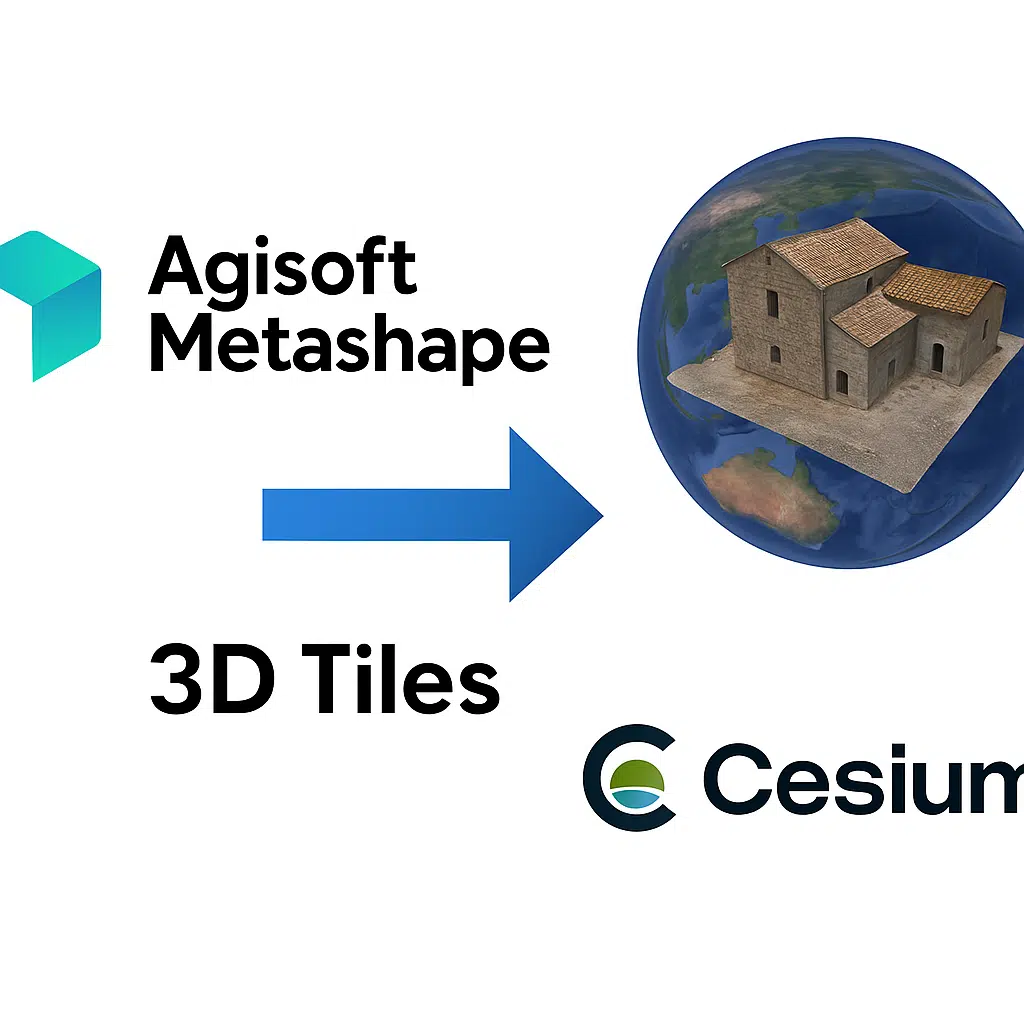
Agisoft Metashape offers advanced tools for 3D reconstruction, dense cloud generation, and textured mesh creation. But once your model is complete, how do you export it in a format compatible with modern 3D geospatial platforms like CesiumJS? The answer is: export to 3D Tiles. In this article, we walk you through the process of exporting 3D Tiles from Metashape and using them in Cesium.
What Are 3D Tiles?
3D Tiles is an open specification created by Cesium for streaming massive heterogeneous 3D geospatial datasets online. It supports various data types including point clouds, photogrammetric meshes, and vector data—all optimized for web-based visualization with CesiumJS, an open-source 3D globe engine.
Does Metashape Support 3D Tiles Export Directly?
As of version 2.0+, Agisoft Metashape Professional includes direct support for exporting 3D Tiles (in .b3dm format). However, some configuration steps are required to ensure compatibility and optimal performance.
Requirements
- Agisoft Metashape Professional (v1.8.4+)
- Processed model (mesh or tiled model)
- Accurate coordinate system (WGS 84 or projected CRS)
- Optional: Cesium ion account for hosting
Step-by-Step: Exporting 3D Tiles from Metashape
- Open your Metashape project with a completed textured mesh or tiled model.
- Ensure that your chunk is properly georeferenced (preferably in
EPSG:4326– WGS84). - Select the chunk → Right-click → Export → Export Model (or tiled model).
- In the export dialog, select the format: Cesium 3D Tiles (.json + .b3dm)
- Specify the export folder and file name.
- Adjust the following parameters:
- Tile size: Use a power-of-two value (e.g. 256, 512)
- Geometry format: binary (.b3dm)
- Convert to local coordinates: Disable this for Cesium
- Click OK and wait for the tileset generation to finish
Optional: Tiling from Python Script
If you wish to automate the export via script, use the following Python snippet within Metashape’s console:
import Metashape

chunk = Metashape.app.document.chunk
chunk.export3DTiles(path="C:/output_folder/",
                    format=Metashape.ThreeDTilesFormat.B3DM,
                    tile_size=256,
                    split=True)
Previewing Your 3D Tiles in Cesium
- Option 1: Use Cesium ion to upload and host your tileset online.
- Option 2: Use local CesiumJS viewer (hosted via localhost or static server).
- Option 3: Integrate into your own WebGL/CesiumJS application via JavaScript.
The exported folder will contain a tileset.json and multiple .b3dm tiles. Simply point CesiumJS to the tileset.json file.
Common Export Issues
- Missing georeferencing: Make sure your chunk has a defined CRS.
- Black or missing textures: Check texture resolution and UV mapping.
- Tiles not loading in Cesium: Review tile size and CRS compatibility.
Best Practices
- Use WGS84 (EPSG:4326) for maximum compatibility
- Keep your mesh simplified—avoid 100M+ faces unless absolutely needed
- Enable texture atlas compression for faster web loading
- Host on a CDN or optimized static server for large projects
Alternatives if 3D Tiles Export Fails
If you’re using Metashape Standard or an older version, you can still generate Cesium-compatible content using an intermediate toolchain:
- Export OBJ or glTF from Metashape
- Convert using obj2gltf or 3D Tiles Tools
- Use Cesium ion’s converter for drag-and-drop conversion
Use Cases for Cesium + Metashape
- Urban modeling and smart cities
- Archaeological site visualization
- Drone survey publishing
- Infrastructure monitoring
Conclusion
Exporting your Metashape models to 3D Tiles is a great way to publish and share high-resolution 3D content online. Whether you’re visualizing drone scans, city models, or terrain reconstructions, the Cesium platform allows you to stream massive datasets directly to the browser. With native support in Metashape Professional, the process is now easier than ever.