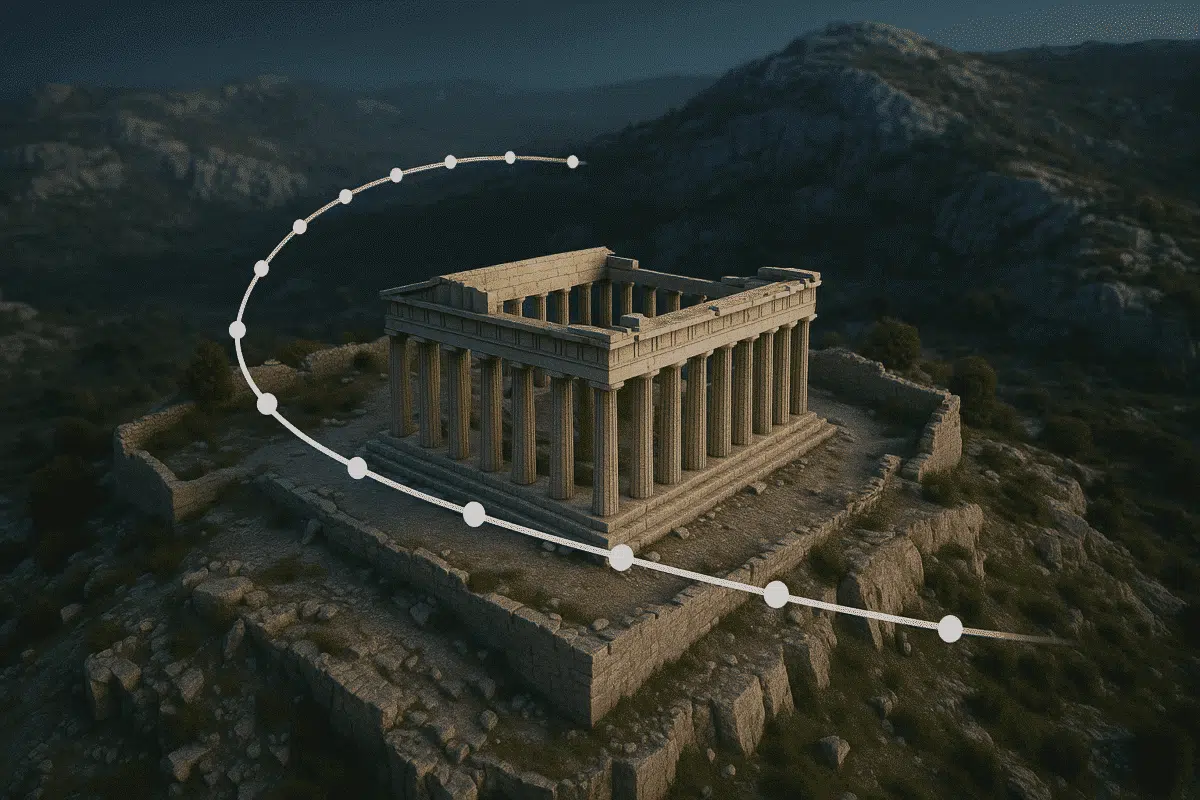
Agisoft Metashape is widely known for its photogrammetry capabilities, but many users don’t realize it also includes basic animation tools. With the camera track feature, you can create professional-looking flythrough animations directly within Metashape, ideal for presentations, reports, or online showcases.
Why Create 3D Flythroughs?
Animated flythroughs add life to your 3D models. Whether you’re working in architecture, archaeology, land surveying, or construction monitoring, animated videos can:
- Showcase terrain or object models from various angles
- Guide stakeholders through a specific inspection path
- Visually explain model features in online portfolios or client meetings
- Create promotional content or instructional visuals
Step 1: Prepare Your 3D Model
Before creating an animation, make sure your model is complete:
- Generate a textured 3D model or DEM
- Ensure all chunks are aligned and merged (if needed)
- Use shaded or textured display mode for best visual output
- Optionally, simplify the mesh or texture resolution for smoother performance
Step 2: Enable Animation Tools
Metashape’s animation toolbar is hidden by default. To activate it:
- Go to View → Animation → Show Animation Panel
- The animation track will appear at the bottom of your screen
Step 3: Create Keyframes for Camera Movement
Flythroughs are created by moving the camera between “keyframes”—camera positions that define your path.
- Rotate, pan, or zoom to your desired first view
- Click “Add Frame” in the animation toolbar to save that view
- Move the camera to a new position, then click “Add Frame” again
- Repeat to build a full camera path
You can adjust the timing between frames or delete/reorder them if needed. The transition between keyframes is smooth and interpolated automatically.
Step 4: Preview Your Animation
Click the Play button in the animation panel to preview the motion. You can pause, scrub through the timeline, or tweak camera angles to refine the flow.
Step 5: Export the Flythrough as a Video
Once your camera path is ready, export the animation as a video:
- Go to File → Export → Export Animation
- Choose format: MP4, AVI, or MOV
- Select resolution (e.g., 1920×1080 for Full HD)
- Set frame rate (recommended: 24–30 FPS)
- Define output duration (e.g., 15–60 seconds)
Rendering may take a few minutes, depending on model complexity and output resolution.
Tips for Better Results
- Use textured view for more realistic animations
- Keep the camera steady with smooth transitions between frames
- Highlight important features by zooming or rotating around them
- Test different paths to find the most cinematic route
Bonus: Export Camera Path to Blender or After Effects
Want more control or post-production effects? You can export the animation camera path:
- Go to Tools → Export → Export Cameras
- Choose format: FBX or Alembic for compatibility with 3D apps
- Import into Blender, After Effects, or Unity for enhanced rendering and overlays
Common Use Cases
- Archaeology: Fly over excavation sites or ruins
- Construction: Showcase building progress or site layout
- Tourism & Culture: Promote landmarks with virtual tours
- Surveying: Walk clients through terrain or DEM models
Conclusion
Creating 3D flythrough animations in Agisoft Metashape is easier than you think. With just a few keyframes and exports, you can transform your 3D models into engaging visual stories. Whether you’re presenting to a client, publishing online, or archiving for research, animations are a powerful way to showcase your photogrammetry work.


