In complex photogrammetry projects, splitting a project into multiple chunks in Agisoft Metashape is often necessary—for example, when working with large datasets, separate flight missions, or different parts of a building. But to produce a seamless final model, you’ll need to correctly align and merge those chunks. This guide explains how to combine multiple chunks into a single coherent model, step-by-step.
1. What Are Chunks in Metashape?
Chunks in Metashape are like separate scenes or subprojects. Each chunk has its own photos, alignment, dense cloud, and model. You can work on them independently—useful when processing large areas or indoor sections separately.
2. Why Use Multiple Chunks?
- Divide large datasets into manageable parts
- Process indoor and outdoor spaces separately
- Split missions flown at different times or altitudes
- Apply different settings to different areas
Once individual chunks are aligned and processed, you can combine them into a single point cloud, mesh, or orthomosaic.
3. Methods to Combine Chunks
There are two primary methods in Metashape for combining chunks:
- Align Chunks: Aligns chunks spatially without merging data
- Merge Chunks: Combines data (e.g., dense clouds, models) into a single chunk
4. Step-by-Step: Aligning Chunks
This method aligns chunks in the same 3D space, keeping data separate.
- Open the Chunks pane and ensure all chunks are complete (aligned or modeled)
- Go to Workflow → Align Chunks
- Select method: Camera-based (same cameras in each chunk) or Point-based (similar features)
- Enable “Fix scale” and “Fix orientation” if necessary
After alignment, all chunks are positioned in the same coordinate space. You can toggle them on/off to inspect alignment accuracy.
5. Step-by-Step: Merging Chunks
Merging chunks combines the data into one new chunk. Best done after alignment.
- Select Workflow → Merge Chunks
- Choose chunks to merge
- Select what to merge: Dense Cloud, Mesh, DEM, Orthomosaic
- Name the new chunk and confirm
The result is a new chunk with merged data. Original chunks remain unchanged unless deleted manually.
6. Tips for Better Alignment
- Use overlapping photos across chunks for better feature matching
- If using markers, place at least 3 common markers across all chunks
- Use similar settings (alignment accuracy, coordinate system) in each chunk
- Clean and optimize each chunk before merging to reduce noise
7. Can You Merge Chunks with Different Coordinate Systems?
No. All chunks must share the same coordinate system to merge correctly. You may need to reproject one chunk or align them manually using markers or transformation tools.
8. After Merging: Export Unified Outputs
Once chunks are merged, you can continue with standard workflow:
- Generate new dense cloud or mesh (optional)
- Build orthomosaic and DEM
- Export point cloud, model, or raster outputs
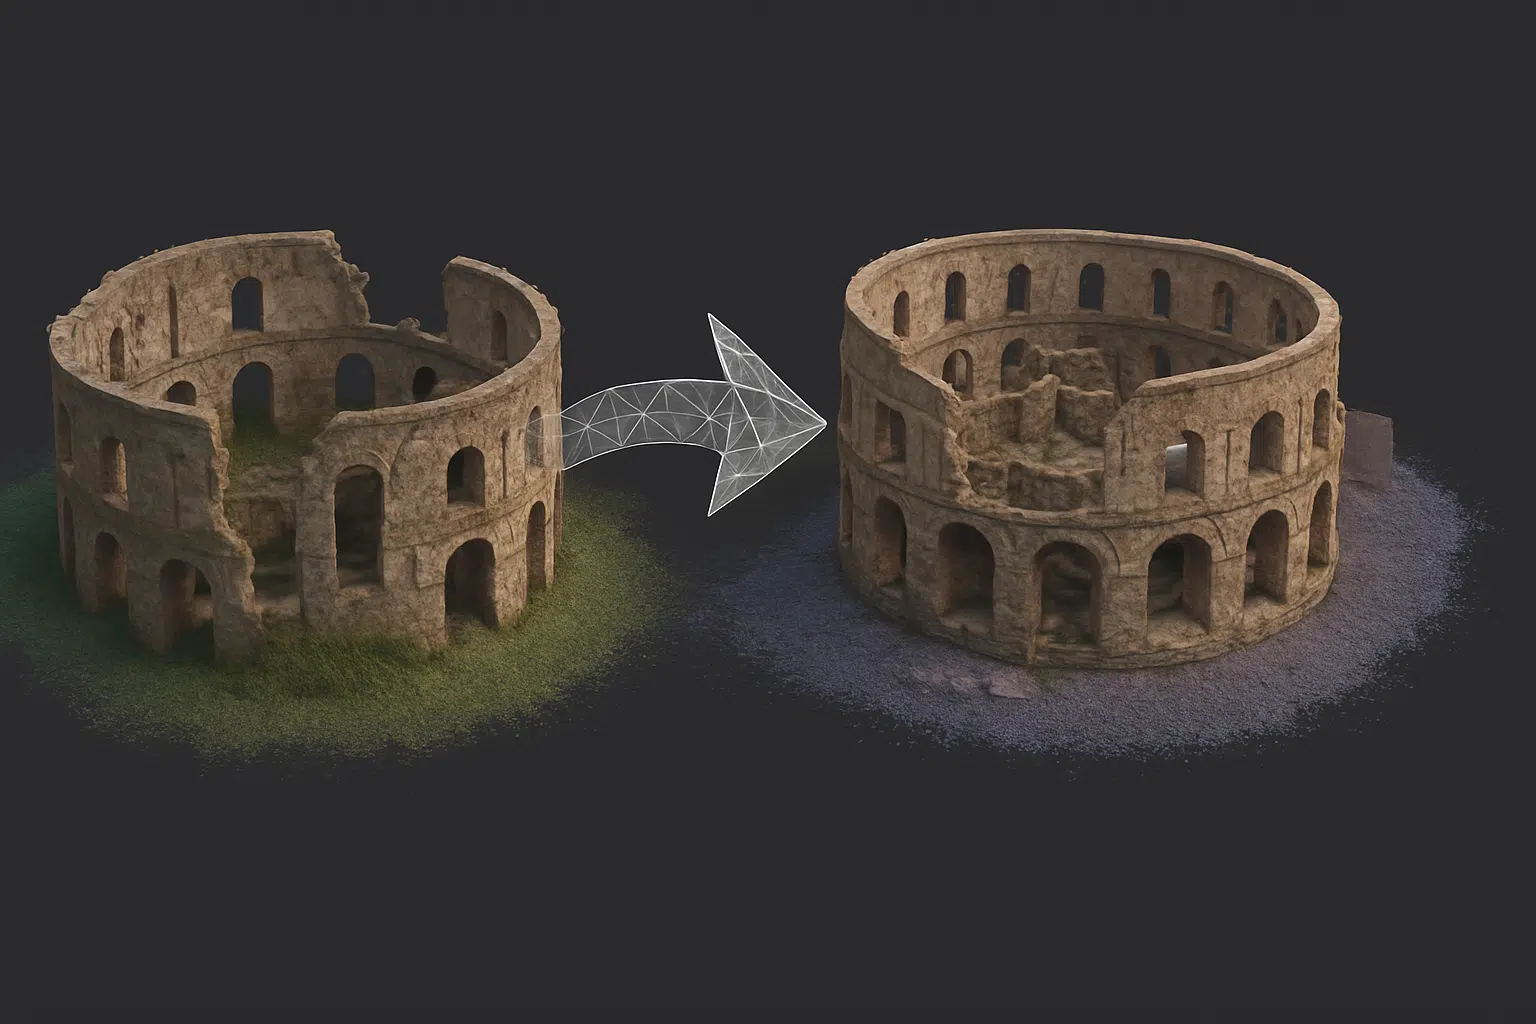
This is especially helpful for large mapping areas or complete architectural scans that began as separate zones.
Conclusion
Agisoft Metashape’s chunk system provides excellent flexibility for managing large or complex projects. Whether you need to process huge datasets in sections or capture interior and exterior scenes separately, aligning and merging chunks lets you create a seamless, accurate 3D model. With the right preparation and overlap, combining chunks is fast, reliable, and essential for high-quality photogrammetry outputs.