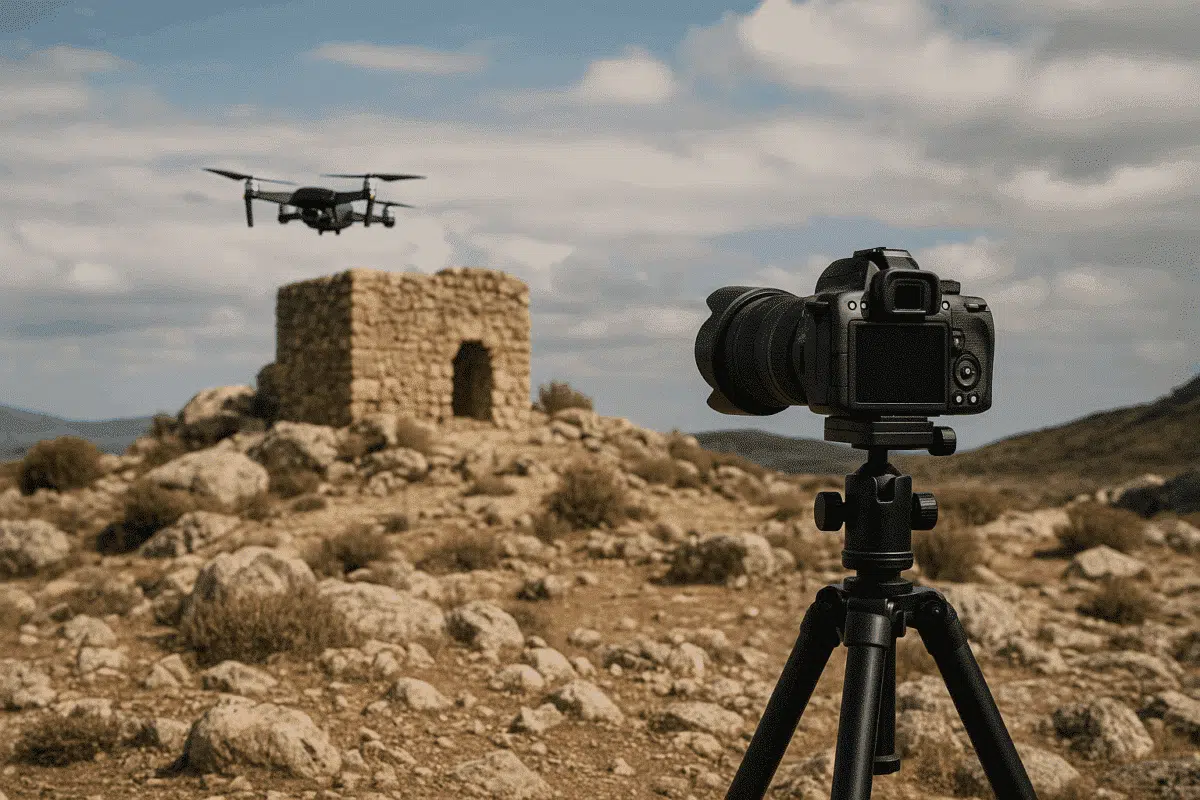
Photogrammetry relies entirely on the quality of your photos. Whether you’re using a drone or DSLR, capturing sharp, well-lit, and properly overlapped images is essential for producing accurate 3D models, orthophotos, and point clouds. In this guide, you’ll learn how to capture the best photos for photogrammetry—including the ideal camera settings, techniques, and common mistakes to avoid.
1. General Principles of Photogrammetry Photography
Good photogrammetry starts with planning and consistency. The software (like Agisoft Metashape) needs overlapping images with consistent lighting and sharp focus. Here’s what matters most:
- Sharp focus: Avoid motion blur and always use manual or fixed autofocus.
- Consistent exposure: Use manual mode or lock your settings.
- Uniform lighting: Avoid deep shadows or harsh contrast.
- High overlap: Ensure 70–90% overlap between images.
2. Recommended DSLR Settings
DSLRs offer control and image quality that are ideal for object scans, buildings, and indoor photogrammetry. Set your camera to the following baseline:
- Mode: Manual (M)
- Shutter speed: 1/125 – 1/250 (faster if handheld)
- Aperture: f/8 to f/11 (for sharpness and depth)
- ISO: As low as possible (100–400)
- Focus: Manual or Single AF locked before shooting
- White balance: Daylight or custom (avoid Auto)
- Image format: RAW or high-quality JPEG
Use a tripod for small objects or indoor scenes. Move around the subject in even steps, keeping consistent distance and height.
3. Drone Settings for Aerial Photogrammetry
Drone mapping requires high overlap, correct altitude, and stability. Most DJI drones offer automated flight apps for mapping missions. Recommended settings:
- Camera mode: Manual if possible (or Lock Auto settings)
- Shutter speed: 1/500+ (to freeze movement)
- Aperture: f/5.6 – f/8 (depends on model)
- ISO: 100–200
- White balance: Set to Daylight
- Image format: JPEG + DNG (if supported)
- Gimbal angle: Nadir (90° down) for mapping; oblique for 3D
Fly at consistent height (typically 60–120 meters AGL) and keep 75% front overlap and 70% side overlap. For 3D models, add a second oblique flight at a 45° camera angle.
4. Overlap and Coverage Strategy
Photogrammetry software reconstructs 3D geometry by comparing features across images. More overlap = more data points. Follow these rules:
- Front overlap: Minimum 75%, ideally 80–85%
- Side overlap: Minimum 60%, ideally 70–80%
- Multi-angle shots: Capture objects from multiple perspectives (top, side, low angle)
- Consistent spacing: Move in a grid or circle around the object/site
5. Avoid These Common Mistakes
- Auto exposure/focus: Causes inconsistent brightness and blur
- Low overlap: Leads to incomplete or distorted models
- Shadows/glare: Prevent the software from matching features
- Overexposed skies: Limit dynamic range in aerial shots
- Missing angles: No side or bottom views of an object
6. Ideal Conditions for Photogrammetry
- Lighting: Overcast days are best (no harsh shadows)
- Time of day: Mid-morning or late afternoon (for balanced light)
- Weather: No wind or rain (especially for drones)
- Environment: Avoid moving objects, shiny surfaces, or reflective materials
7. Image Organization and Metadata
Keep your image folders organized. Rename or number files clearly and ensure GPS metadata is embedded if you’re using drones or geotagging. This helps with accurate alignment in Metashape or other software.
Conclusion
Capturing high-quality, consistent photos is the foundation of successful photogrammetry. By mastering your DSLR or drone camera settings, planning your coverage, and avoiding common mistakes, you’ll ensure faster, more accurate reconstructions in Agisoft Metashape or any 3D processing software. Take your time, control your settings, and let the geometry work for you.