Creating realistic and accurate 3D city models has become more accessible thanks to advancements in drone photogrammetry and software like Agisoft Metashape. Whether you’re working in urban planning, architecture, or smart city development, a 3D reconstruction of cityscapes can provide invaluable spatial data. This article will guide you through the key steps and best practices for building 3D city models using drones and Metashape in 2025.
1. Choose the Right Drone and Camera
Urban environments present complex challenges like tall buildings, narrow alleys, and variable lighting. Therefore, selecting the right drone and camera is crucial. Recommended options include:
- DJI Matrice 4 series: Lightweight with RTK support and a 20MP sensor
- DJI Matrice 400 + Zenmuse P1: For professional-grade accuracy and full-frame imagery
2. Plan Your Flight Mission
City modeling requires both nadir and oblique images to capture façades and rooflines. A typical mission includes:
- Nadir Pass: Fly at 70–80 meters with 80% front and 70% side overlap
- Oblique Passes: Capture images at 45° angle from all four cardinal directions
- Altitude: Maintain a safe height above tallest buildings
- Speed: Slow down to reduce motion blur (≤ 3 m/s)
Use software like DJI Pilot 2, Litchi, or UgCS for mission planning. For optimal accuracy, include RTK/PPK data or Ground Control Points (GCPs).
3. Import and Align Photos in Metashape
Once your images are collected, upload them to Metashape and follow these steps:
- Import Photos: Drag-and-drop or use “Add Folder”
- Align Photos: Use High accuracy + Generic preselection
- Check Tie Points: Review sparse cloud for alignment errors
- Optimize Cameras: Add GCPs and refine camera positions
If oblique and nadir images were taken in separate missions, use chunks and align them before merging.
4. Build a Dense Point Cloud
After alignment, build the dense cloud with these settings:
- Quality: High (or Medium if resources are limited)
- Depth filtering: Moderate (to preserve fine edges)
- Hardware: Ensure GPU is enabled for faster processing
The dense cloud is critical for capturing façade geometry and ground elevation between buildings.
5. Create the 3D Mesh and Texture
To visualize buildings in 3D, you must convert the point cloud into a mesh:
- Build Mesh: Use depth maps or point cloud as the source
- Surface type: Arbitrary (3D) for buildings
- Build Texture: Use Mosaic or Adaptive orthophoto blending
The texture will provide a photorealistic appearance ideal for city simulations and presentations.
6. Export the City Model
Export your 3D city model in widely used formats depending on your workflow:
- OBJ/FBX: For rendering and visualization
- Cesium 3D Tiles: For web-based city viewers
- DXF/SHP: For GIS integration
- GLB/USDZ: For AR/VR and mobile apps
7. Post-Processing and Cleanup
Use external software to polish the output:
- Blender: To fix geometry and simplify the mesh
- CloudCompare: For cleaning noisy points and merging LiDAR
- QGIS/ArcGIS: To overlay 2D maps and zoning data
Applications of 3D City Models
- Urban Planning: Visualize zoning, shadows, and development impact
- Architecture: Integrate proposed buildings into real contexts
- Smart Cities: Digital twins for real-time management
- Emergency Planning: Analyze evacuation routes and risk zones
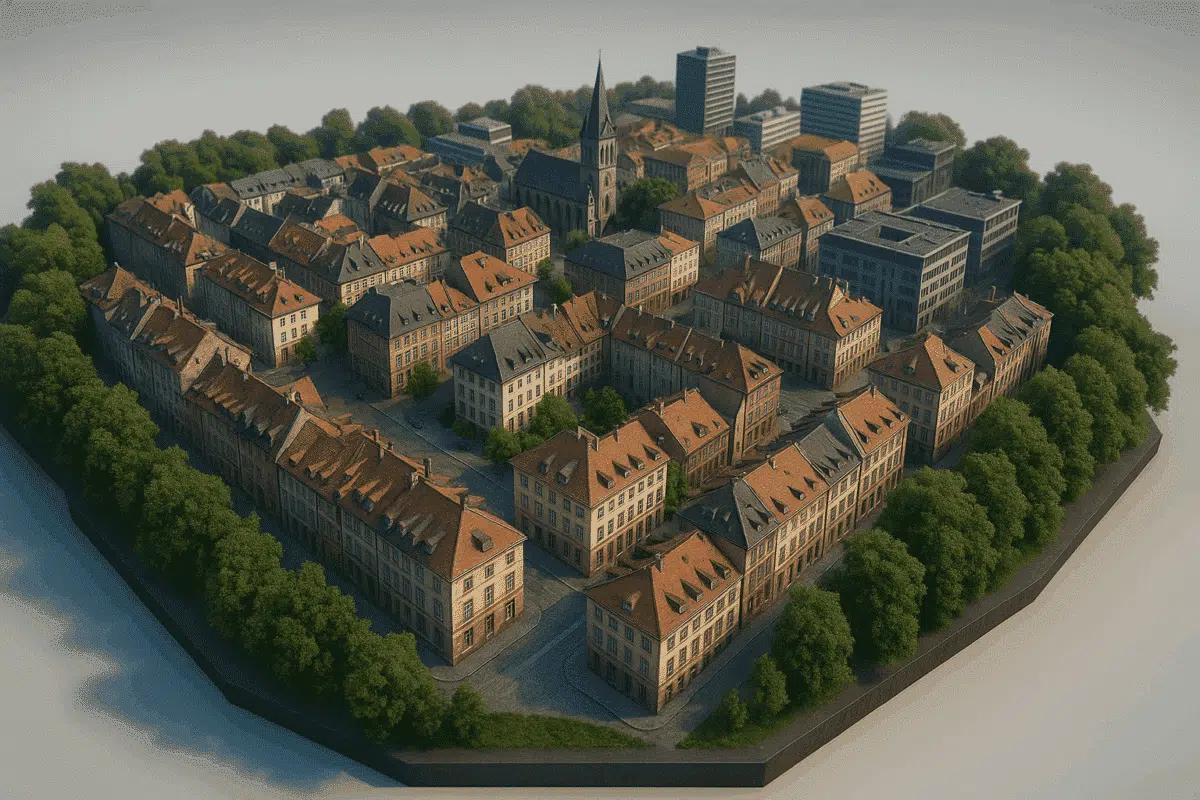
Final Thoughts
Thanks to drone technology and Agisoft Metashape, it is now easier than ever to build detailed and scalable 3D models of entire city blocks. By following best practices in image capture, processing, and export, you can produce high-quality city models suitable for planning, visualization, or analysis. As cities embrace digital twins, these techniques are essential for professionals working at the intersection of technology and the built environment.