Agisoft Metashape includes a powerful Python API that enables users to automate complex photogrammetry tasks. Whether you’re working on drone mapping, architecture, or archaeological documentation, scripting in Metashape can save hours of manual clicking. In this article, we’ll share five ready-to-use Python scripts that can dramatically streamline your workflow.
Why Use Python Scripting in Metashape?
Scripting gives you full control over Metashape’s pipeline—batch processing, custom workflows, parameter control, and integration with GIS or data platforms.
- Batch process hundreds of datasets without manual input
- Automate exports of orthophotos, models, or point clouds
- Generate reports or error logs automatically
- Integrate with cloud storage or external apps
How to Run a Script in Metashape
Go to Tools → Run Script or use the built-in Python console. You can also execute scripts from command line in headless mode (without GUI):
metashape.sh -r script.py
Make sure your script imports Metashape:
import Metashape
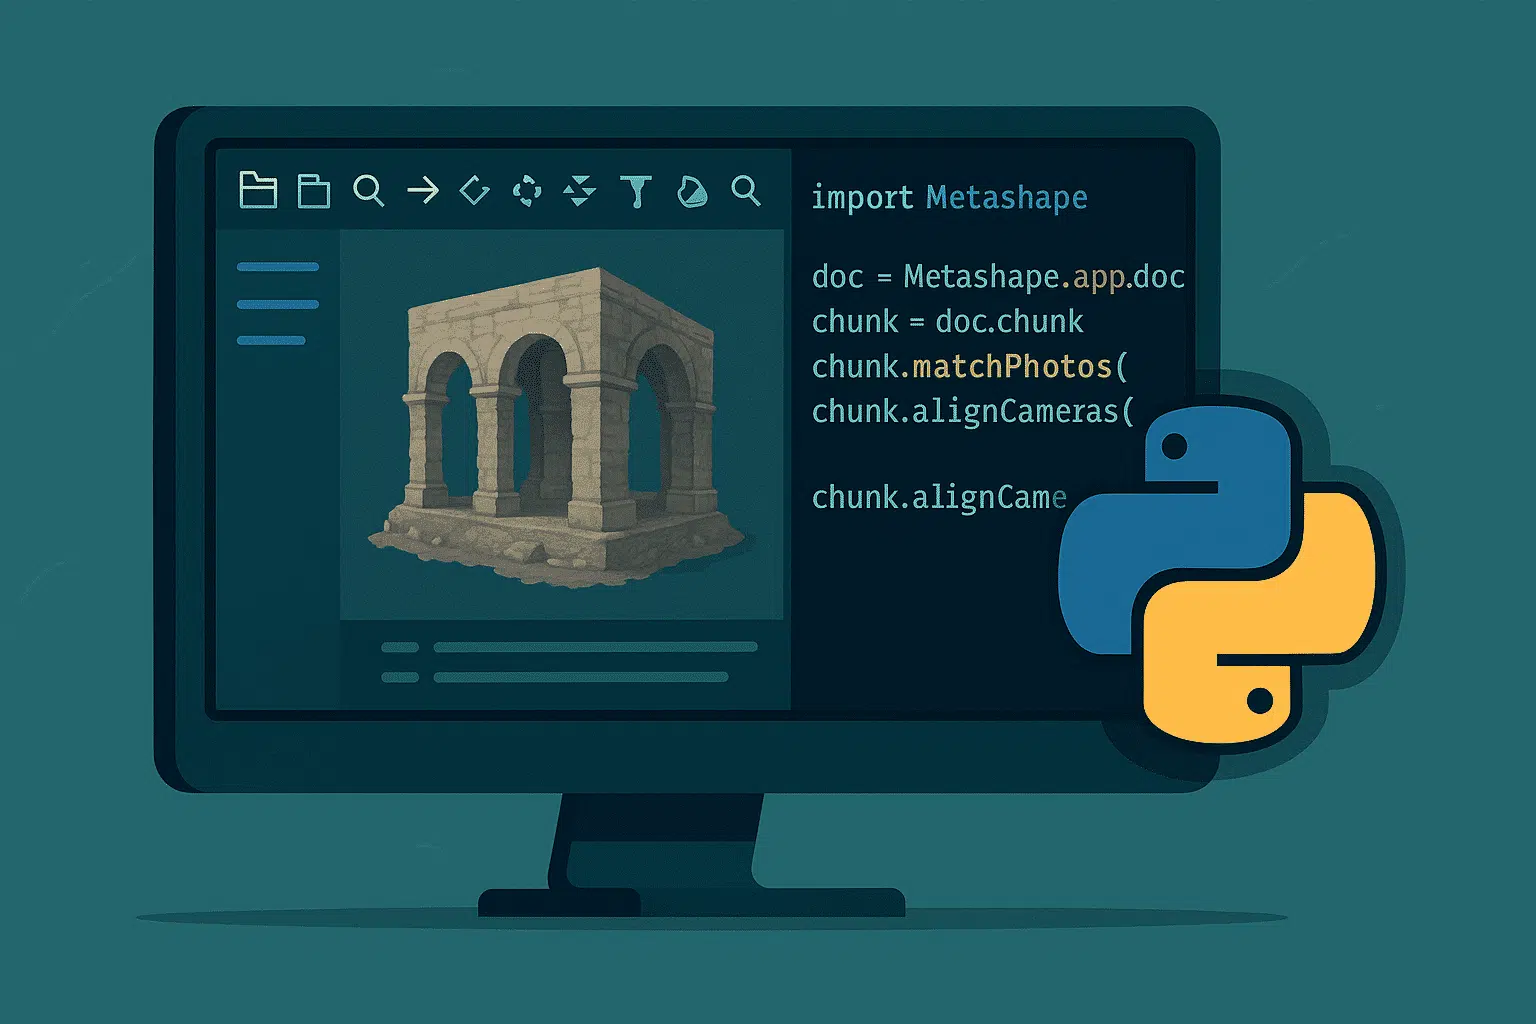
1. Auto Align Photos in a Chunk
This script aligns photos in a selected chunk using High accuracy and disables generic preselection for better results.
import Metashape
doc = Metashape.app.document
chunk = doc.chunk
chunk.matchPhotos(accuracy=Metashape.HighAccuracy, generic_preselection=False)
chunk.alignCameras()
Optional: add camera optimization or adaptive camera model fitting after alignment.
2. Build Dense Cloud and Mesh Automatically
chunk.buildDepthMaps(quality=Metashape.MediumQuality, filter=Metashape.AggressiveFiltering)
chunk.buildDenseCloud()
chunk.buildModel(surface_type=Metashape.Arbitrary, interpolation=Metashape.EnabledInterpolation)
This script works well after photo alignment and saves you time on long jobs.
3. Export Orthophoto Automatically
output_path = "C:/exports/orthophoto.tif"
chunk.buildOrthomosaic(surface_data=Metashape.ModelData, blending_mode=Metashape.MosaicBlending)
chunk.exportRaster(output_path, image_format=Metashape.ImageFormatTIFF)
This example exports the orthomosaic as a GeoTIFF. You can add projection parameters using projection=.
4. Export Point Cloud in LAS Format
output_las = "C:/exports/dense_cloud.las"
chunk.exportPoints(output_las, source_data=Metashape.DenseCloudData, format=Metashape.PointsFormatLAS)
You can switch format to Metashape.PointsFormatPLY or XYZ depending on the platform you’re using.
5. Auto-Generate PDF Report
report_path = "C:/exports/project_report.pdf"
chunk.exportReport(report_path)
It includes camera alignment stats, GCP errors, and processing steps—a perfect deliverable for clients.
Bonus: Full Automation Pipeline
For large projects, combine all above steps into a single Python script and run Metashape in headless mode via terminal:
metashape.sh -platform offscreen -r full_pipeline.py
Include input/output path logic and filename parsing to create a batch processing system for folders of images.
Where to Learn More
- Official Metashape Python API Reference
- Agisoft Metashape GitHub Repository
- Community scripts on Agisoft forums and GIS Stack Exchange
Conclusion
Python scripting unlocks the true potential of Agisoft Metashape, especially for users dealing with large datasets or frequent jobs. The five scripts shared in this article will automate your core photogrammetry tasks—saving time, reducing errors, and ensuring consistency. Whether you’re creating orthophotos, point clouds, or textured models, scripting is the key to scaling your 3D workflows efficiently.
Start small, customize scripts for your needs, and build your own automation library to become a Metashape power user in 2025.