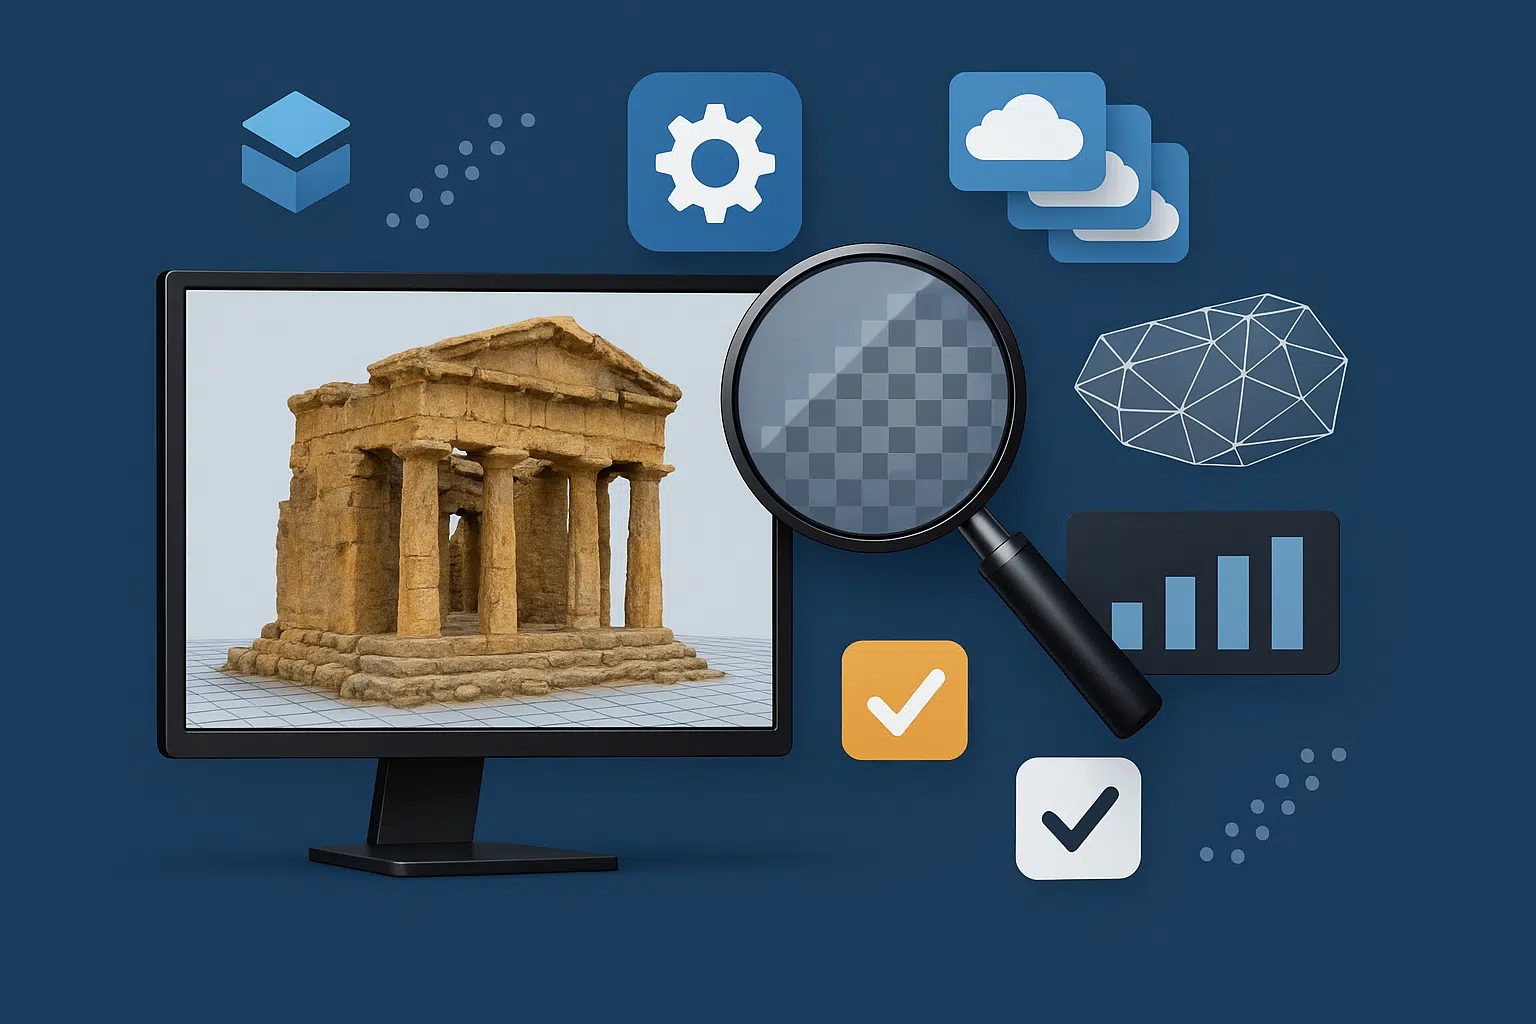
Agisoft Metashape is a powerful photogrammetry platform—but are you using it to its full potential? Whether you’re working on drone mapping, archaeology, architecture, or 3D scanning, these 10 expert tips and tricks will help you improve your model quality, reduce errors, and optimize your workflow like a pro.
1. Use Consistent Camera Settings
Always use manual camera settings to avoid exposure or focus shifts. Consistency in ISO, shutter speed, and white balance ensures better feature detection and seamless textures.
2. Calibrate Your Camera
If you’re using a non-metric camera (like DSLRs or drones), calibrate it using a checkerboard or known patterns. You can load or generate calibration profiles in Metashape for higher accuracy.
3. Take More Oblique Images
Many users only capture top-down shots. Add oblique (angled) images to improve mesh quality and reduce holes in vertical or complex surfaces like buildings, statues, or excavation walls.
4. Enable Rolling Shutter Compensation
If you’re using drones like the DJI Mini or Mavic series, rolling shutter artifacts can degrade model quality. In Metashape, go to Camera Calibration → Rolling Shutter and enable compensation for smoother reconstructions.
5. Use Ground Control Points (GCPs)
GCPs drastically improve georeferencing accuracy. Even 4–5 well-placed points can make a big difference. Import them via CSV and use the “Markers” tab to assign them in the photo view.
6. Use Depth Maps for Mesh Generation
Instead of using the dense cloud to build your mesh, try using depth maps. It’s faster, often produces smoother surfaces, and works better for small objects or indoor scans.
7. Optimize Camera Alignment
After aligning photos, always run Tools → Optimize Cameras. This adjusts focal length, distortion, and other parameters based on tie points—boosting accuracy before you move on to dense cloud generation.
8. Reduce Noise with Mild Filtering
Use “Mild” or “Moderate” depth filtering when building your dense cloud. “Aggressive” may remove too many points, while “Disabled” can introduce noise. Fine-tune based on your scene.
9. Use Chunk Duplication for Testing
Instead of experimenting on your only chunk, duplicate it and try different settings (e.g., mesh quality, texture blending, masking). This helps you A/B test outputs without losing progress.
10. Automate with Python Scripts
Don’t waste time on repetitive tasks. Metashape’s Python API lets you automate image imports, batch processing, export, and even report generation. You’ll save hours on big projects.
Bonus Tip: Keep Your Hardware Clean
3D processing is GPU and RAM-intensive. Keep your system cool, defragment drives, and close unnecessary apps to maximize performance. For big jobs, consider network processing with Metashape Pro.
Final Thoughts
These tips might seem small, but together they can elevate your Agisoft Metashape workflow to a professional level. Better inputs, smarter settings, and automated steps result in more accurate, cleaner 3D models—and happier clients or colleagues.
Metashape has powerful features—don’t let them go unused. Start applying these tricks in your next project and see the difference!


