Agisoft Metashape is one of the most advanced photogrammetry software platforms used for creating high-precision 3D models, orthophotos, and digital twins from photographs. While it runs smoothly on local workstations, large-scale projects — such as drone mapping, cultural heritage digitization, or industrial inspections — can quickly push the limits of local hardware. This is where cloud platforms like Microsoft Azure come into play.
Deploying Metashape on Azure allows you to scale computational resources on demand, drastically reduce processing time, and collaborate across teams without investing in expensive on-premises infrastructure. In this comprehensive guide, we’ll walk you through everything you need to know about running Agisoft Metashape on Microsoft Azure — from choosing the right virtual machines to optimizing performance for production-grade workflows.
Why Run Agisoft Metashape on Microsoft Azure?
Before diving into deployment details, it’s worth understanding why Azure is an excellent choice for hosting Metashape in the cloud. Here are the key advantages:
1. Scalability on Demand
Photogrammetry workflows often require significant CPU, GPU, and memory resources. With Azure, you can scale up or down based on your project needs. Whether you’re processing a small site scan or an entire city, you can dynamically allocate the required compute power.
2. Cost Efficiency
Instead of investing thousands of dollars in high-end workstations or GPU clusters, Azure lets you pay only for the resources you use. Once processing is complete, you can shut down the virtual machine to stop billing immediately.
3. Global Accessibility and Collaboration
Running Metashape on Azure enables global teams to collaborate seamlessly. Data and projects stored in the cloud can be accessed securely from anywhere, allowing multiple users to process and review photogrammetry results in real time.
4. Enterprise-Grade Performance and Security
Azure offers top-tier performance with its GPU-accelerated virtual machines, high-speed networking, and enterprise-grade security features — essential for industries handling sensitive geospatial or engineering data.
Step-by-Step: How to Deploy Agisoft Metashape on Microsoft Azure
Setting up Metashape on Azure may sound complex, but it’s straightforward if you follow the right steps. Here’s how to do it from start to finish.
Step 1: Plan Your Cloud Infrastructure
Before deployment, define your project requirements. Consider:
- Data size: How many images and how large are they?
- Processing stage: Are you building dense point clouds, DEMs, or full textured meshes?
- Performance goals: Do you need maximum speed or cost optimization?
Based on these factors, you can choose the right Azure VM type:
- Standard_NC series – Great for GPU-accelerated processing (NVIDIA Tesla GPUs).
- Standard_NV series – Optimized for visualization and GPU rendering.
- Standard_D or E series – High-memory CPU-based VMs for alignment and preprocessing tasks.
For most photogrammetry workflows, a GPU-accelerated VM (e.g., Standard_NC6 or Standard_NC24) provides the best performance for dense cloud and mesh generation.
Step 2: Create a Virtual Machine on Azure
1. Log into your Azure Portal.
2. Click on “Create a resource” → “Virtual Machine”.
3. Choose the subscription, resource group, and region closest to your location.
4. Select the VM size based on your performance needs (e.g., NC series for GPU processing).
5. Choose the operating system – Windows Server is typically easier for Metashape installation, but Linux is also supported.
6. Configure authentication (username and password or SSH key).
7. Add storage – SSD is recommended for fast I/O during processing.
8. Review and create the VM.
Once deployed, your virtual machine will be ready to configure.
Step 3: Install Agisoft Metashape
After your VM is running, connect to it:
- Windows: Use Remote Desktop (RDP) to connect to the VM.
- Linux: Use SSH to log in from your terminal.
Next, download the latest version of Metashape from the AgisoftMetashape.com.
Install the software as you would on a local machine. Once installed, activate your license key or connect your floating license server if you are using a network-based setup.
Step 4: Upload Your Image Data
There are several ways to get your data into Azure:
- Upload directly to the VM using Remote Desktop or SSH.
- Use Azure Blob Storage to store large image datasets and mount it on your VM.
- Use AzCopy or Azure Storage Explorer for fast bulk uploads.
For large-scale projects (hundreds or thousands of images), Azure Blob Storage is the most efficient and scalable method.
Step 5: Run Metashape Processing
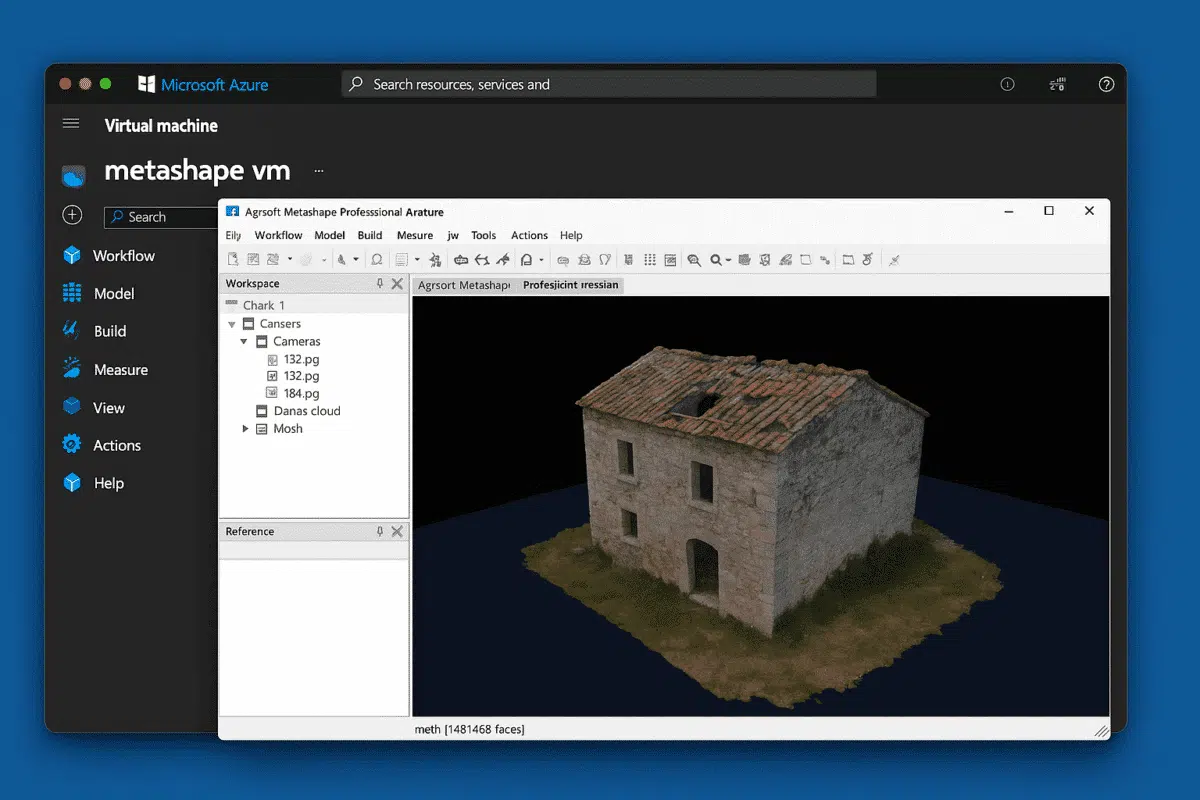
Once your data is uploaded, launch Metashape and begin your processing workflow. All features — from photo alignment to mesh generation — function the same way they do on a local installation, but with the added benefit of Azure’s scalable compute power.
If you’re running multiple processing nodes or want to automate tasks, consider using Metashape’s Python API or setting up a network processing cluster across multiple Azure VMs.
Optimizing Performance on Azure
To get the best results and minimize costs, keep the following tips in mind:
Use GPU Acceleration
Choose VMs with powerful GPUs (e.g., NVIDIA Tesla) to accelerate depth map generation, dense cloud processing, and mesh construction. GPU acceleration can cut processing times by up to 70% compared to CPU-only workflows.
Leverage Network Processing
For very large datasets, split tasks across multiple VMs using Metashape’s built-in network processing feature. This allows simultaneous processing of chunks, greatly reducing total runtime.
Monitor and Scale Resources
Use Azure Monitor to track CPU, GPU, and memory usage. If you notice resource bottlenecks, resize your VM or add additional nodes as needed.
Shutdown When Not in Use
Azure bills resources based on uptime. Always stop or deallocate your virtual machines when they’re not in use to save costs.
Advanced Setup: Automating Metashape Workflows on Azure
Once you’re comfortable running Metashape on a single VM, you can take your cloud workflow even further by automating it. Azure offers several tools that integrate seamlessly with Metashape:
- Azure Batch: Automate large-scale Metashape processing tasks across multiple nodes.
- Azure Functions: Trigger Metashape scripts automatically when new data is uploaded.
- Azure DevOps: Set up CI/CD pipelines for photogrammetry workflows in production environments.
Combining these services with Metashape’s Python API enables fully automated 3D reconstruction pipelines — ideal for companies processing thousands of datasets monthly.
Use Cases: Why Enterprises Deploy Metashape on Azure
Running Agisoft Metashape on Azure is more than a performance upgrade — it’s a strategic decision that opens new possibilities:
- Drone Mapping and Surveying: Process massive aerial imagery datasets in hours instead of days.
- Cultural Heritage: Digitize museum collections and archaeological sites remotely.
- Construction and BIM: Generate 3D site models and orthomosaics directly in the cloud.
- Film and VFX: Create high-resolution 3D assets with scalable GPU resources.
Whether you’re a small surveying company or a global enterprise, cloud deployment ensures flexibility, scalability, and consistent performance.
Conclusion: Scale Your Photogrammetry with Metashape on Azure
Deploying Agisoft Metashape on Microsoft Azure is a game-changer for anyone dealing with large photogrammetry projects. By leveraging the scalability and power of the cloud, you can drastically reduce processing times, improve collaboration, and handle datasets that would overwhelm even the most powerful local workstations.
With a well-planned deployment — from selecting the right VM type to optimizing performance and automating workflows — you can transform Metashape into a powerful cloud-based photogrammetry platform capable of handling enterprise-grade workloads.